
Never Miss a Post

How to Style a Farmhouse Bed
How to Style a Farmhouse Bed
Hello, babes! Since moving into our new place about 6 weeks ago, one question that continues to come up from y’all is, “how do you make your beds?”. And no, it’s not a stupid question! There are SO many ways but today I’m sharing how I do it. From a step-by-step guide to my favorite sheets and pillow inserts, I’ve got you covered.
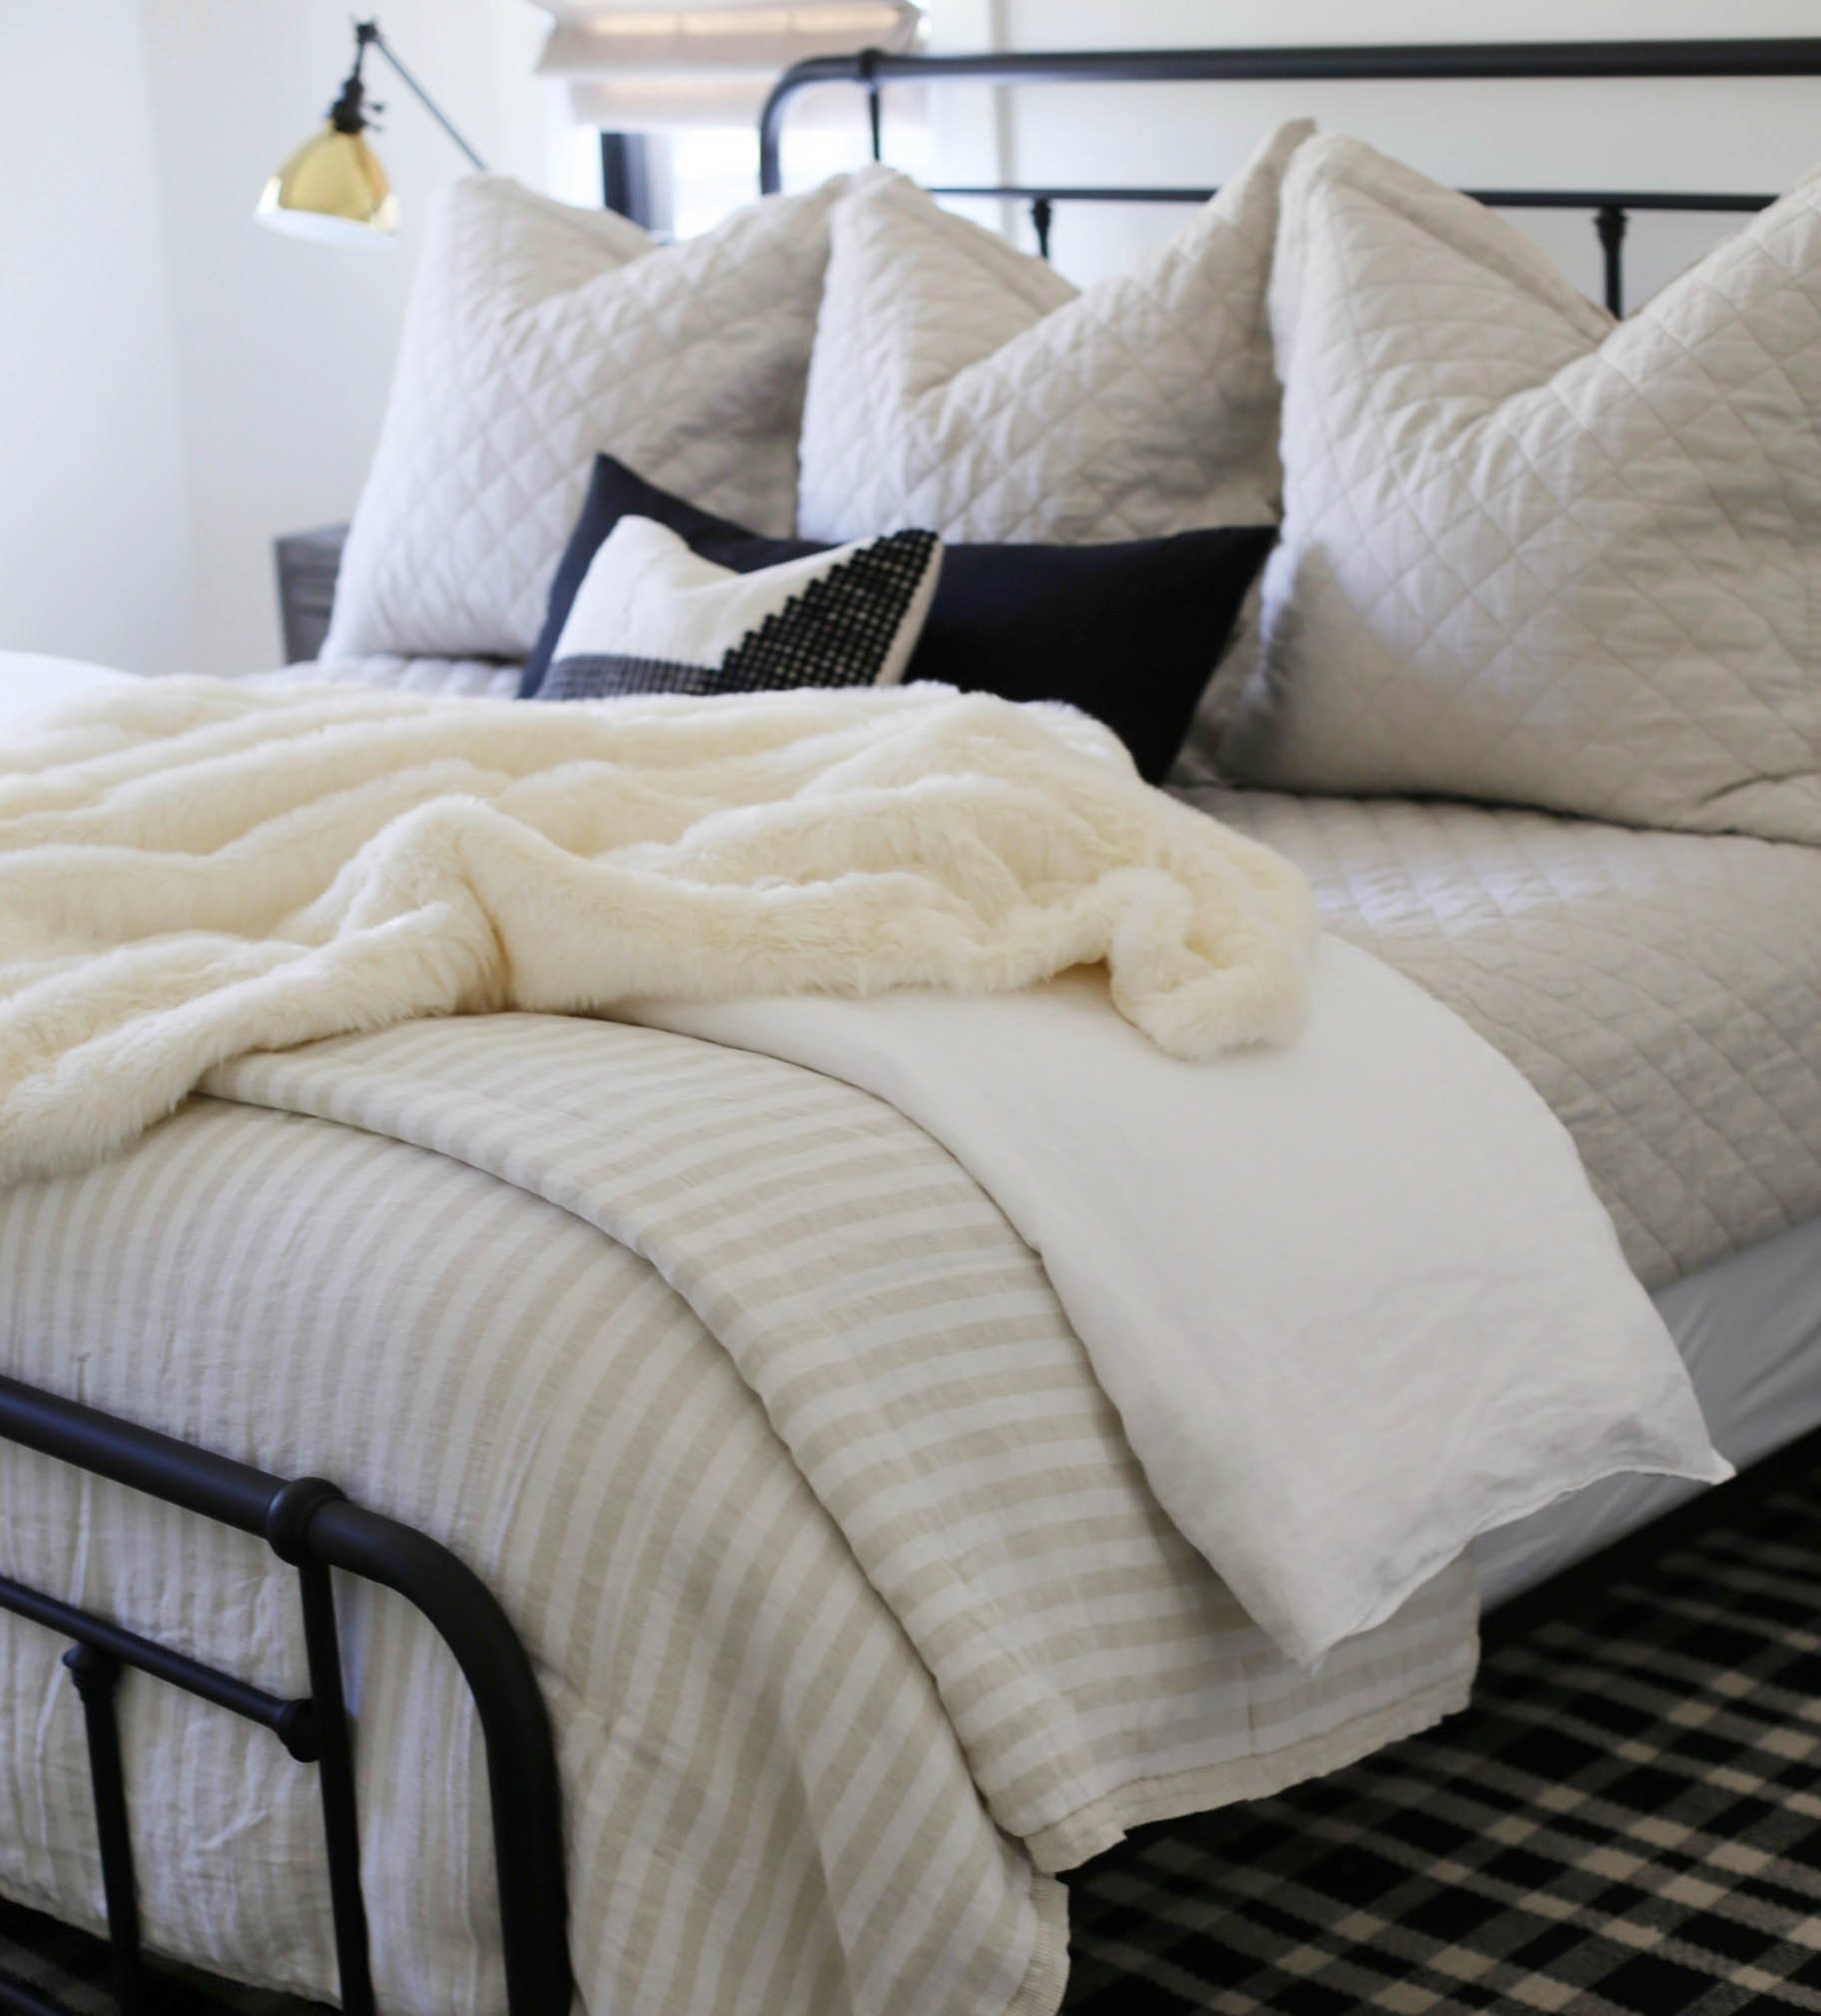
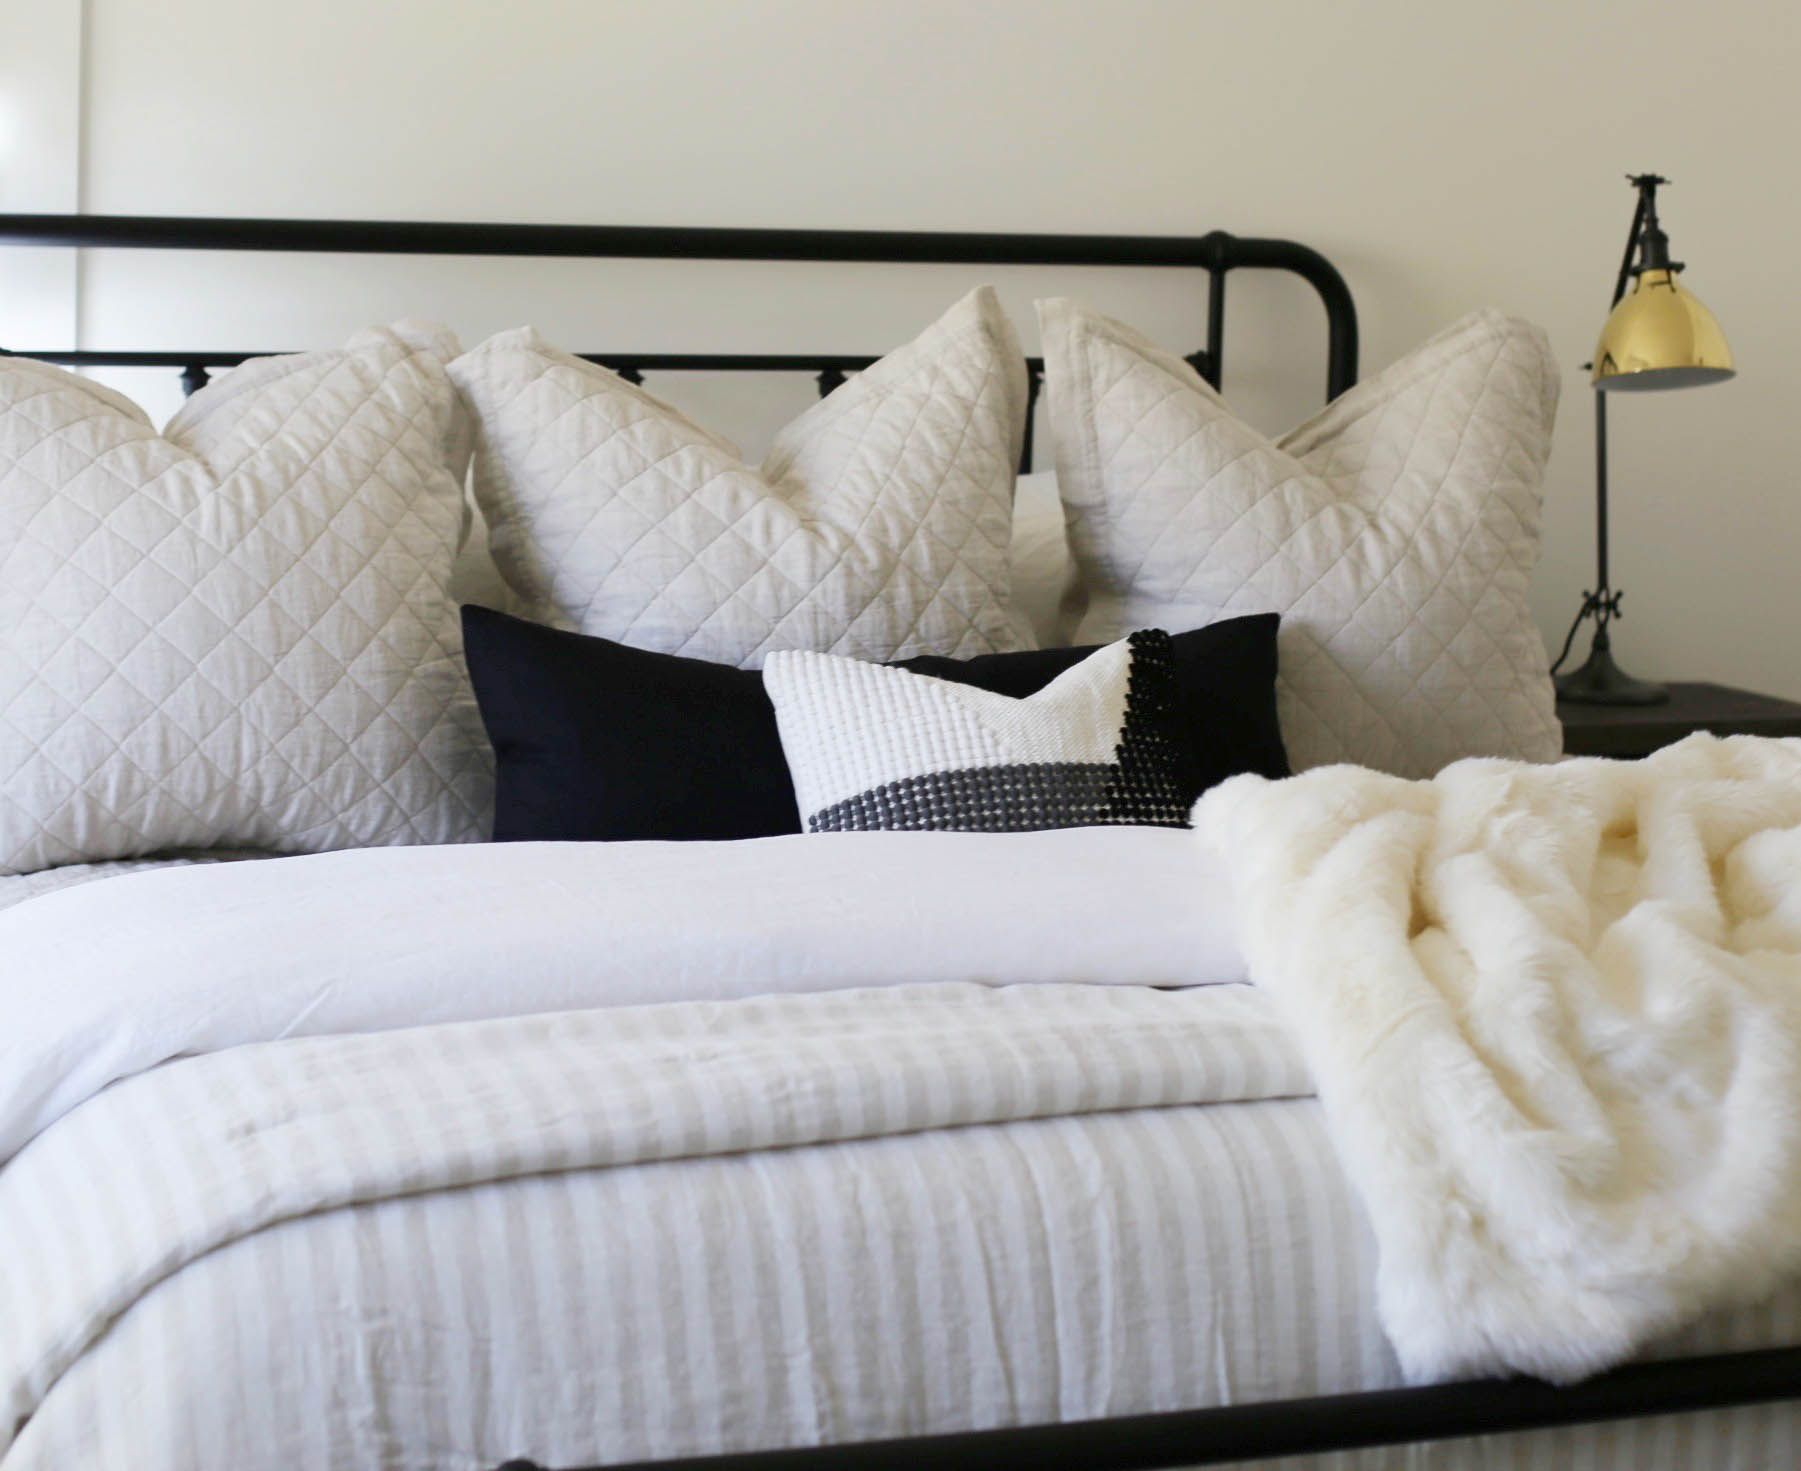
Let me first start out by saying that I LOVE a cozy home. The more pillows and blankets the better! 🙂 To achieve a farmhouse look, it’s important to mix neutral textures and patterns. In this room I did this with linen, cotton, faux fur, quilts and stripes. See below to shop this space. And let’s be real, if anything touches my skin that gives me the slightest itchy feeling, it’s outta my house in TWO seconds. Who’s with me?! Ok, lets’ do this!
Step-by-step Guide
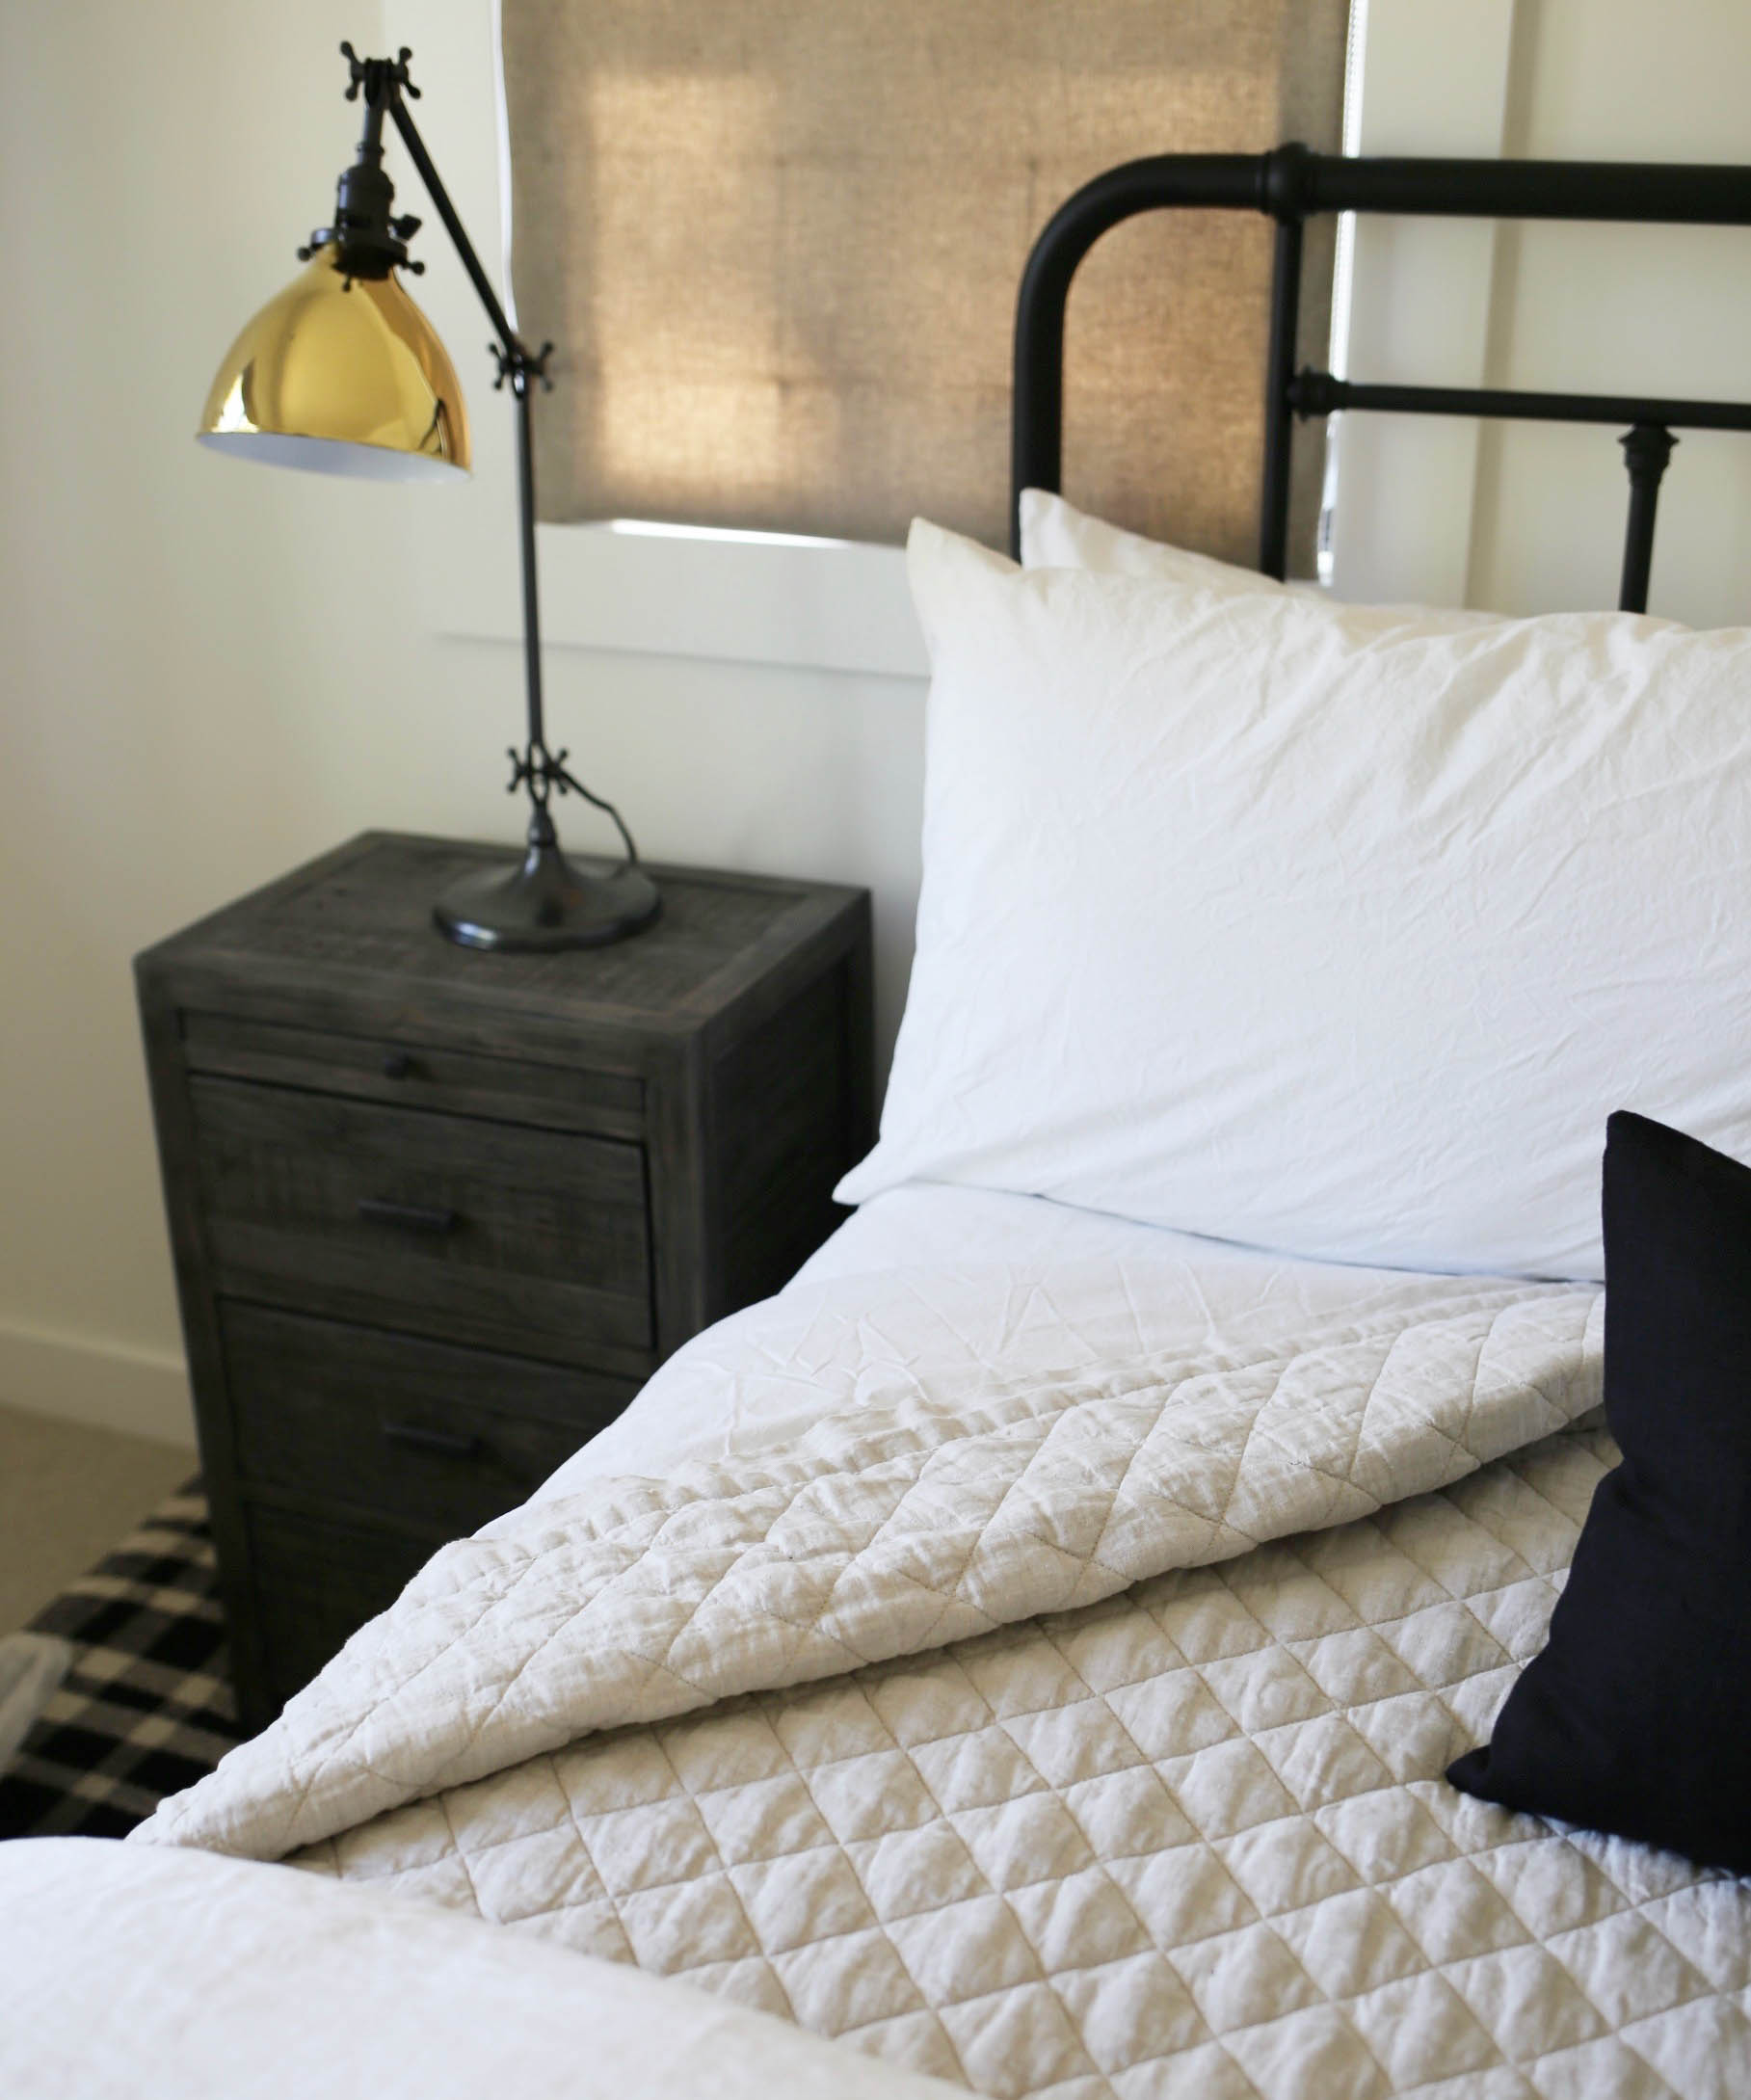
1 & 2. Fitted & Flat Sheet – let’s just say, I keep it as simple as possible. On all of my beds I use a solid white sheet set. If you know me you know I don’t like a lot of bright colors and busy patterns, so you’ll find all the beds in my home fairly neutral. I like to mix textures and use softer prints in the coverlet and duvet of a bed. My favorite quality sheet set is the “Pottery Barn Classic 400 Thread-Count“. They are organic and come in 6 basic colors. The set included a fitted sheet, flat sheet and two pillow cases. Perfection! I start by making my bed first with the fitted and second with the flat sheet.
3. Quilt and/or Coverlet (depending on what you want to call it) – This is where I like to bring in texture. As you can see I selected a diamond quilted option for the farmhouse room. It is interesting to the eye yet very classic and cozy. After the first two sheet are set, I lay the coverlet on, from top-to-bottom and tuck it in all the way around the bed. (see images below)
4. Duvet Insert – I use a classic down duvet insert for all of my beds. Again, I want the beds to be comfy and fluffy, creating volume, and I’ve found these are your best bet! My favorite option is from Pottery Barn. Here’s a little styling tip for y’all… if you still want more volume, place TWO inserts inside your duvet. It works! 😉
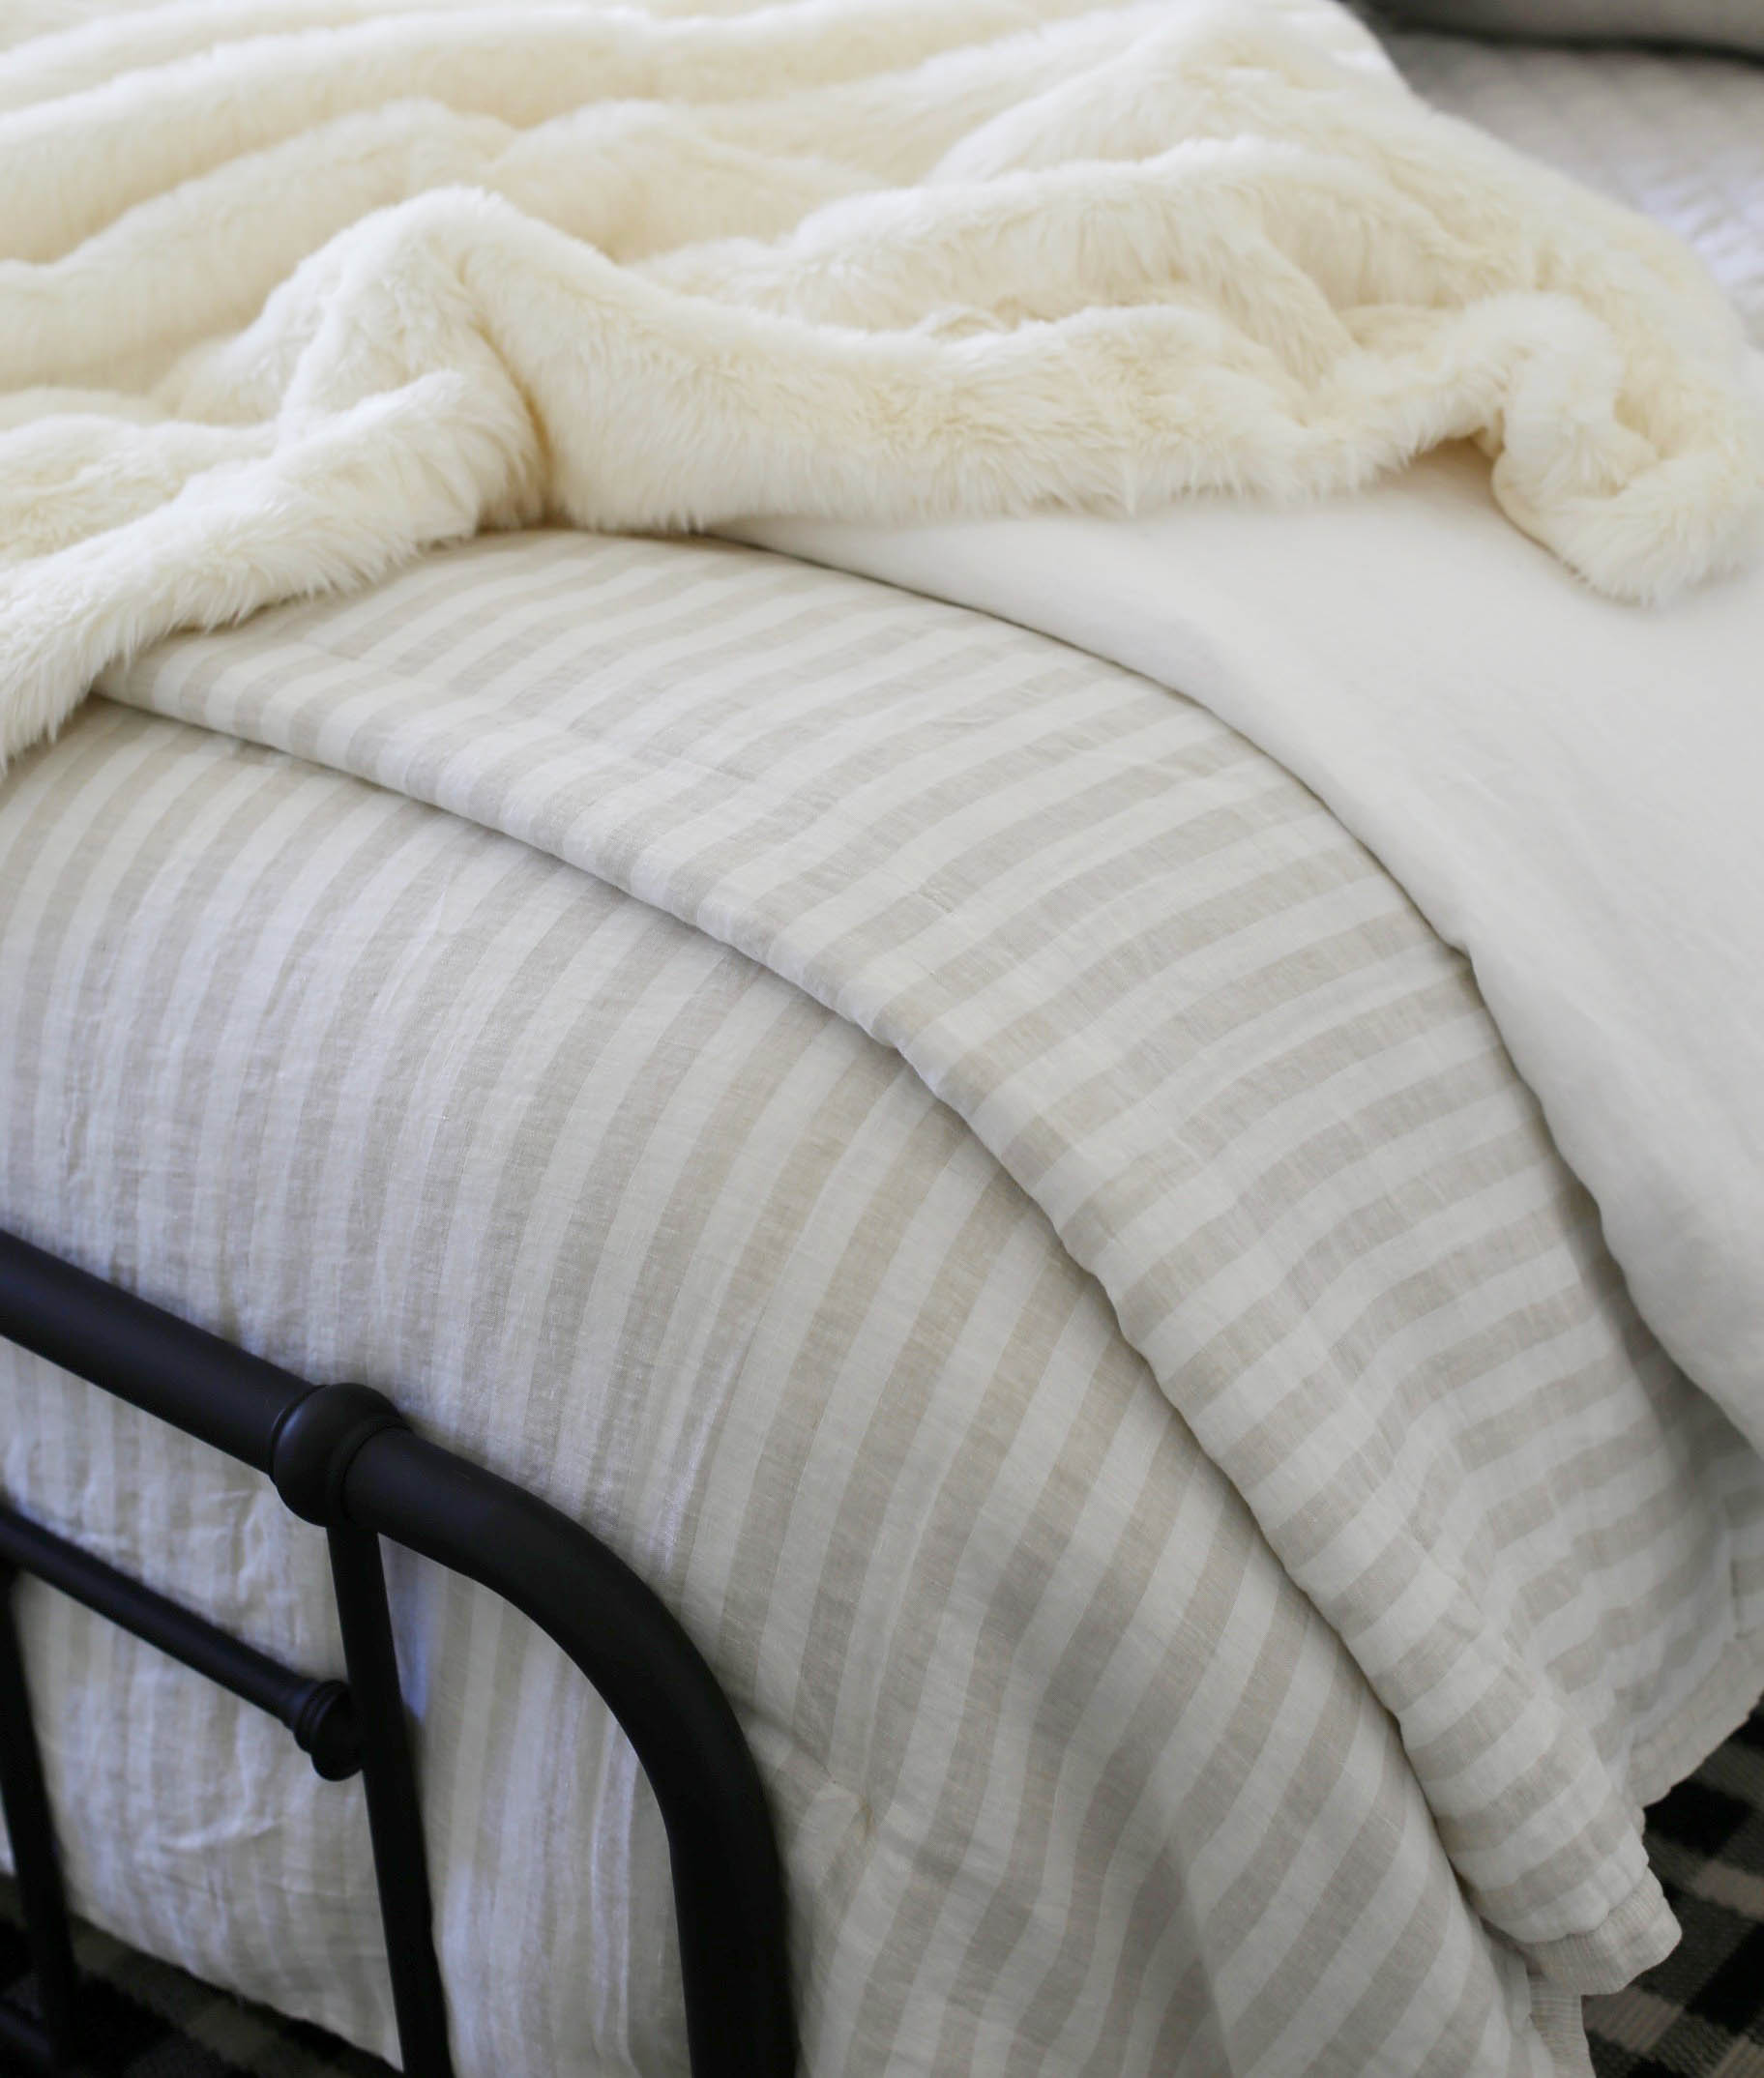
5. Duvet #1 (Plain) – I know ya’ll are going to ask, why two duvets? Well the answer is simple, [1] I like to be as cozy as possible AND [2] I want the bed to have more volume and look fuller. So basically it’s comfort and design! 😉 Since the first duvet is not seen as much I tend to opt for a very basic, not expensive option. Here I chose a simple white linen duvet from H&M Home. As I’ve mentioned in my past decor posts and on Instagram, if you haven’t discovered H&M Home, it’s time!! They have very well designed and quality products at A-mazing prices. This king duvet is only $129 – such a steal! They come in a bunch of different basic colors and I actually am using the light gray in my bunk room. Before I get ready to go onto my next step of making the bed, I fill the duvet with the insert. I then tie each inside corner of duvet to the insert (most have interior strings) to ensure it doesn’t move around. Next up, I place the duvet on the bed, fold it in half from the top to bottom… I wait until duvet #2 is ready to go and set until making the final fold on duvet #1. Once the duvet #2 is on the bed (I explain in the next step), I fold it in half again from the bottom to the top landing halfway up the bed. You want to ensure you see part of the quilt… make sense? See pictures below to help!
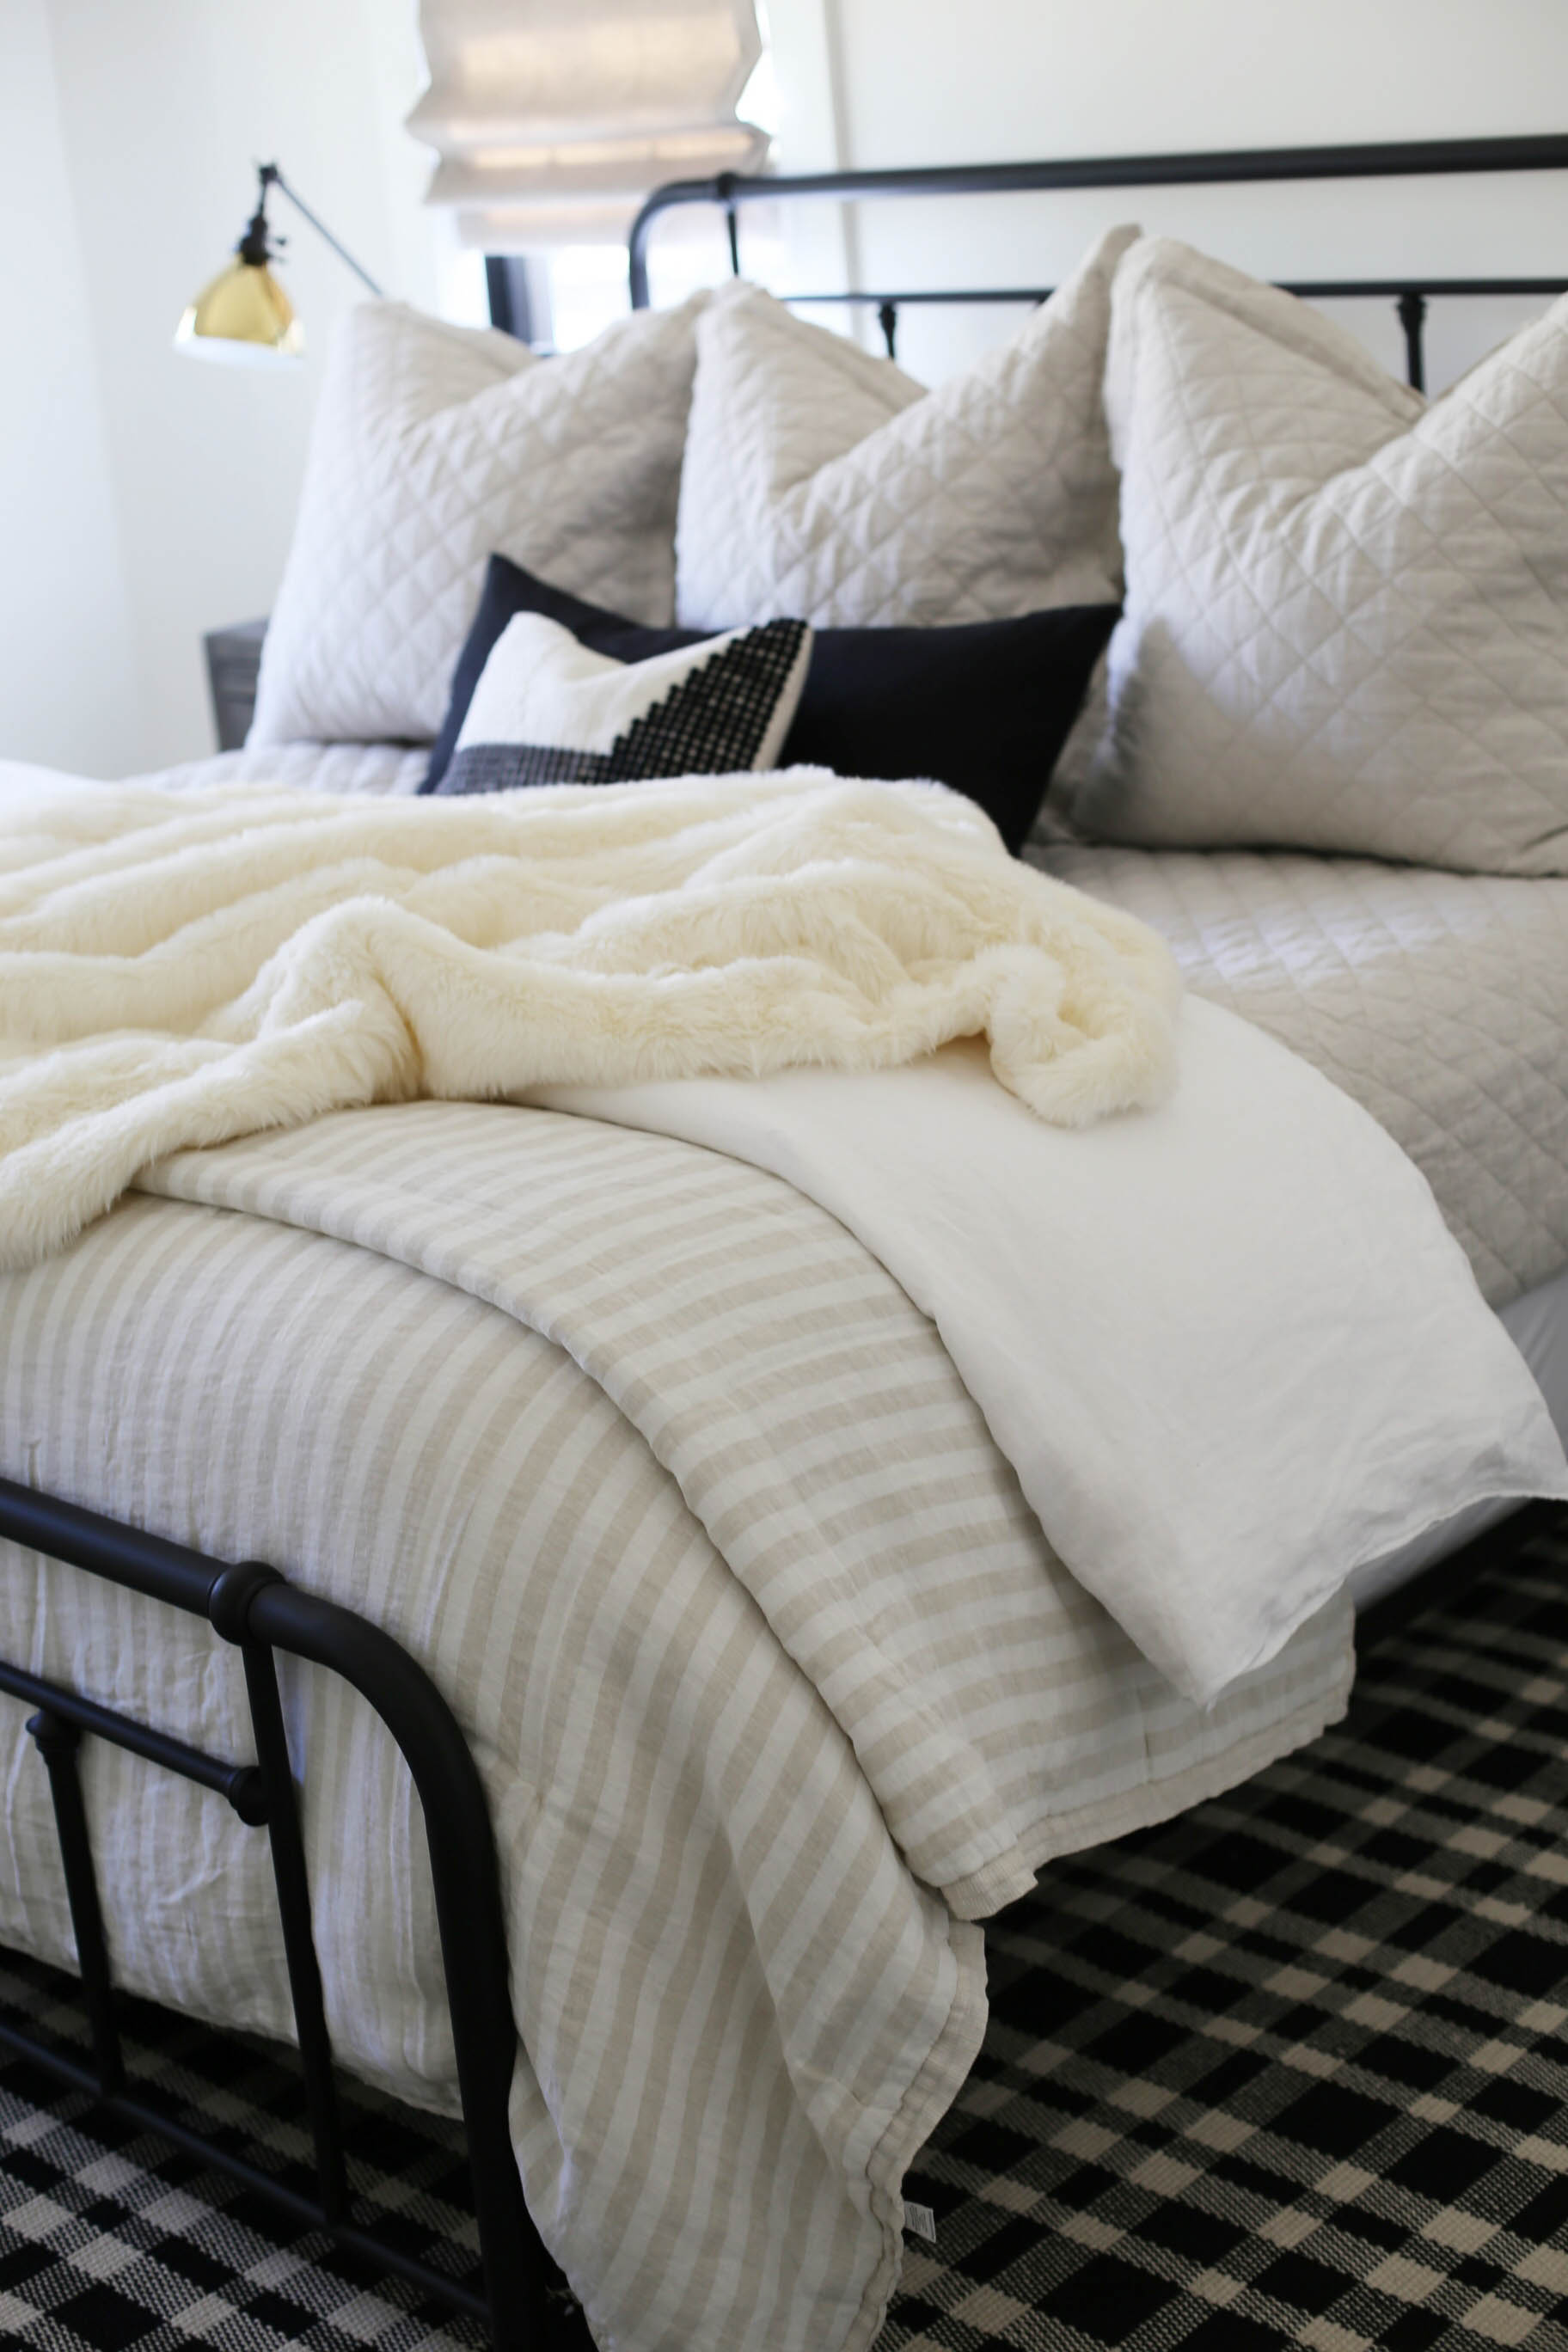
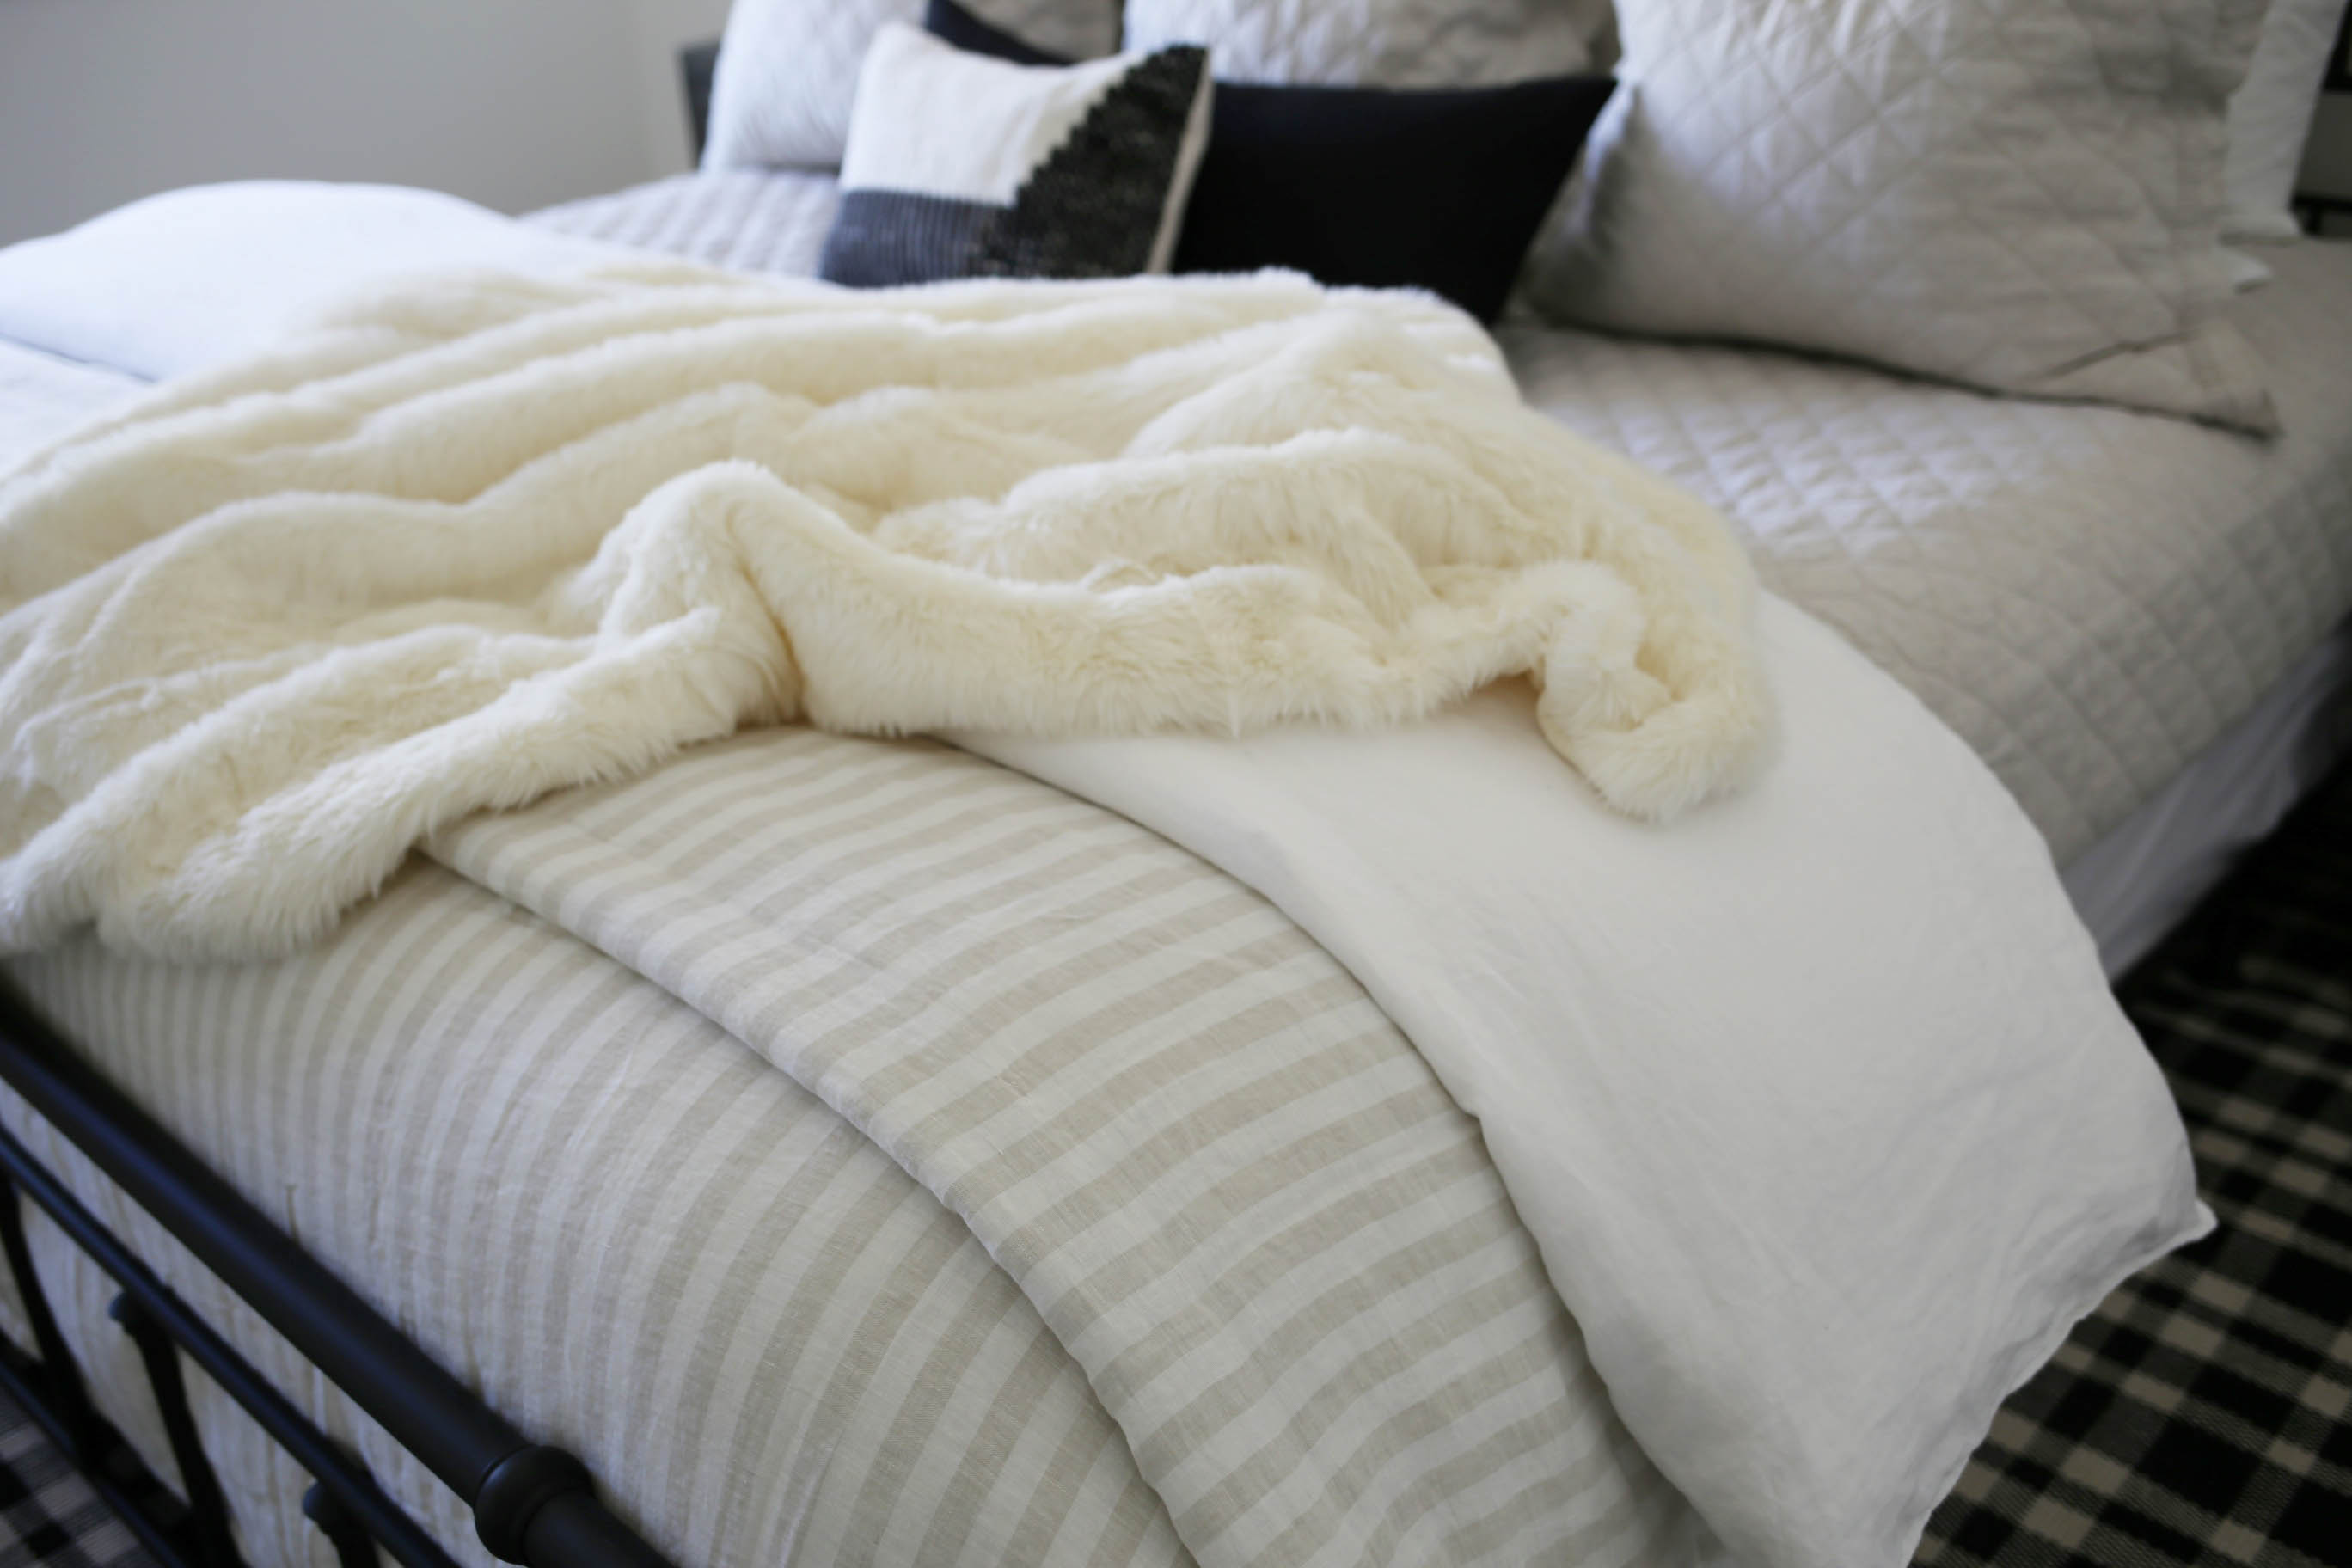
6. Duvet #2 (Pattern) – Alright, now that we have the basics on the bed, let’s have a “little” fun with this duvet! LOL Since this bedroom has a farmhouse vibe, I thought stripes would be the perfect mix with the diamond quilt and plaid rug. It gives the bed a bit more life, yet staying in my neutral color palette. I start again by placing the insert inside of the duvet and tying it securely at each internal corner. Next up I place the pattern face up on the bed, fold it 2/3 the way down, grabbing the top and bringing down to the bottom of the bed. Finally, I take the top piece at the bottom of the bed and fold it upward (about 1/3 from the bottom). Now that this duvet is in place, I make the final fold of duvet #1 (mentioned above). I know, I know this may sound confusing, BUT take a look at my images and give it a go!
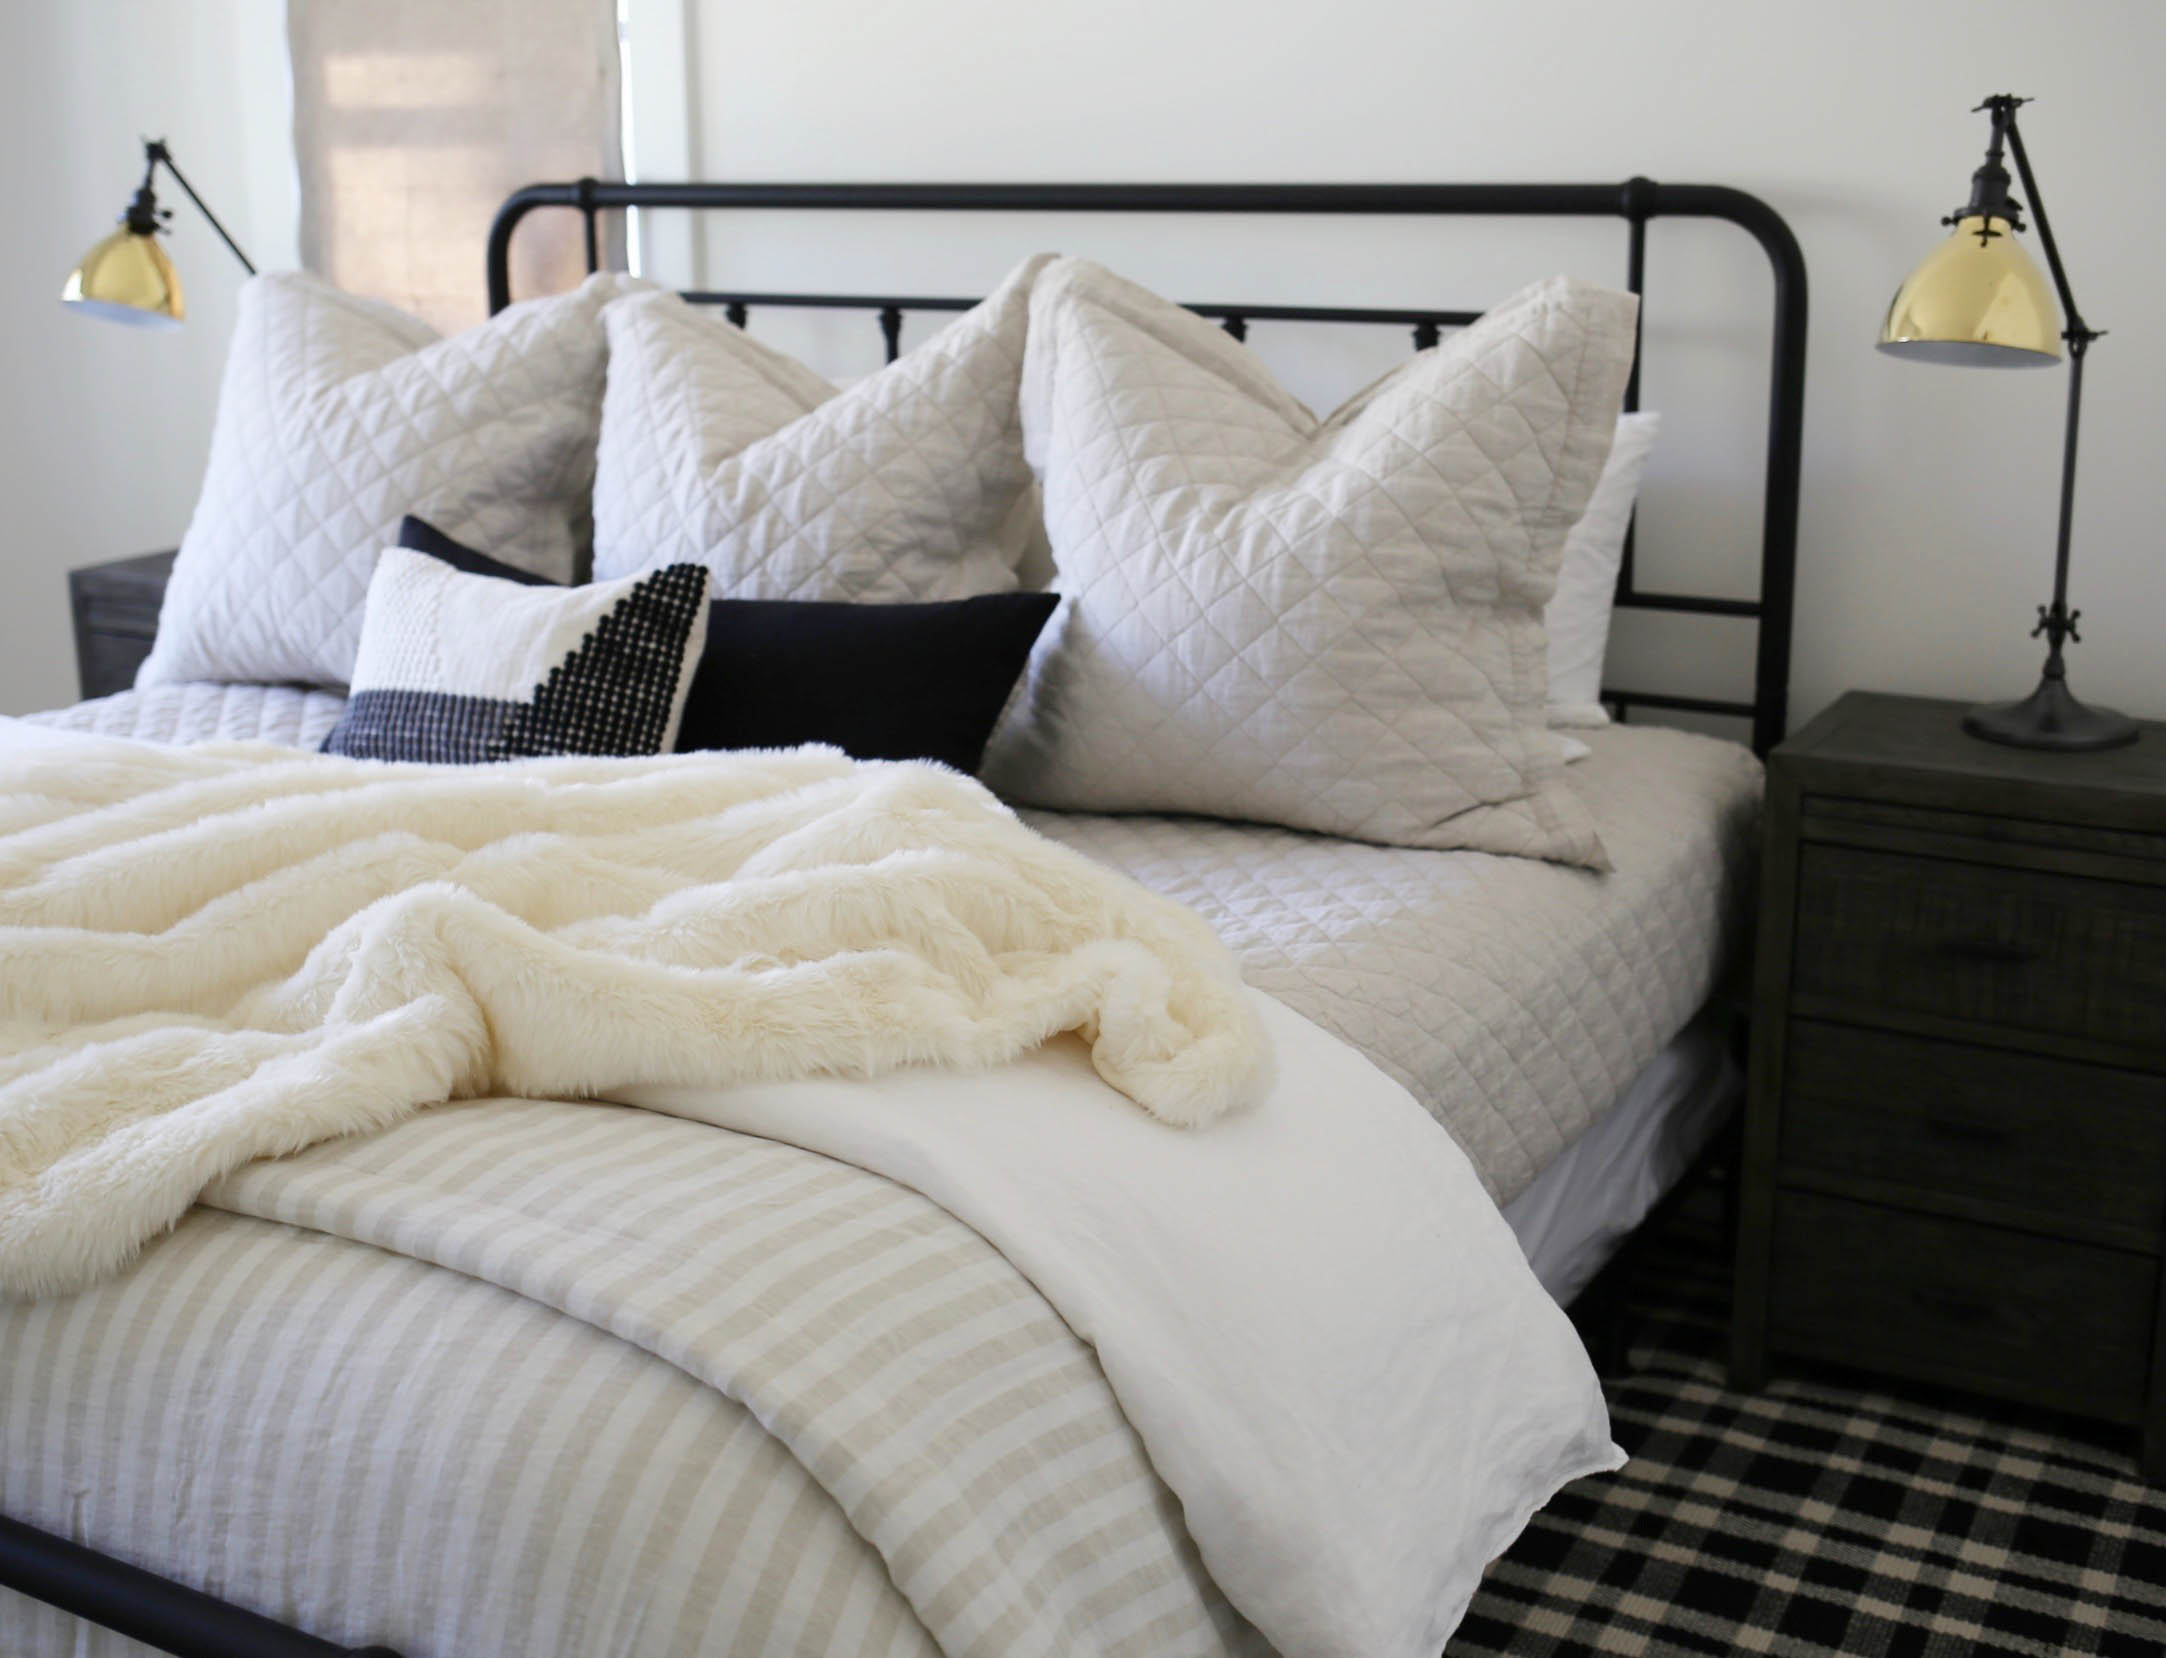
7. Pillow Inserts – I always use FOUR pillows rather than two. Again I like for my guest to be as comfortable as possible AND I like the way it fills out the bed. I selected two different versions of pillows for each of my beds in the house – classic down and micromax. I did this because each individual has their own firmness preference. I tend to like hard pillows, so I’d go with the micromax. Please note pillows are a home item that is worth the money. It’s all about neck and back comfort when you sleep and a pillow is a BIG part of that. Don’t go cheap when it comes to pillows! Alright, let’s put these cozy gems on the bed! First slip on the pillow covers that were included in the sheet set you purchased. If you opt to go with four like me, you’ll need to buy two extra cases. I style out all four pillows (two and two) upright, not face down. See images for details.
8. Euro Sham Inserts – Next up in the pillow game are the fun decorative pillows – shams! Many of you have asked me where I purchased my inserts and I’m happy to say, I found a budg option here! They are super fluffy and fill out the covers wonderfully. Here’s a little tip – buy 28″x28″ inserts! Most euro shams covers are 26″x26″ so if you purchase a bit bigger insert, the pillows will look WAY better!
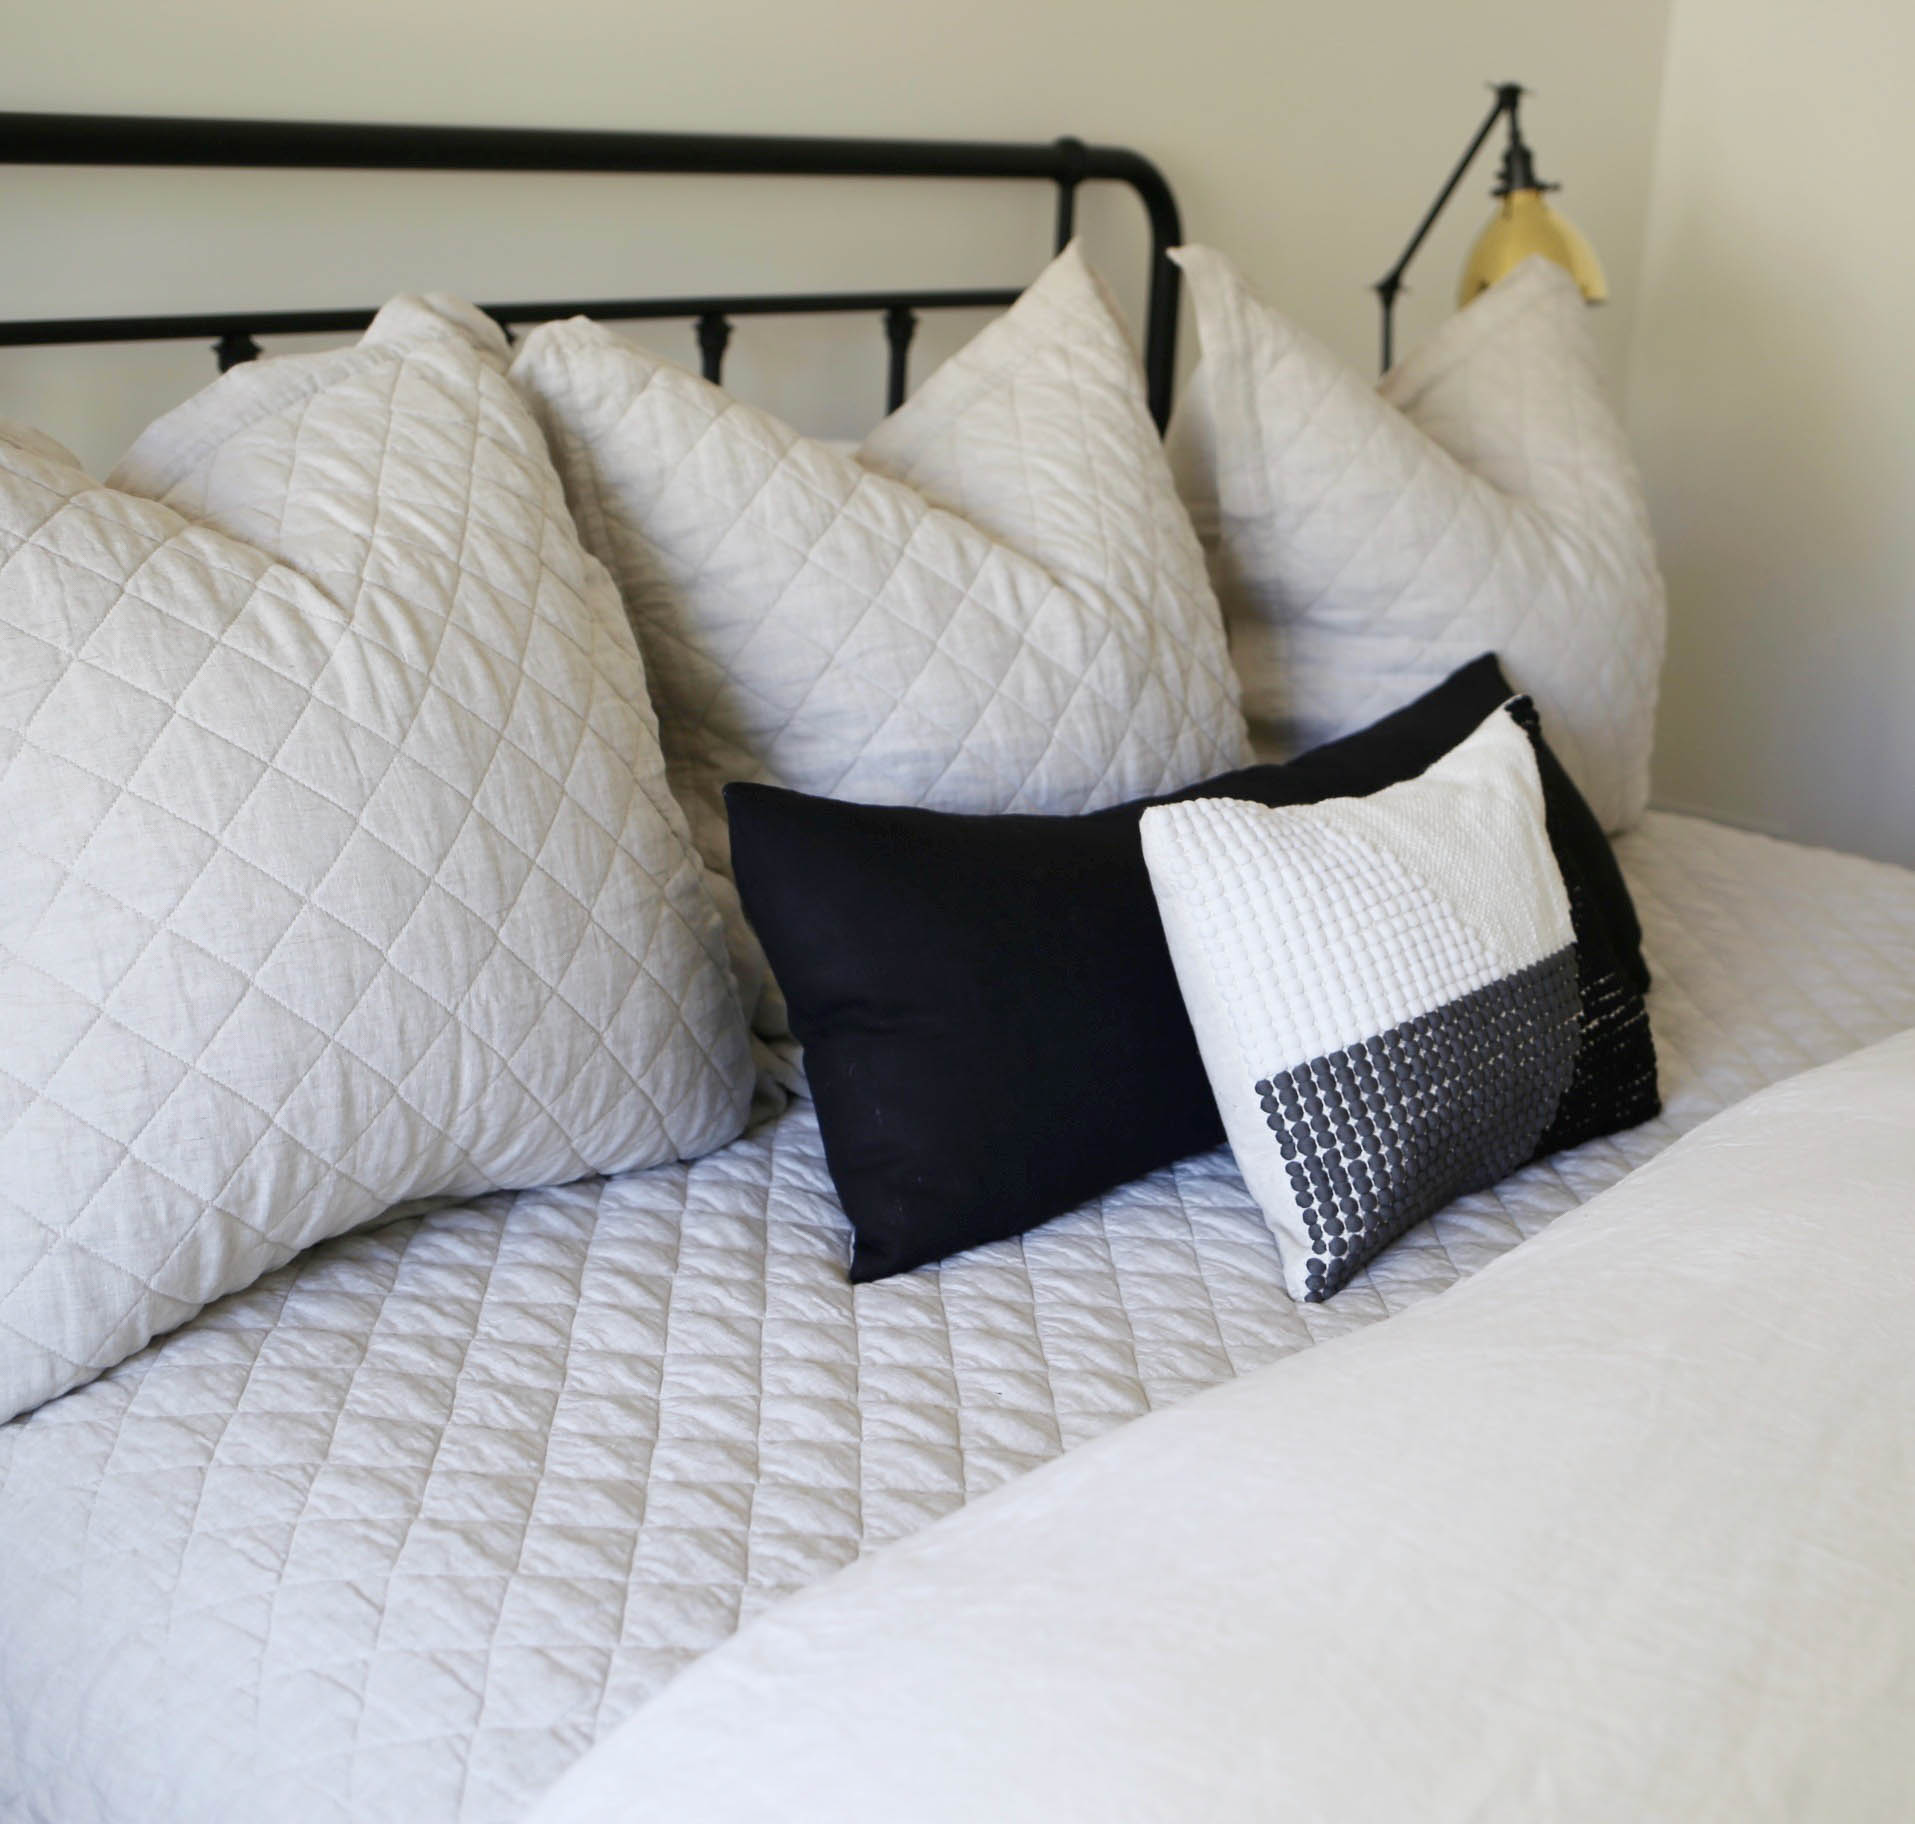
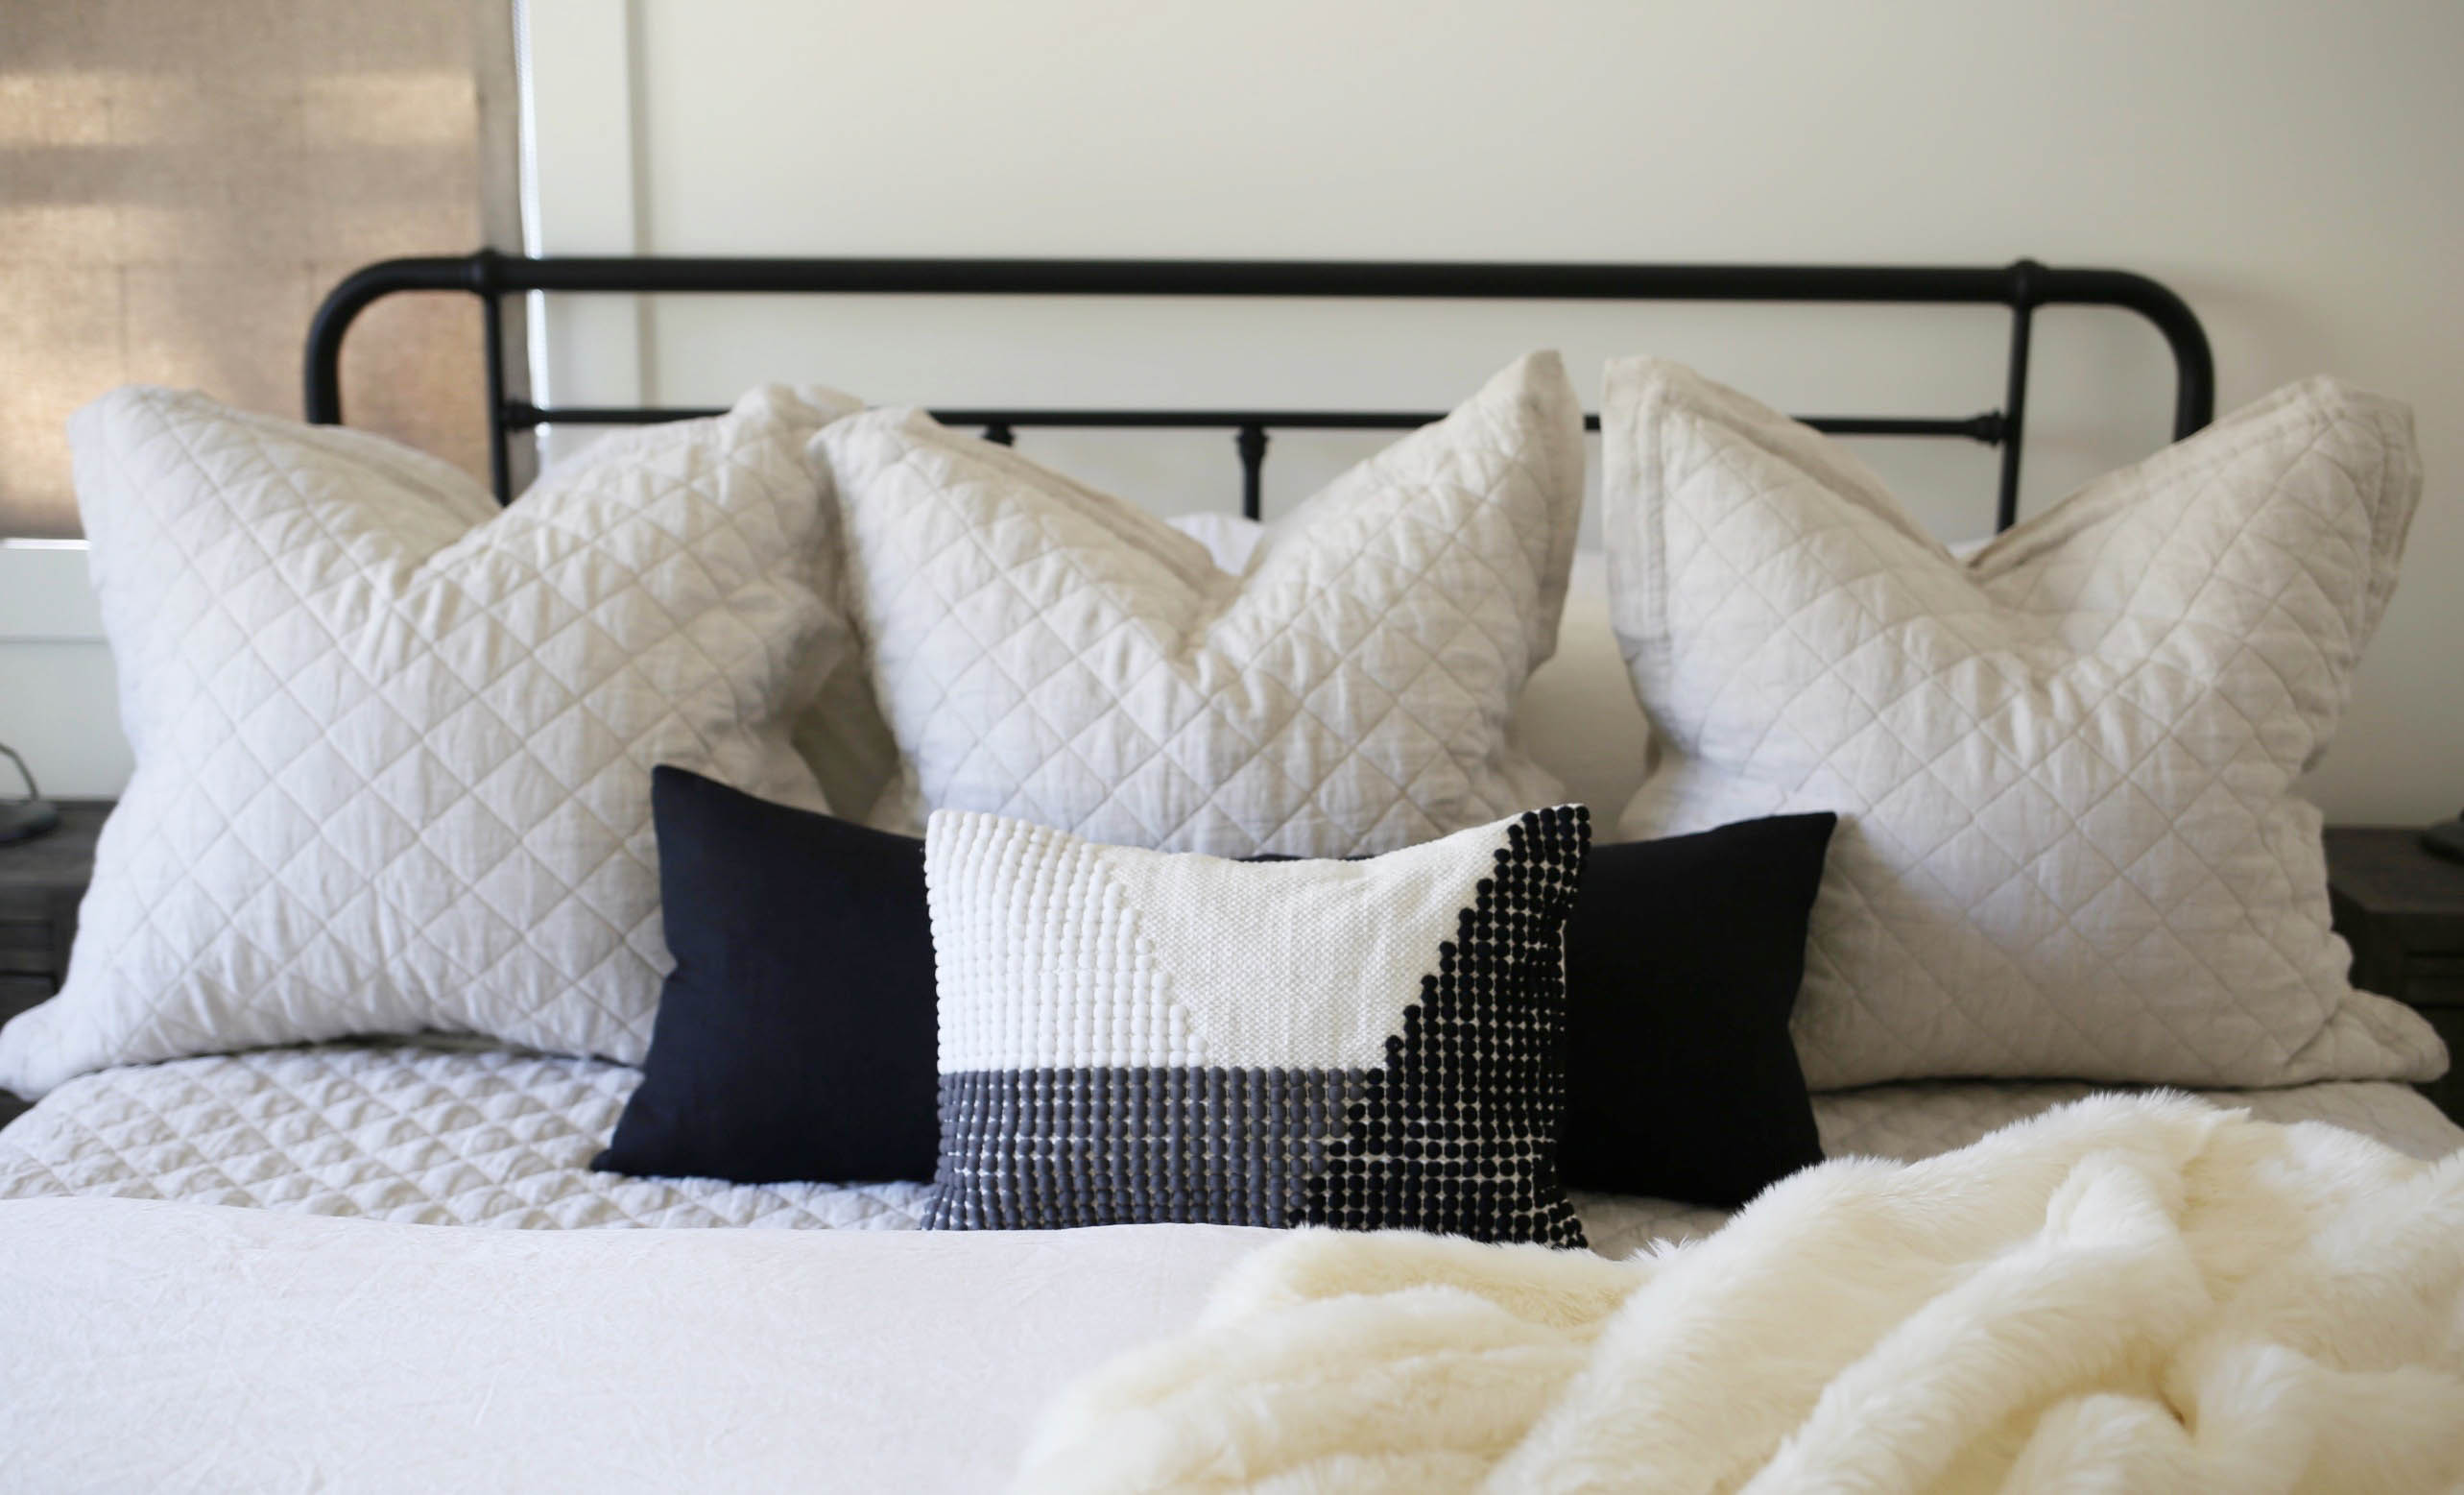
9. Euro Sham Covers – I like to have my shams match either my quilt and/or duvet #2. In this case I went with the diamond linen pattern to match the quilt. I LOVE how it turned out! So why do I like Euro shams? Well, to be honest, I prefer the way they look – more elevated and put together. If you like the look of two, go with a standard sham style. I stuff each Euro sham with an oversized insert (28″x28″) to make for an extra filled out pillow. Next up I place all three shams in a row after the 4 regular pillows (2 and 2). Lastly I give each euro a little chop. 😉 Voila!
10. Accent pillows & Throw – We are just about done styling this beauty!! I like to use these two final items as an opportunity to bring in a bit (just a bit 😉 ) more color and another texture/material. I first used a lumbar (long) black pillow in front of the euro shams. I then added in a smaller textured beauty in the middle of the bed for a bit more depth and color. Last and certainly NOT least, I placed a faux fur throw (only $26!) on the bed for the perfect finishing touch! Cozy home is where it’s at, y’all!! Comfort and function… check, check!
See below for links to all of the bedding in this post. Please leave a comment if you have any questions. I hope to post an IGTV tutorial of making a bed shortly. Stay tuned!
Shop Bedding

Leave a Reply
Your email address will not be published. Required fields are marked *
COMMENTS
What size is the bed that you’ve styled above?
Hi Brittney! This is a king.
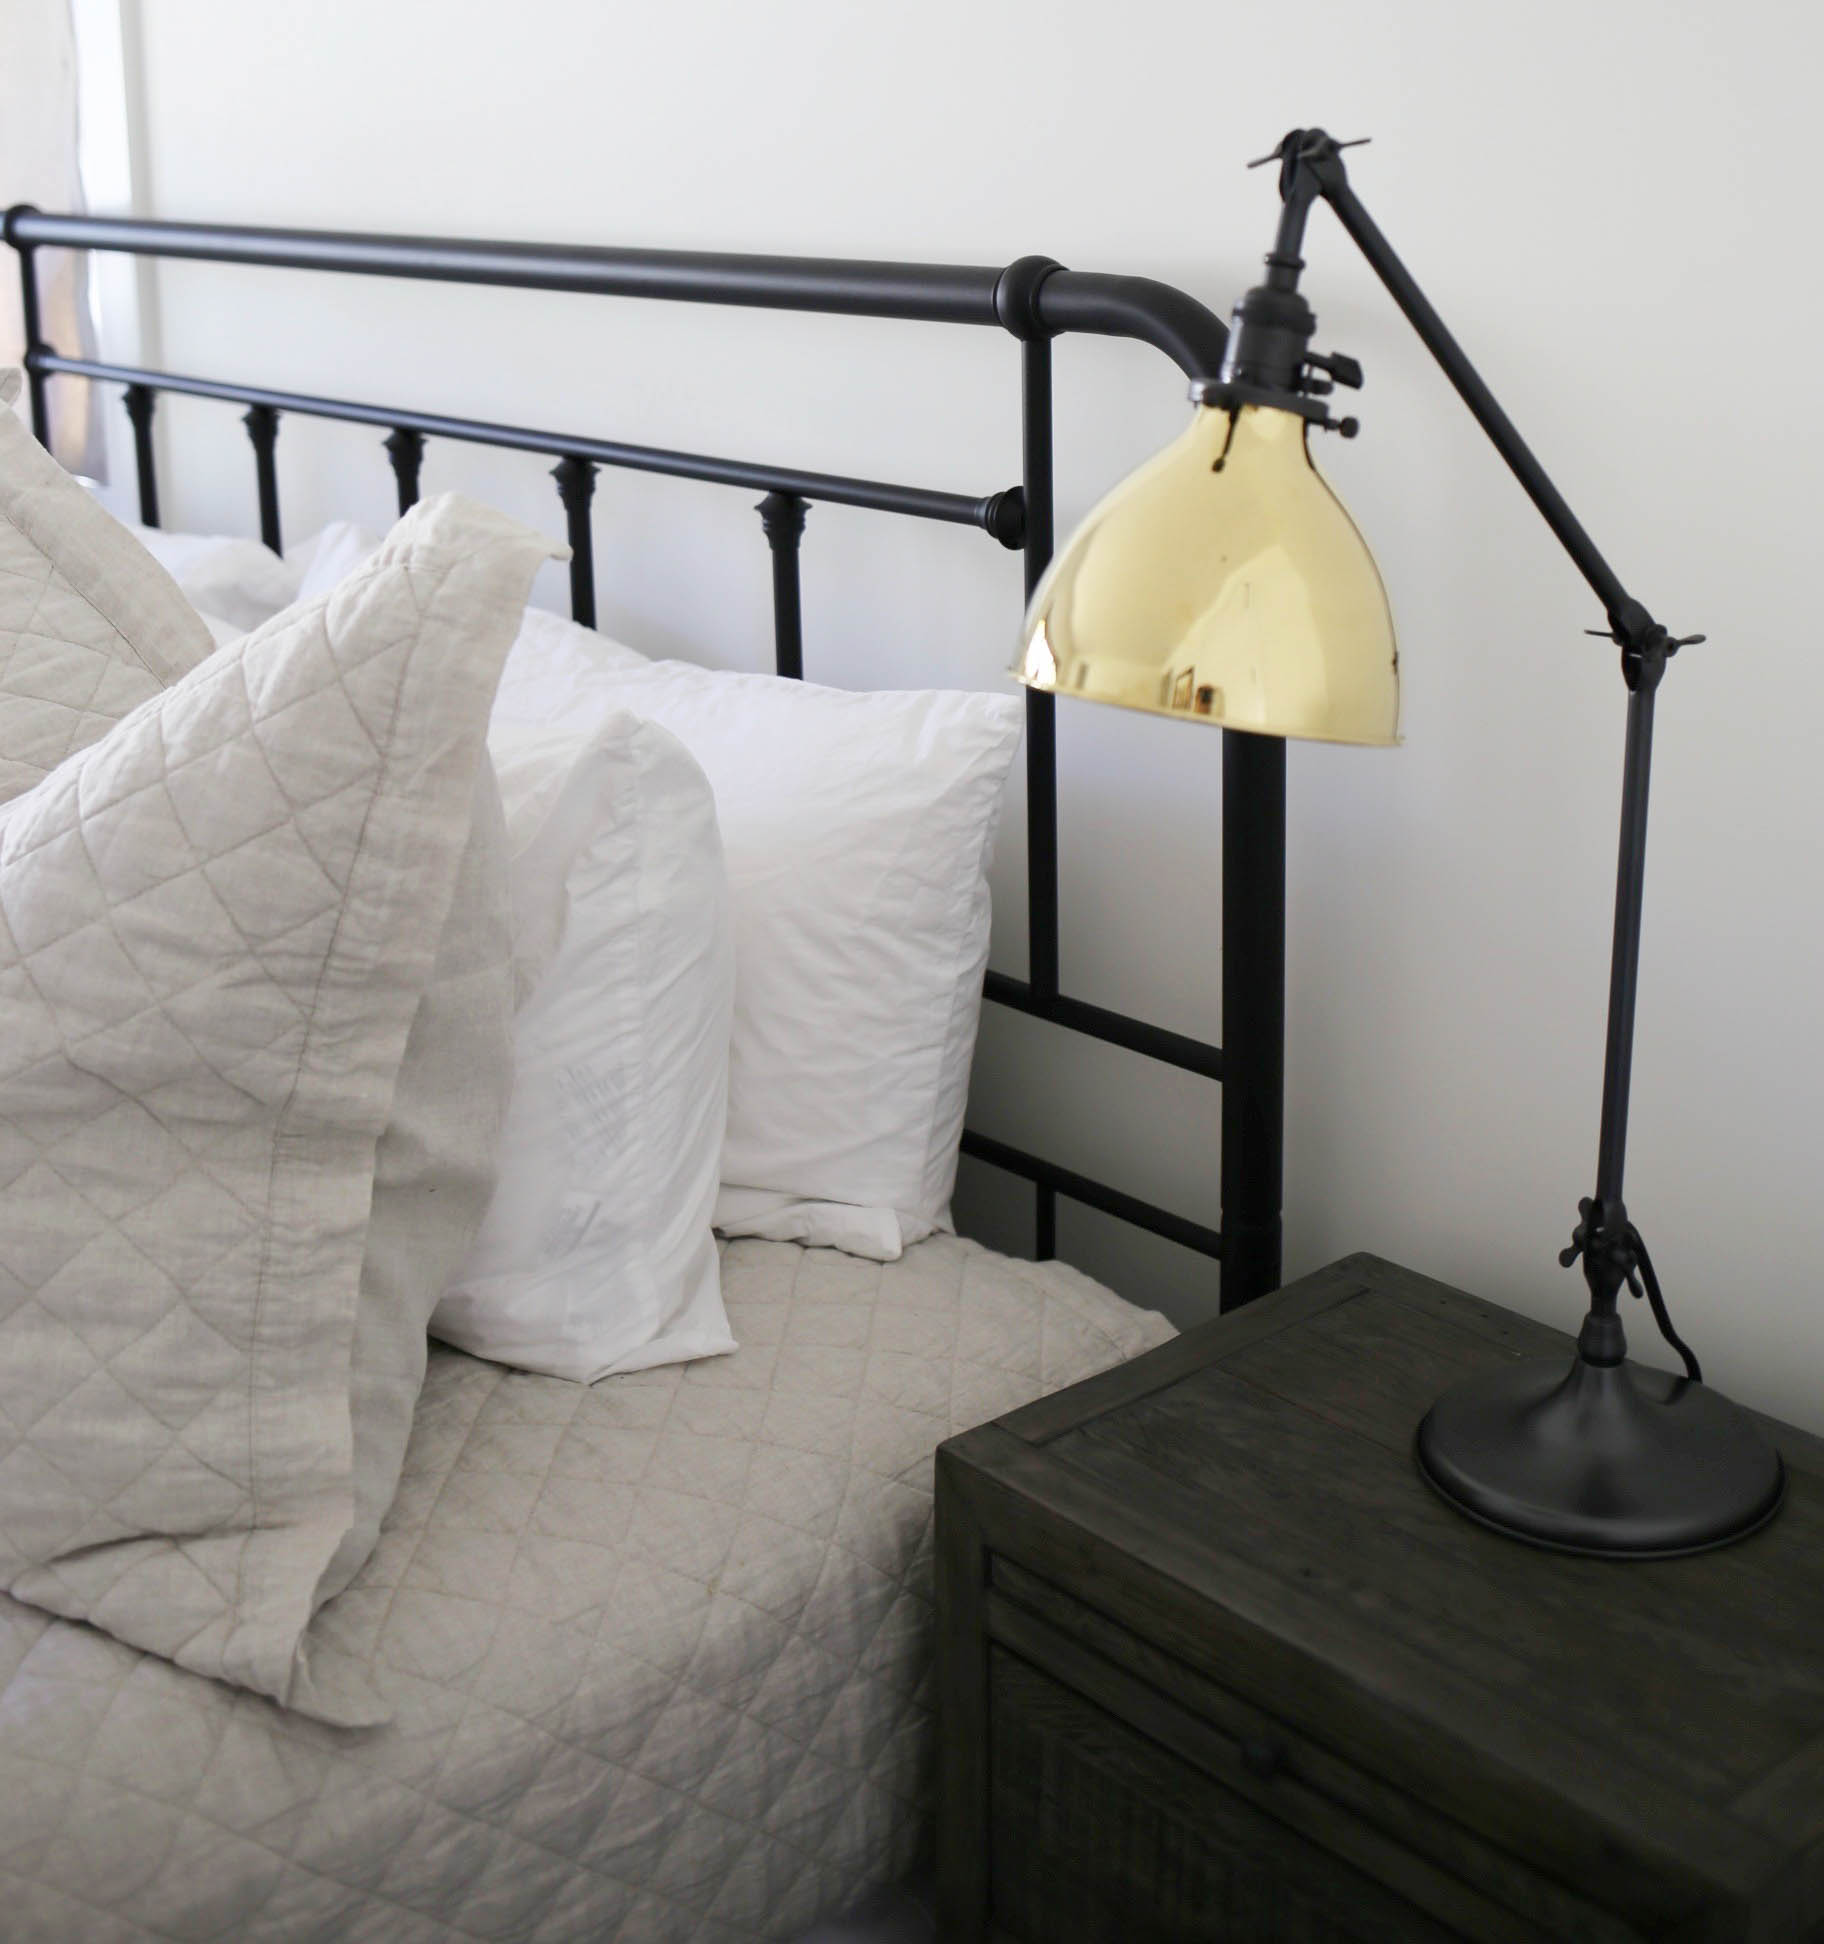
Where did the headboard and table lamps come from?
Hi Jacquelyne – the farmhouse bed frame is from Wayfair. Unfortunately it is sold out. I just posted 5 other options on my LTK – link: https://www.liketoknow.it/ltk/pNzSfyGcwR4li1WfkpncC
The lamps are from here: https://rstyle.me/n/c8g94fbpv3f
xo, Kasey
Hi. Could you let me know where u purchased bunk room bedding
Thanks!
Hi Karianne! You can shop all of my bunk bedding here: https://www.liketoknow.it/ltk/12QoD86vgRLkueU6mDNUqK
It’s from multiple places.
xo,
K
Do you by chance know the dimensions of the king H&M duvet?
I Lindsey – I looked only and I’m not locating the exact dimensions – I’m sorry!
K
What color did u get in the pb quilted coverlet?
We have “natural” – xo, K
Hey! Missed half the live and was wondering if you’ll be putting it on IGTV soon!
Hi! I will be posting a shorter version on IGTV soon. xo
Hi there,
The Micromax you mentioned, is that PB also? I have been having some issues with my current pillow and was hoping for a recommendation.
Yes it is – here’s the link: https://rstyle.me/n/c8aqntbpv3f
I hope this helps!
Do you just put some type of fitted sheet on your box springs? I can’t tell from the pictures but that’s what it looks like.
Hi Corinne! Yes, I use a fitted sheet over my box spring. You could also use a bed skirt depending on your bed. xo