
Never Miss a Post


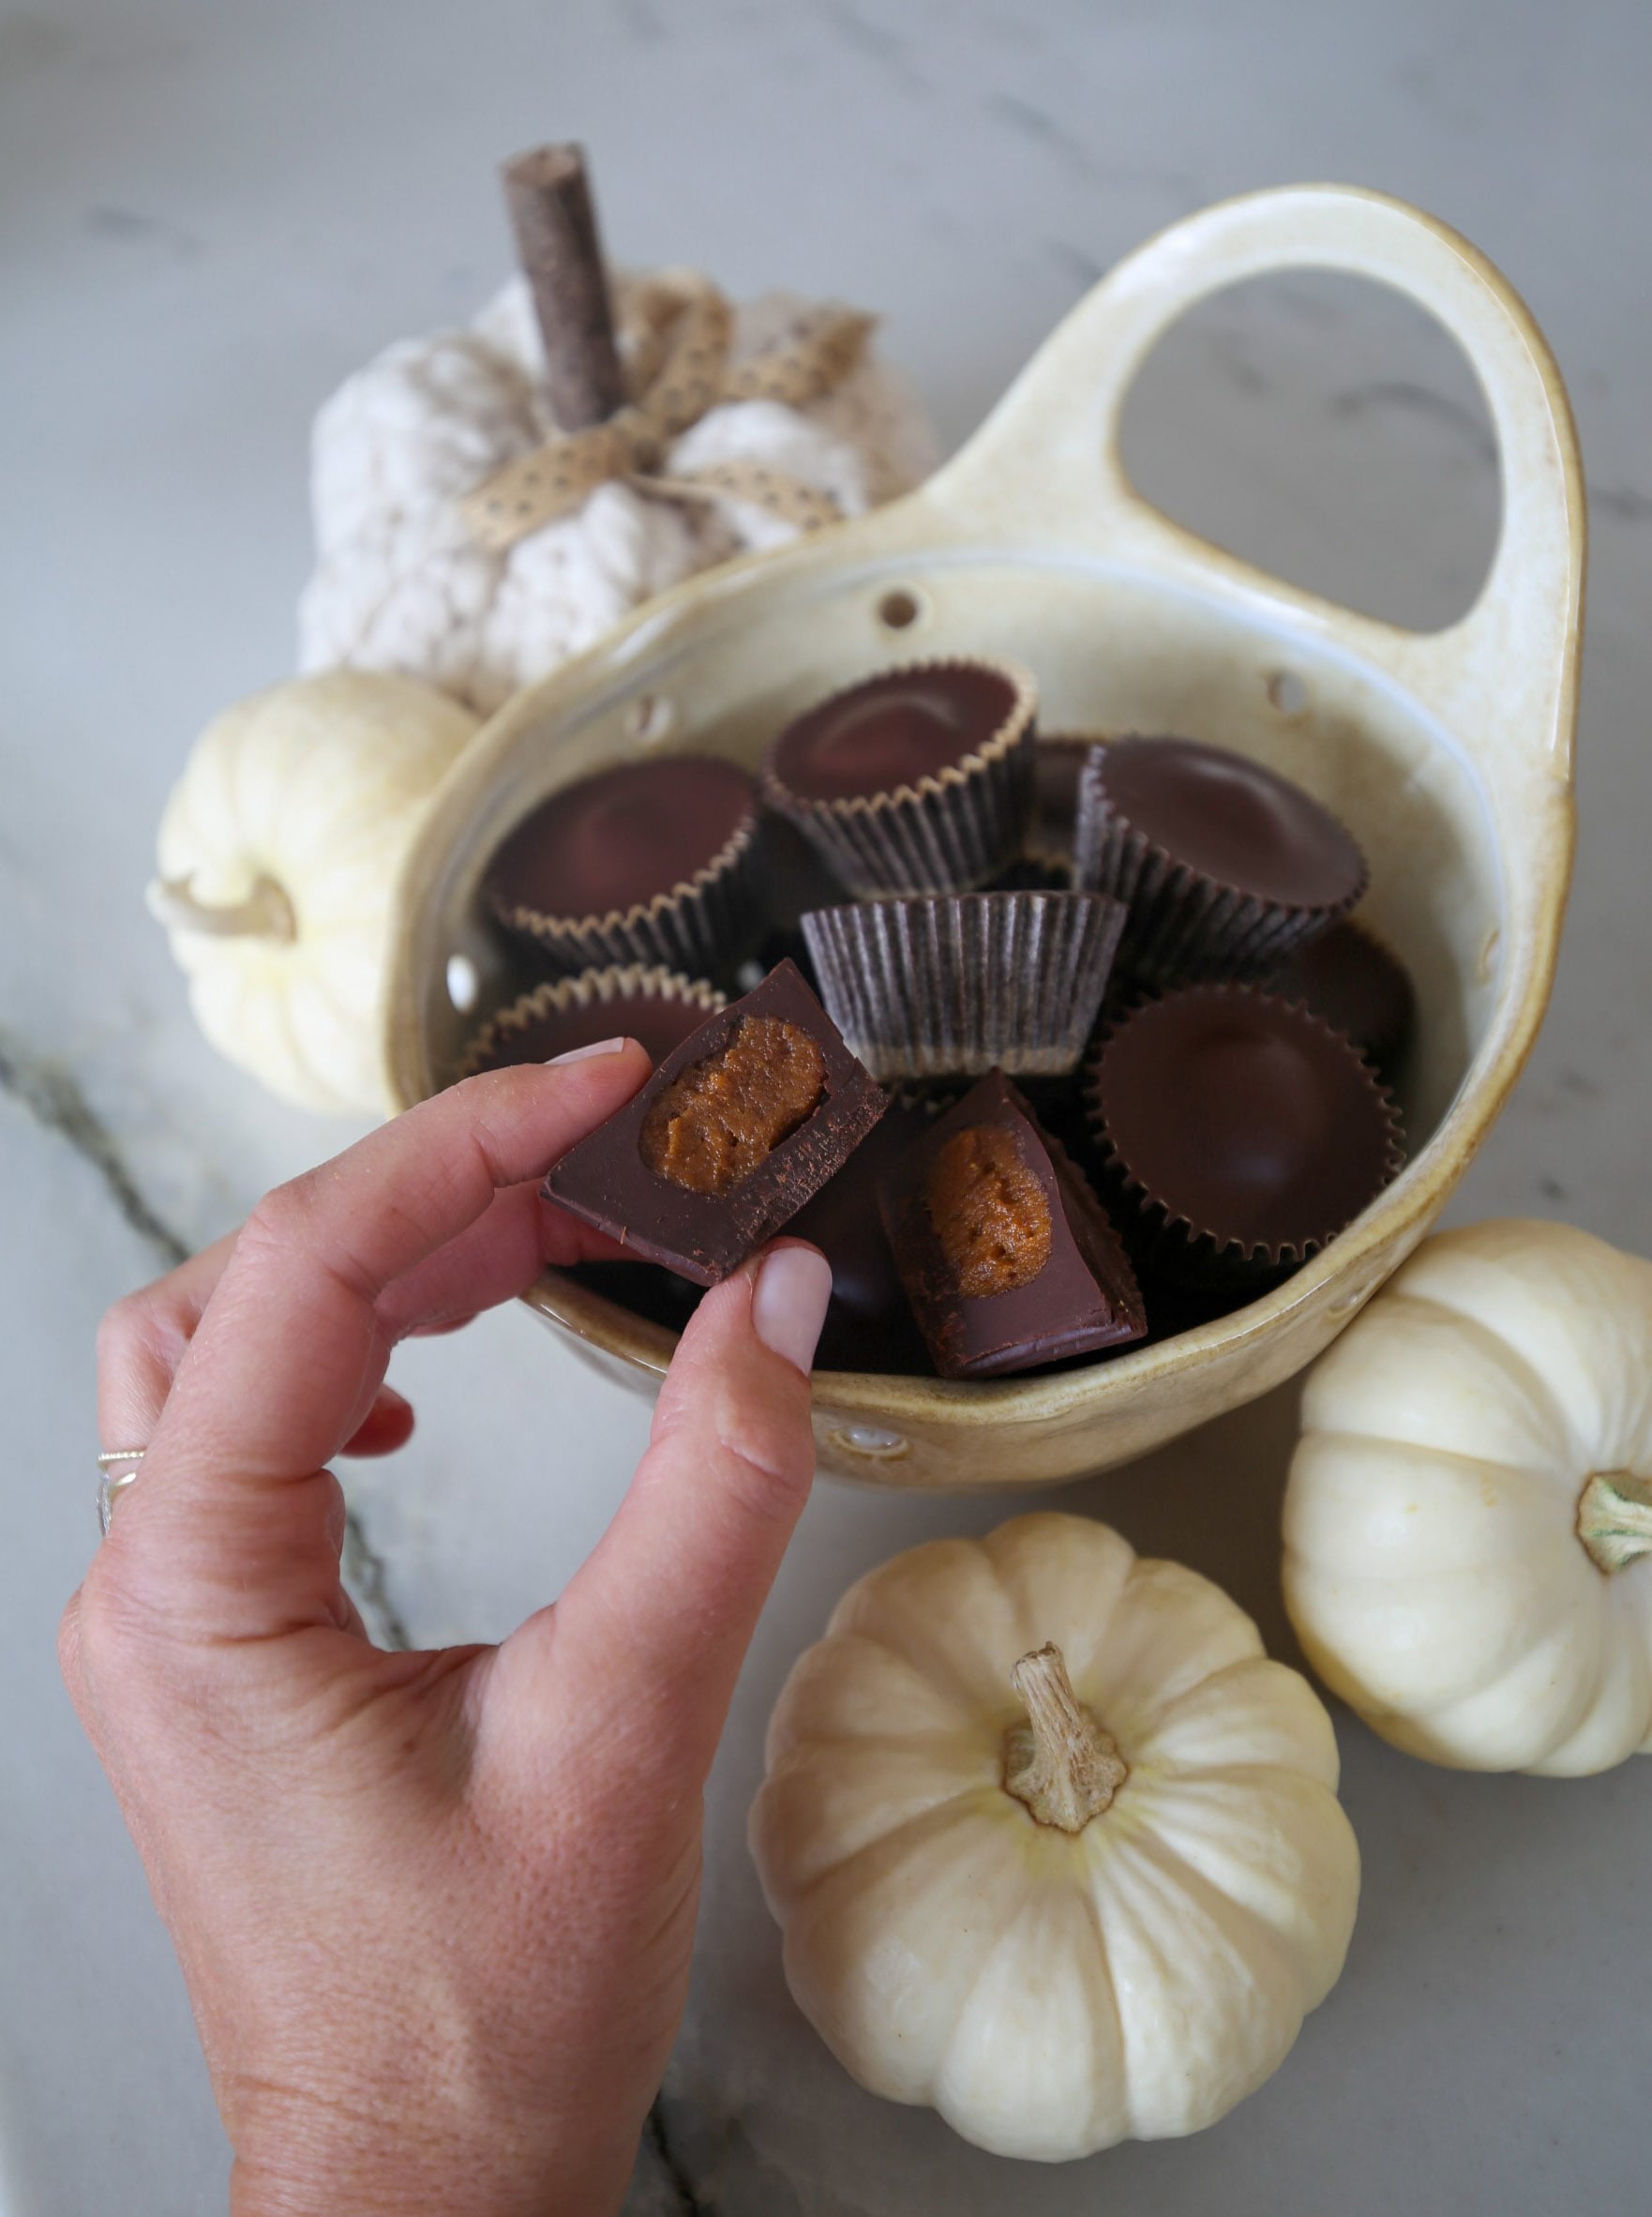
Mini Pumpkin Butter Cups
Hey y’all!
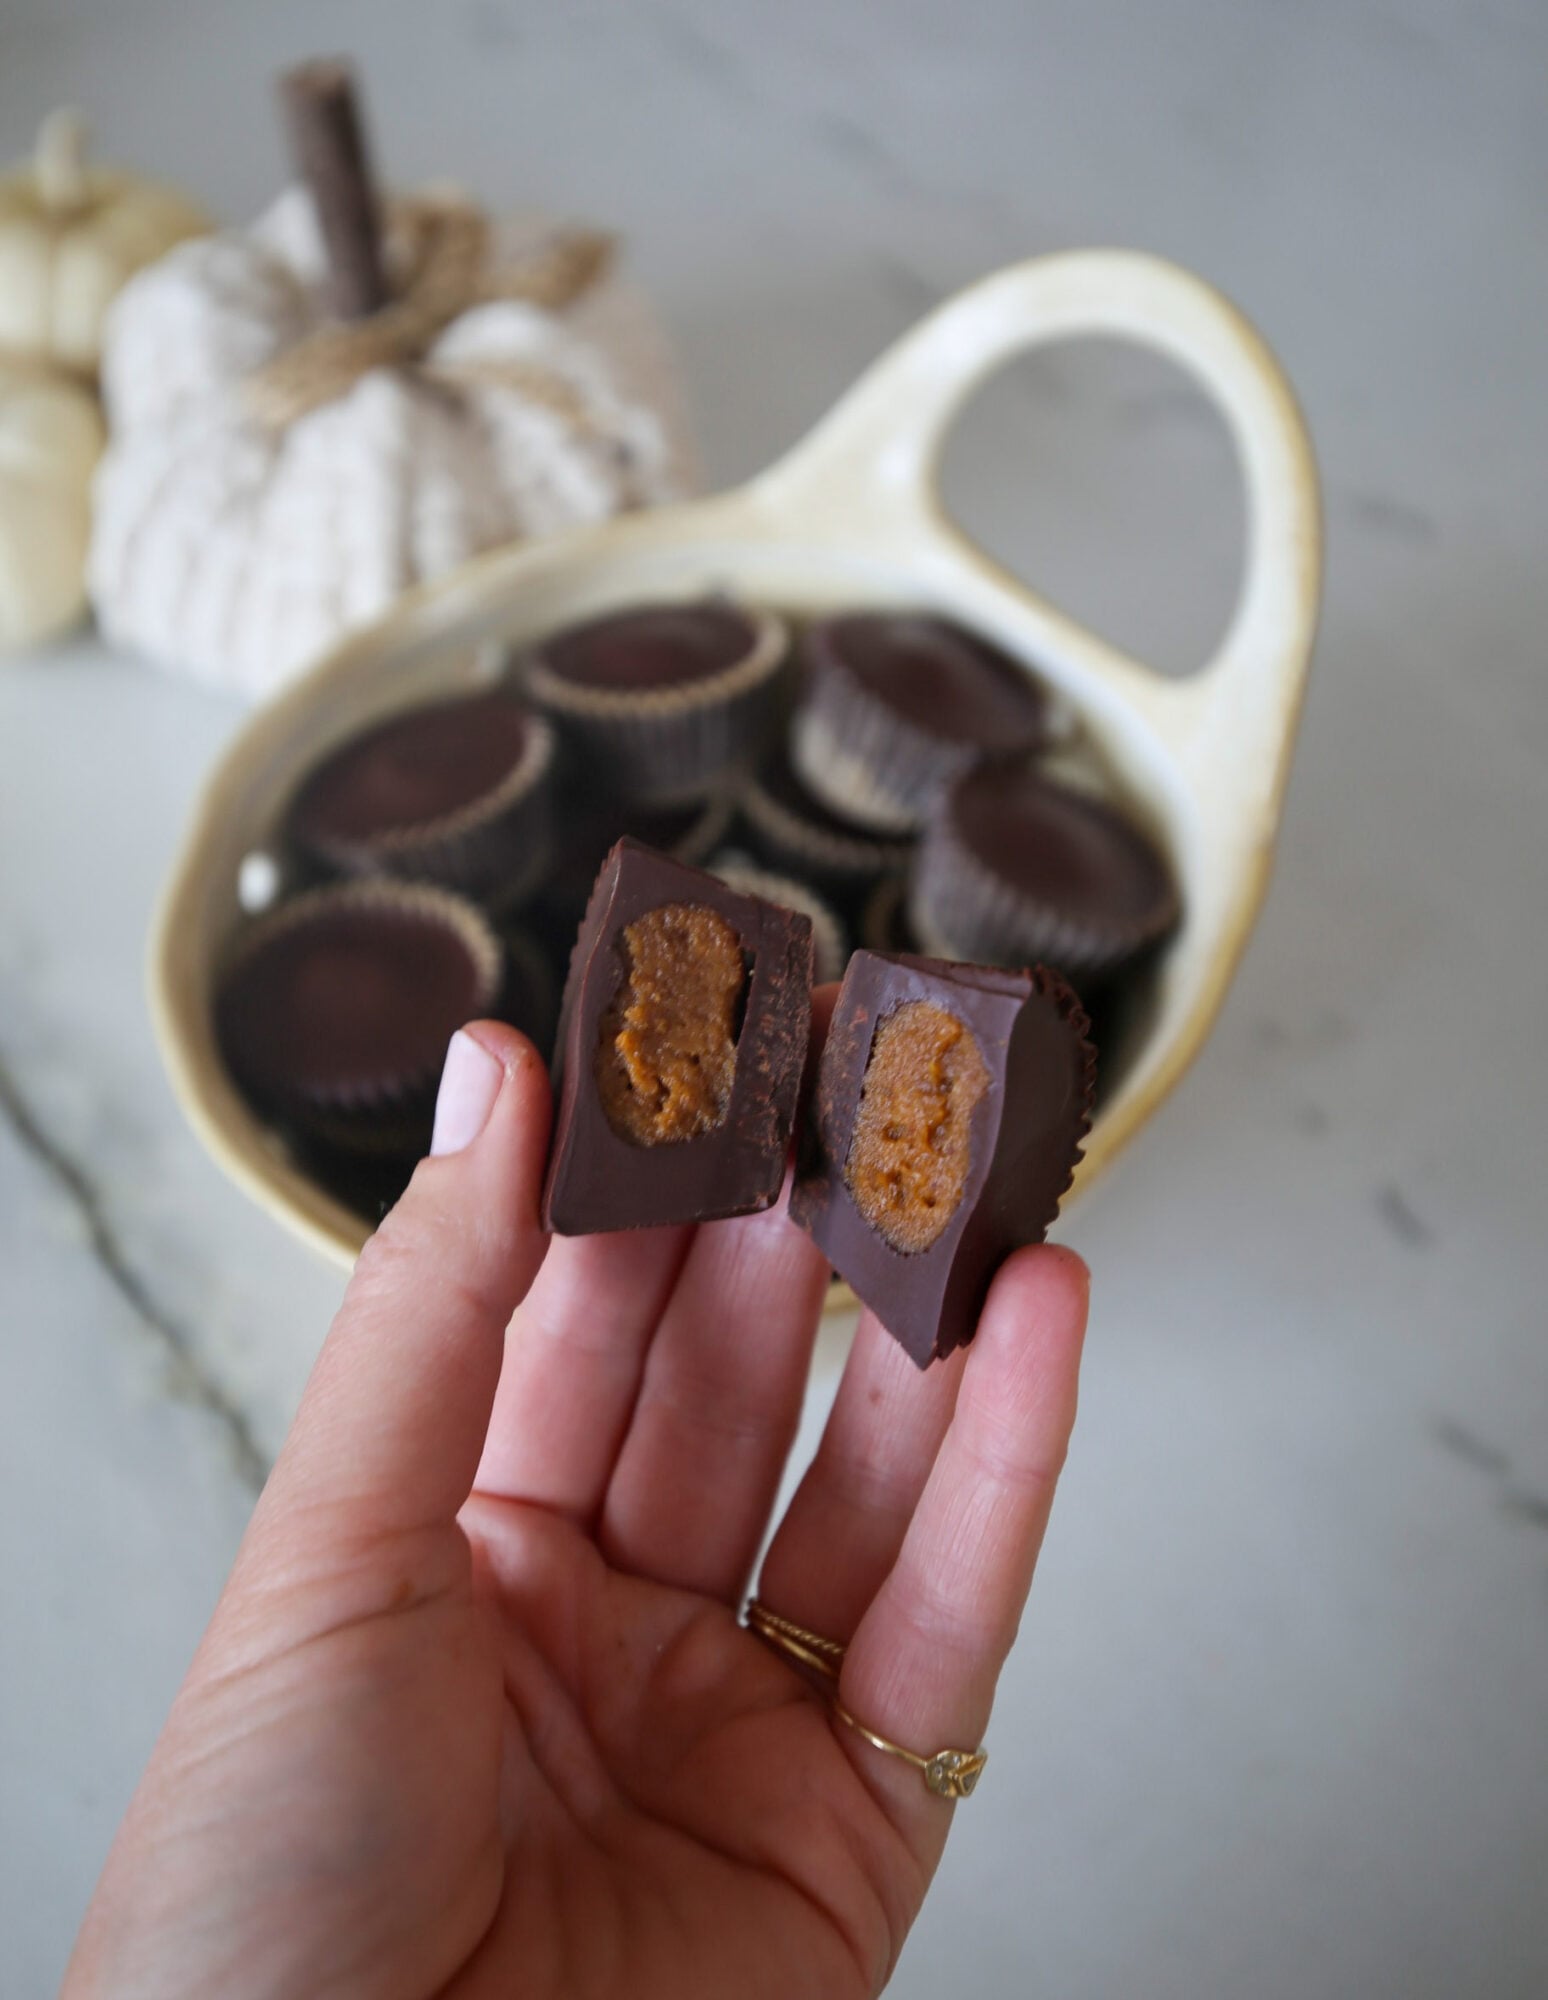
Pumpkin Butter Cups are the little fall treat I’ve been making on repeat lately. They’re my take on the classic peanut butter cup—cozy pumpkin spice, creamy nut butter, and a deep dark chocolate shell—made with real ingredients instead of the usual refined sugar and mystery fillers. The pumpkin mixture firms up in the freezer so you can roll neat little centers, then everything gets tucked into mini cups with a simple chocolate base and top.
They’re perfect for an after-school bite, a weekend treat, or packing up for a cozy fall gathering. The boys love them, and I love that they’re simple enough to pull together without a big production.
Ingredients
(makes about 24 mini cups, depending on size)
Pumpkin filling
6 tablespoons pumpkin puree (100% pure, not pie filling)
2 tablespoons pure maple syrup
½ cup nut butter (cashew or peanut—both work great)
2 teaspoons pumpkin pie spice
Pinch of sea salt
Chocolate shell
3 to 3½ cups dark chocolate chips
3 teaspoons of coconut oil
Other
Mini paper liners (unbleached parchment)
Mini muffin tin or small cupcake tray – I use a silicon one
Instructions
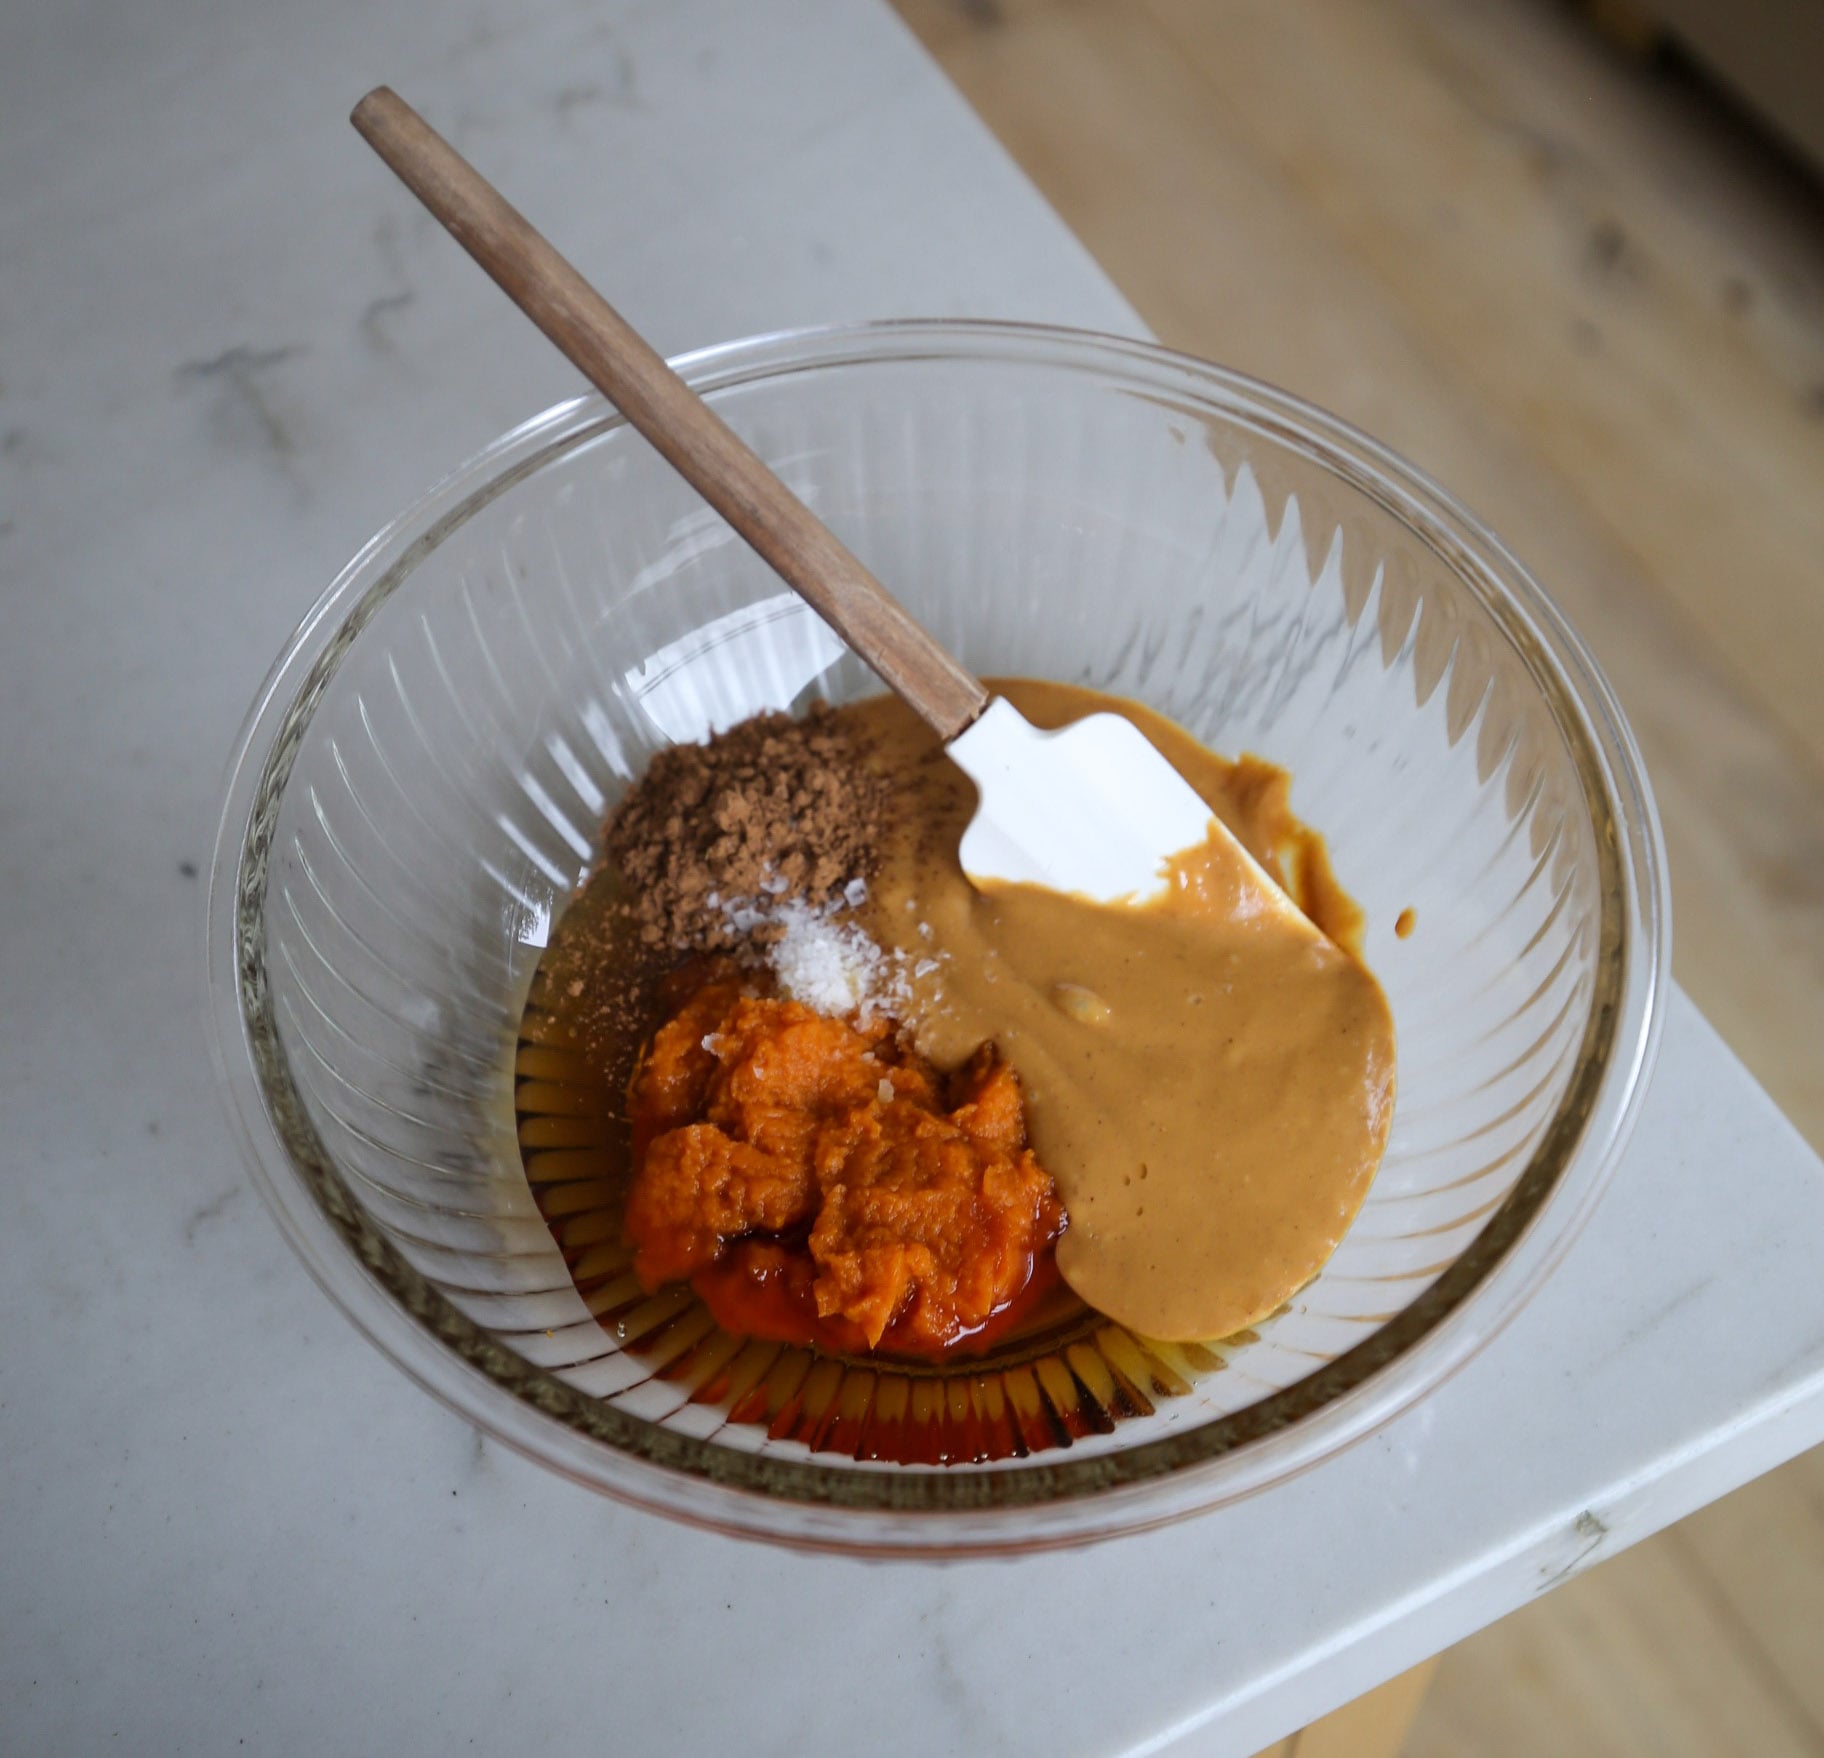
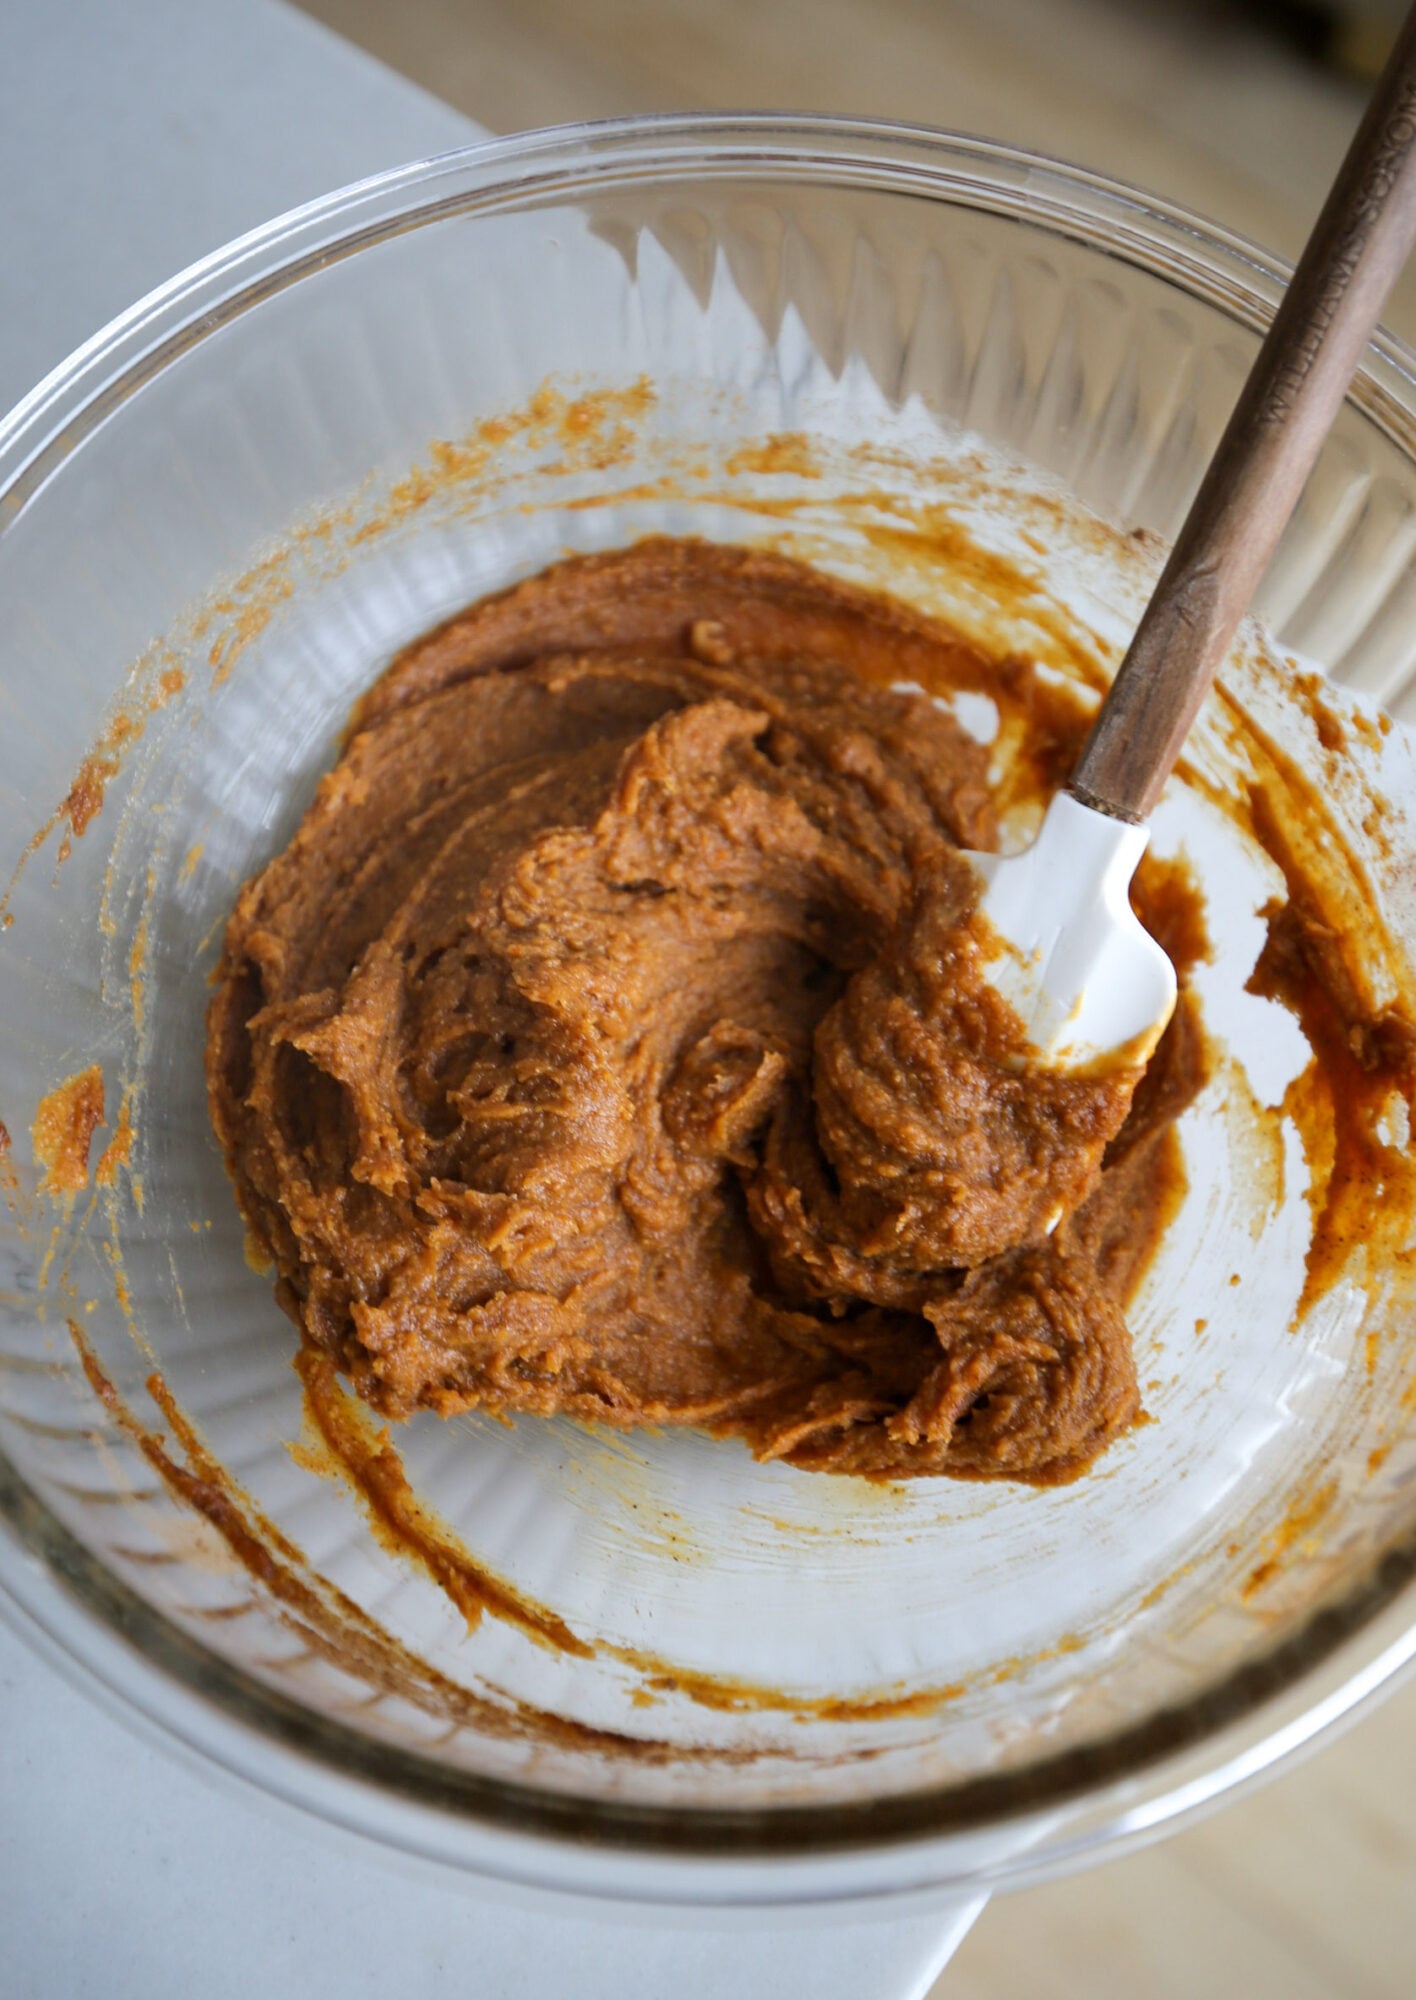
1. In a medium bowl, mix the pumpkin puree, maple syrup, nut butter, pumpkin pie spice, and pinch of sea salt until smooth and well combined.
2. Place the mixture in the freezer for about 30 minutes so it firms up enough to roll. (It should hold its shape when you scoop it.)
3. While the filling chills, melt the dark chocolate chips. You can do this over low heat in a saucepan, stirring often, or in short bursts in the microwave. Keep it warm and pourable.
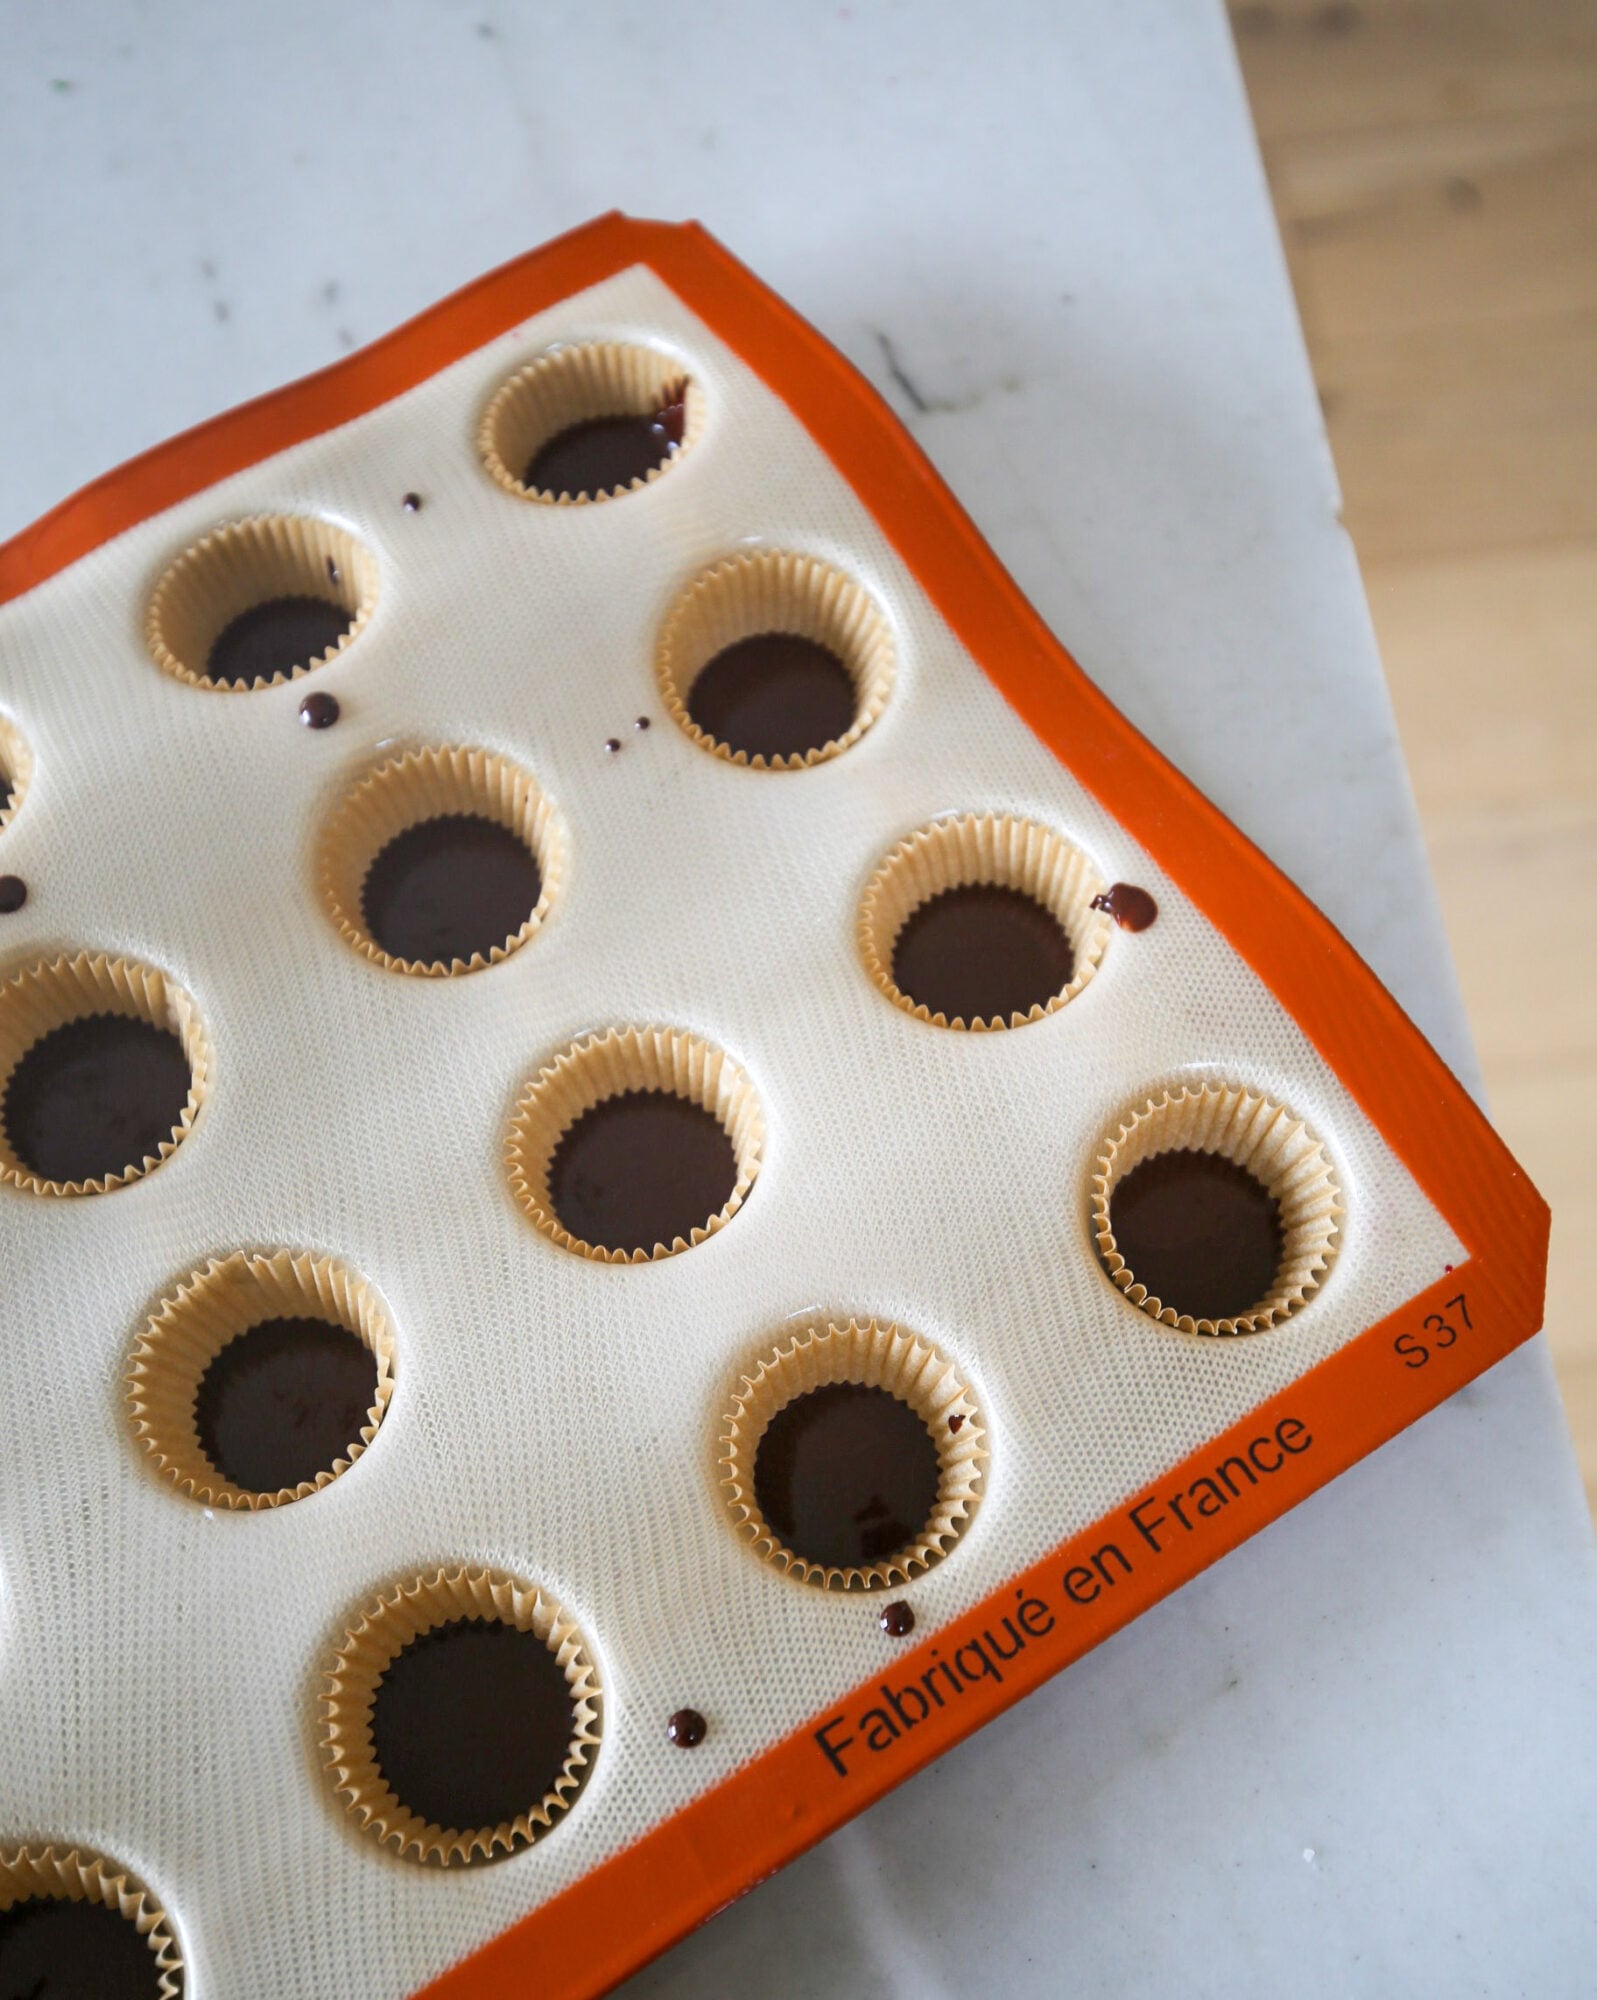
4. Line a mini muffin tin with unbleached parchment liners.
5. Pour a small amount of melted chocolate into the bottom of each liner to create a base (just enough to cover the bottom). Place the tray in the fridge for about 15 minutes so the bases set.
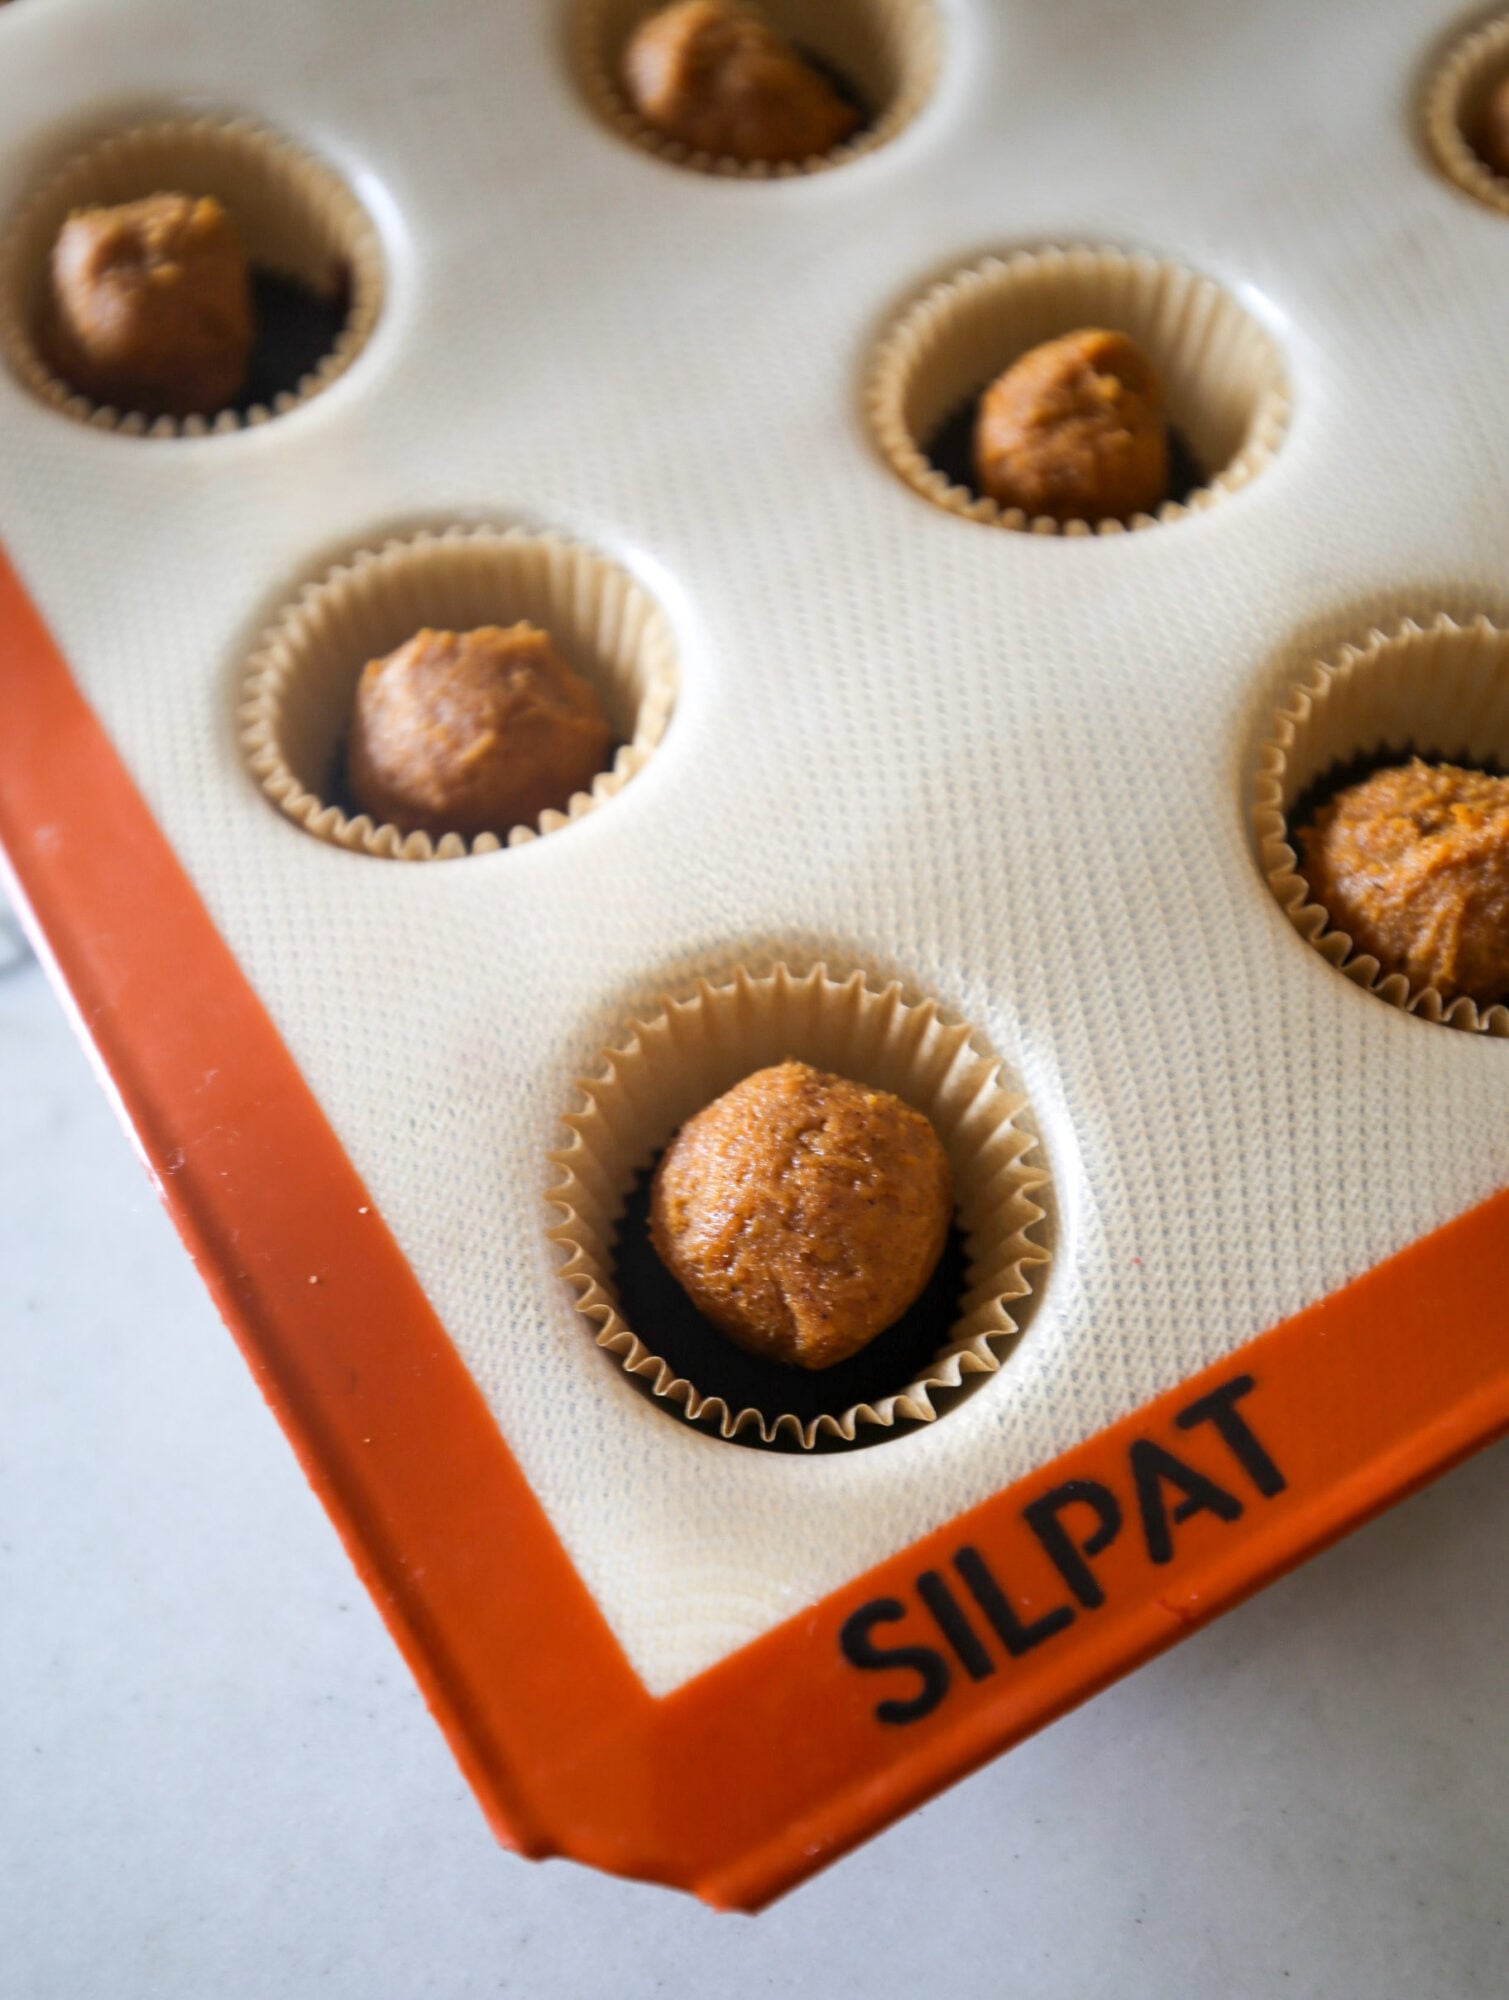
6. Remove the pumpkin mixture from the freezer and roll it into small balls that fit nicely inside the mini cups.
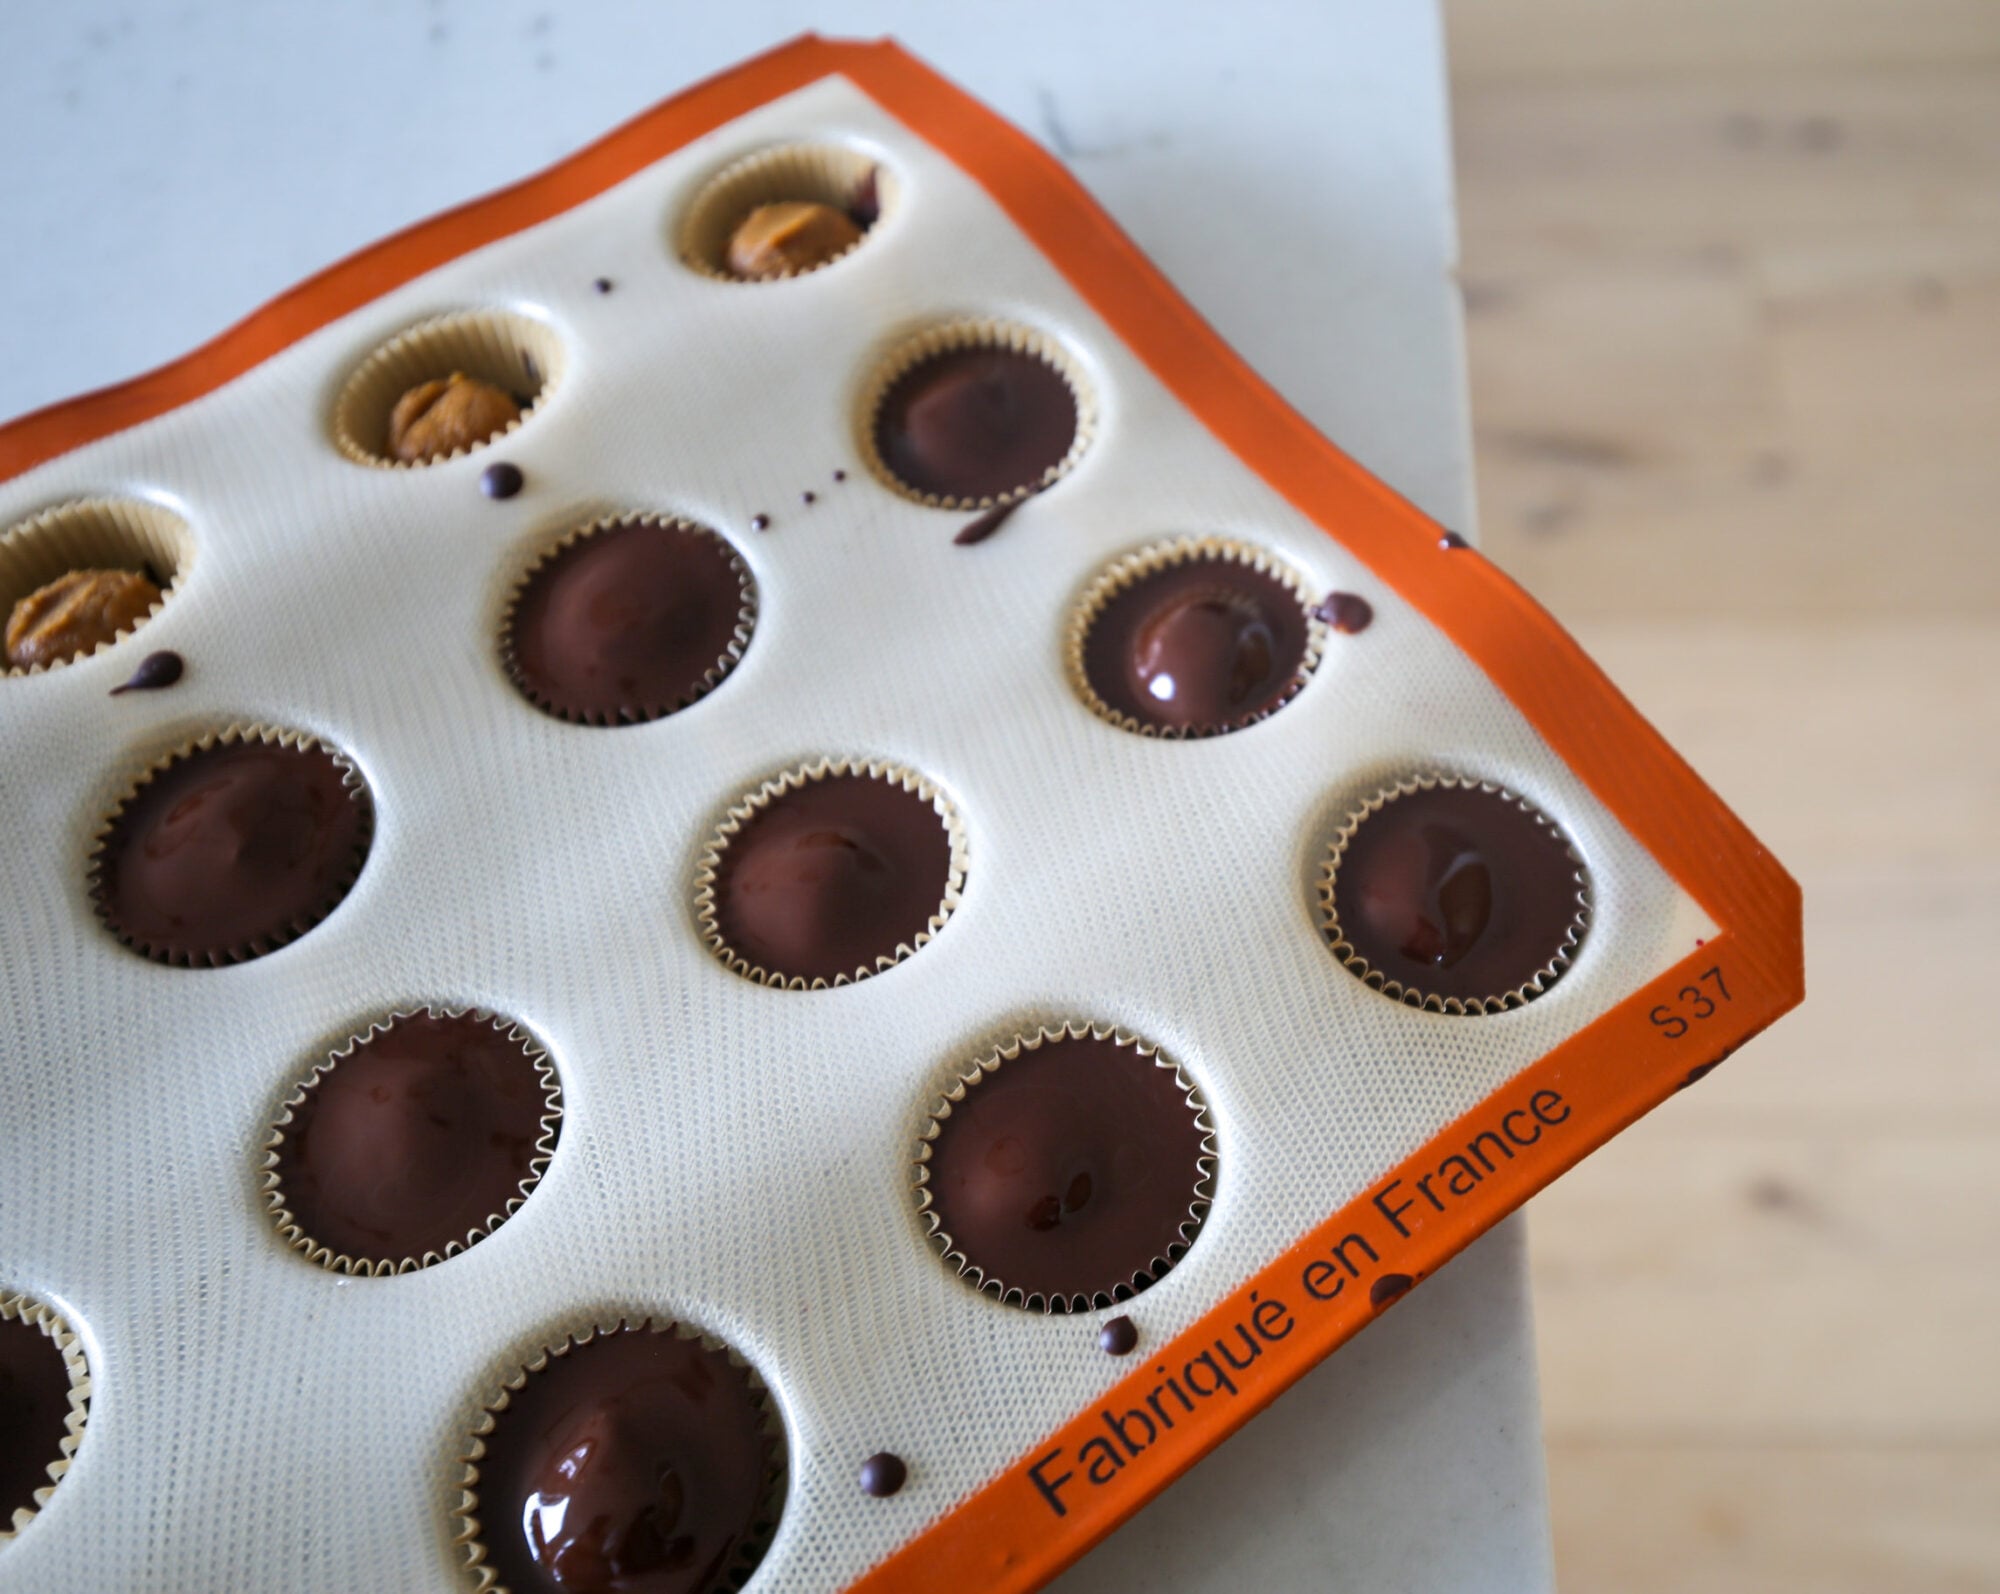
7. Take the chocolate bases out of the fridge, place one pumpkin ball in the center of each, then pour the remaining melted chocolate over the top to cover.
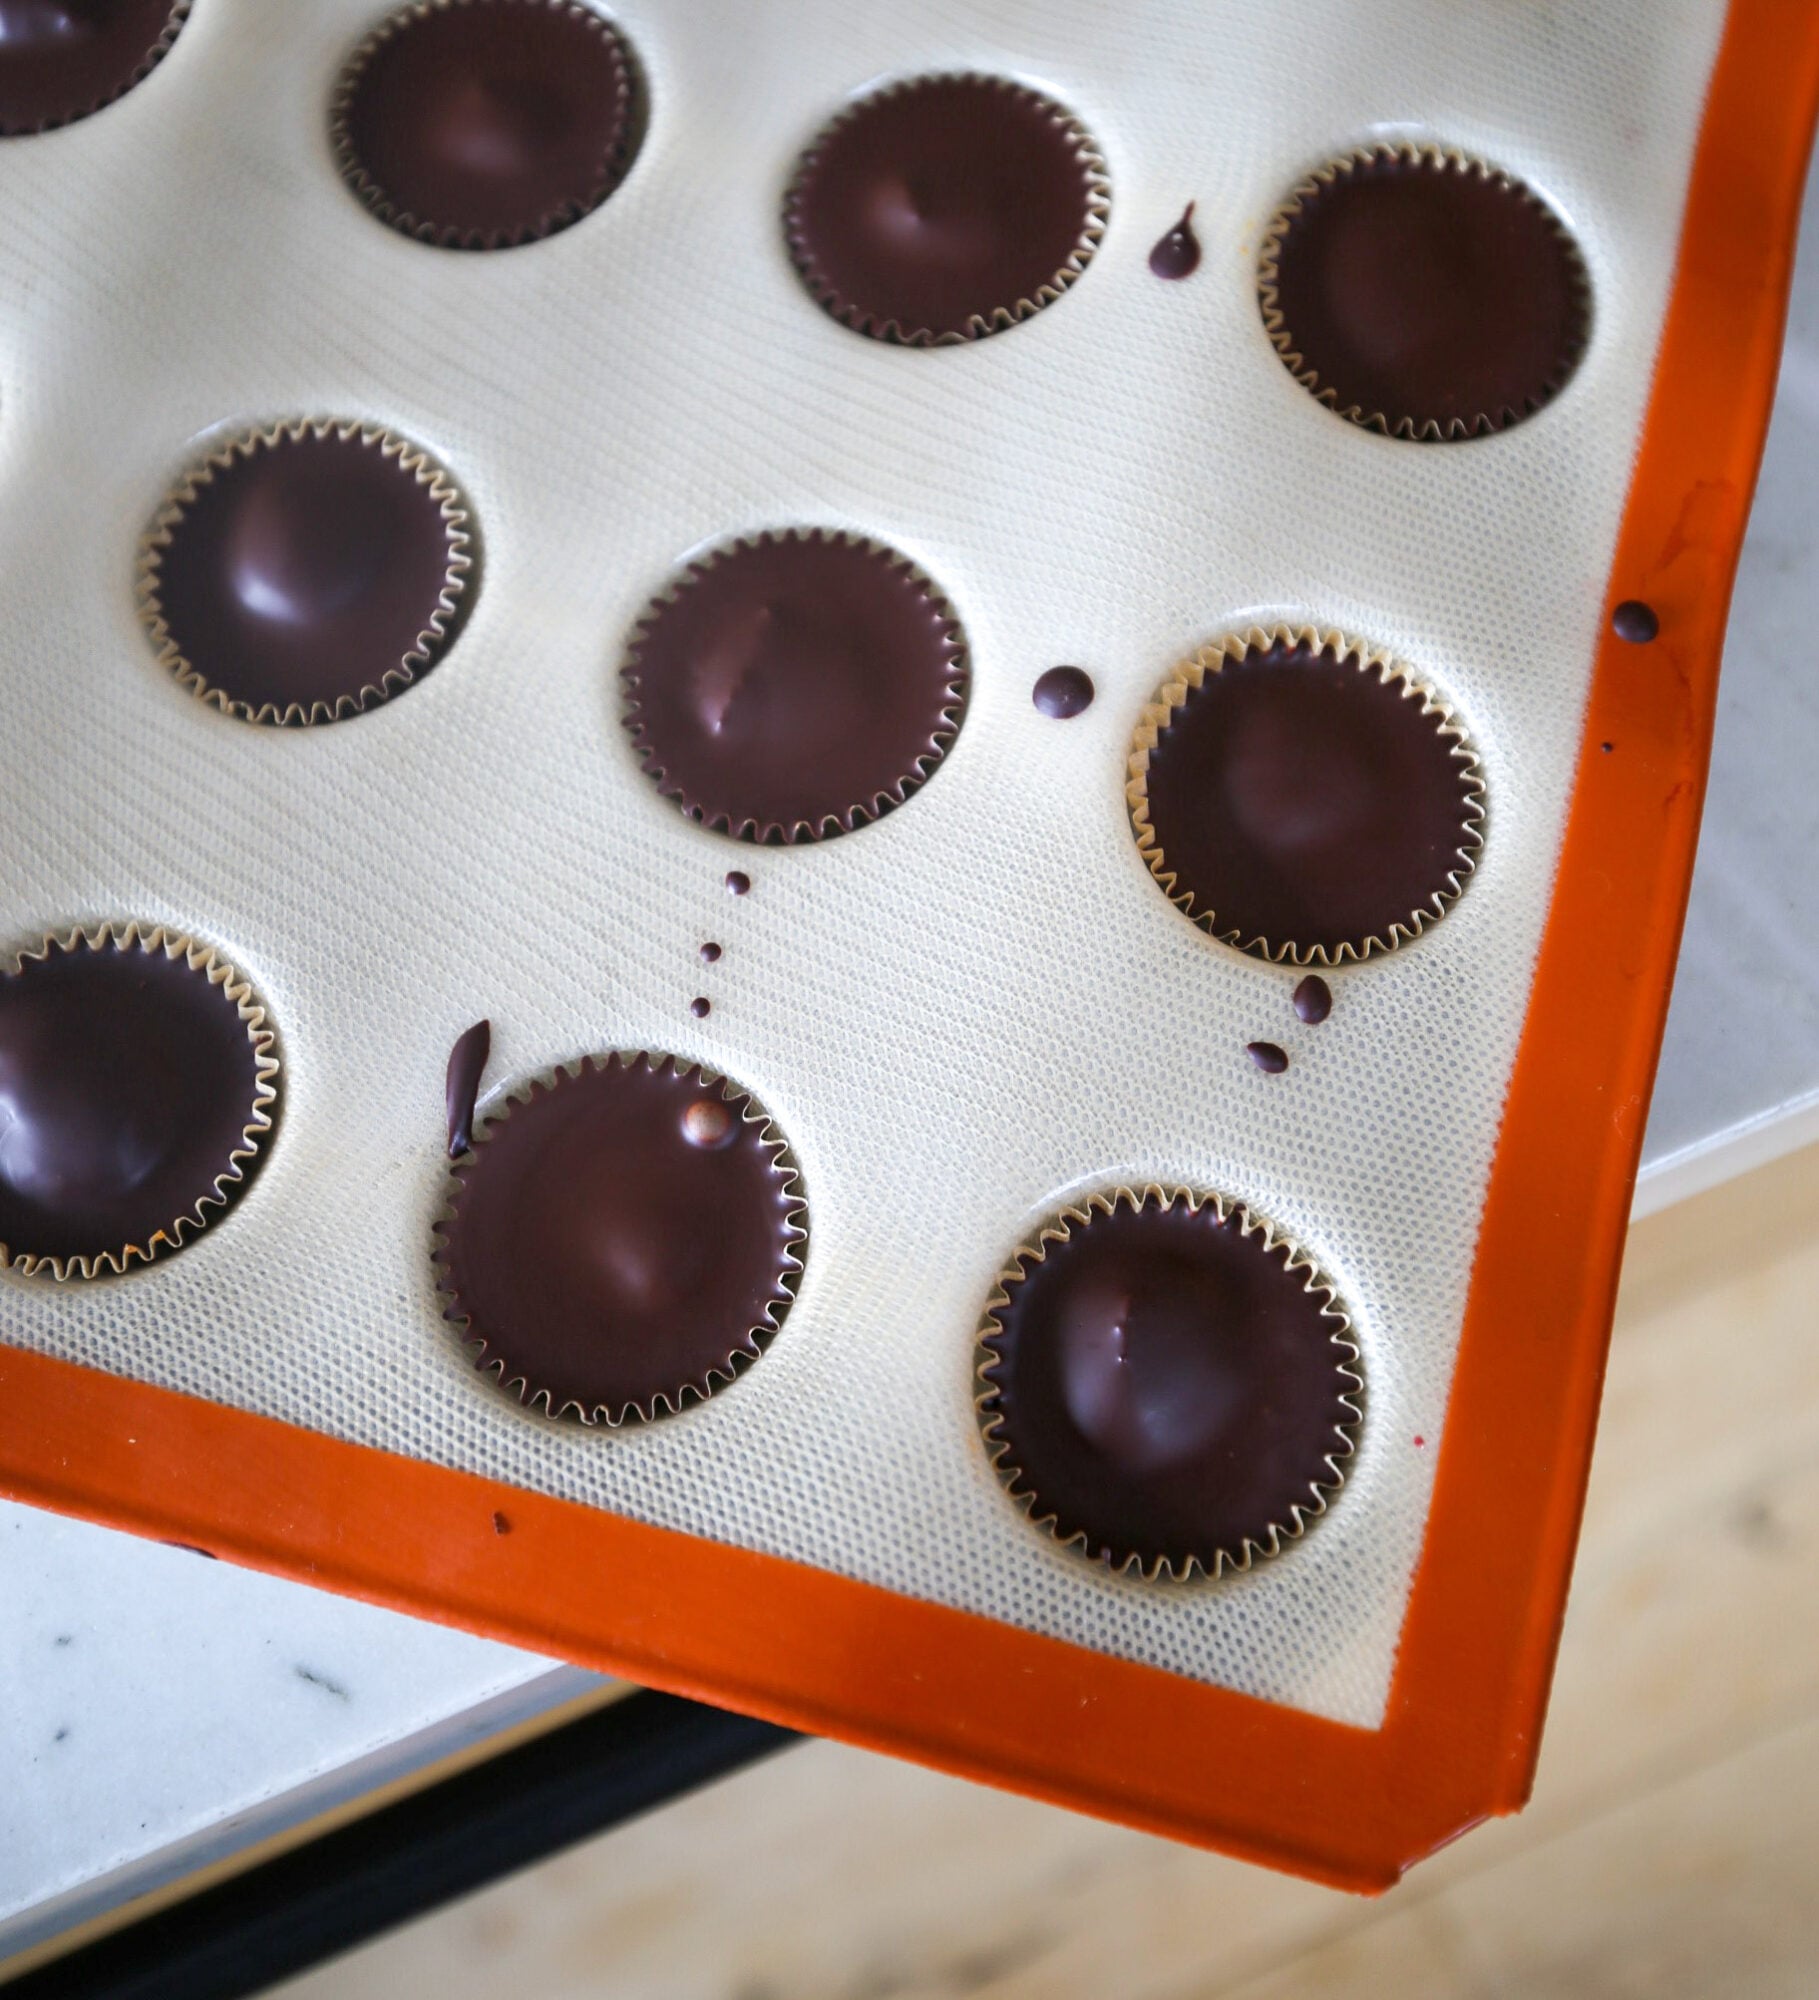
8. Return the tray to the fridge until the chocolate is fully set (usually 30–45 minutes, or longer if your fridge is full).
9. Once hardened, pop them out of the liners and enjoy. Store leftovers in an airtight container in the fridge for up to a week, or freeze for longer.
These feel like a little seasonal treat without the crash of the store-bought versions. If you try them, tag me @sbkliving—I’d love to see your batch!!
xo,
Kasey
Leave a Reply
Your email address will not be published. Required fields are marked *
COMMENTS