
Never Miss a Post

Festive Fall DIY

Festive Fall DIY
I can’t believe Thanksgiving is less than three week away BUT with that said, it’s time to get the house decorated! This past weekend I started to put together my fall centerpiece for my dinning room. You can better believe there was a DIY involved! Today, I’m showing you what you will need and the step-by-step guide to make your own festive pumpkins and greenery!! You can place them in your fall centerpiece like I did OR set them around your home for a festive touch! Later this week, I’ll be sharing all of the decor I used for my centerpiece and how I put it together as well as an entire tablescape for Thanksgiving!!
See below for what you will need to get your DIY on! Below I’ve linked the paint, glitter and similar beads I used to create my white and gold beauties. Remember, you can always choose a different color scheme based on your own personal style/preference. Happy crafting 🙂
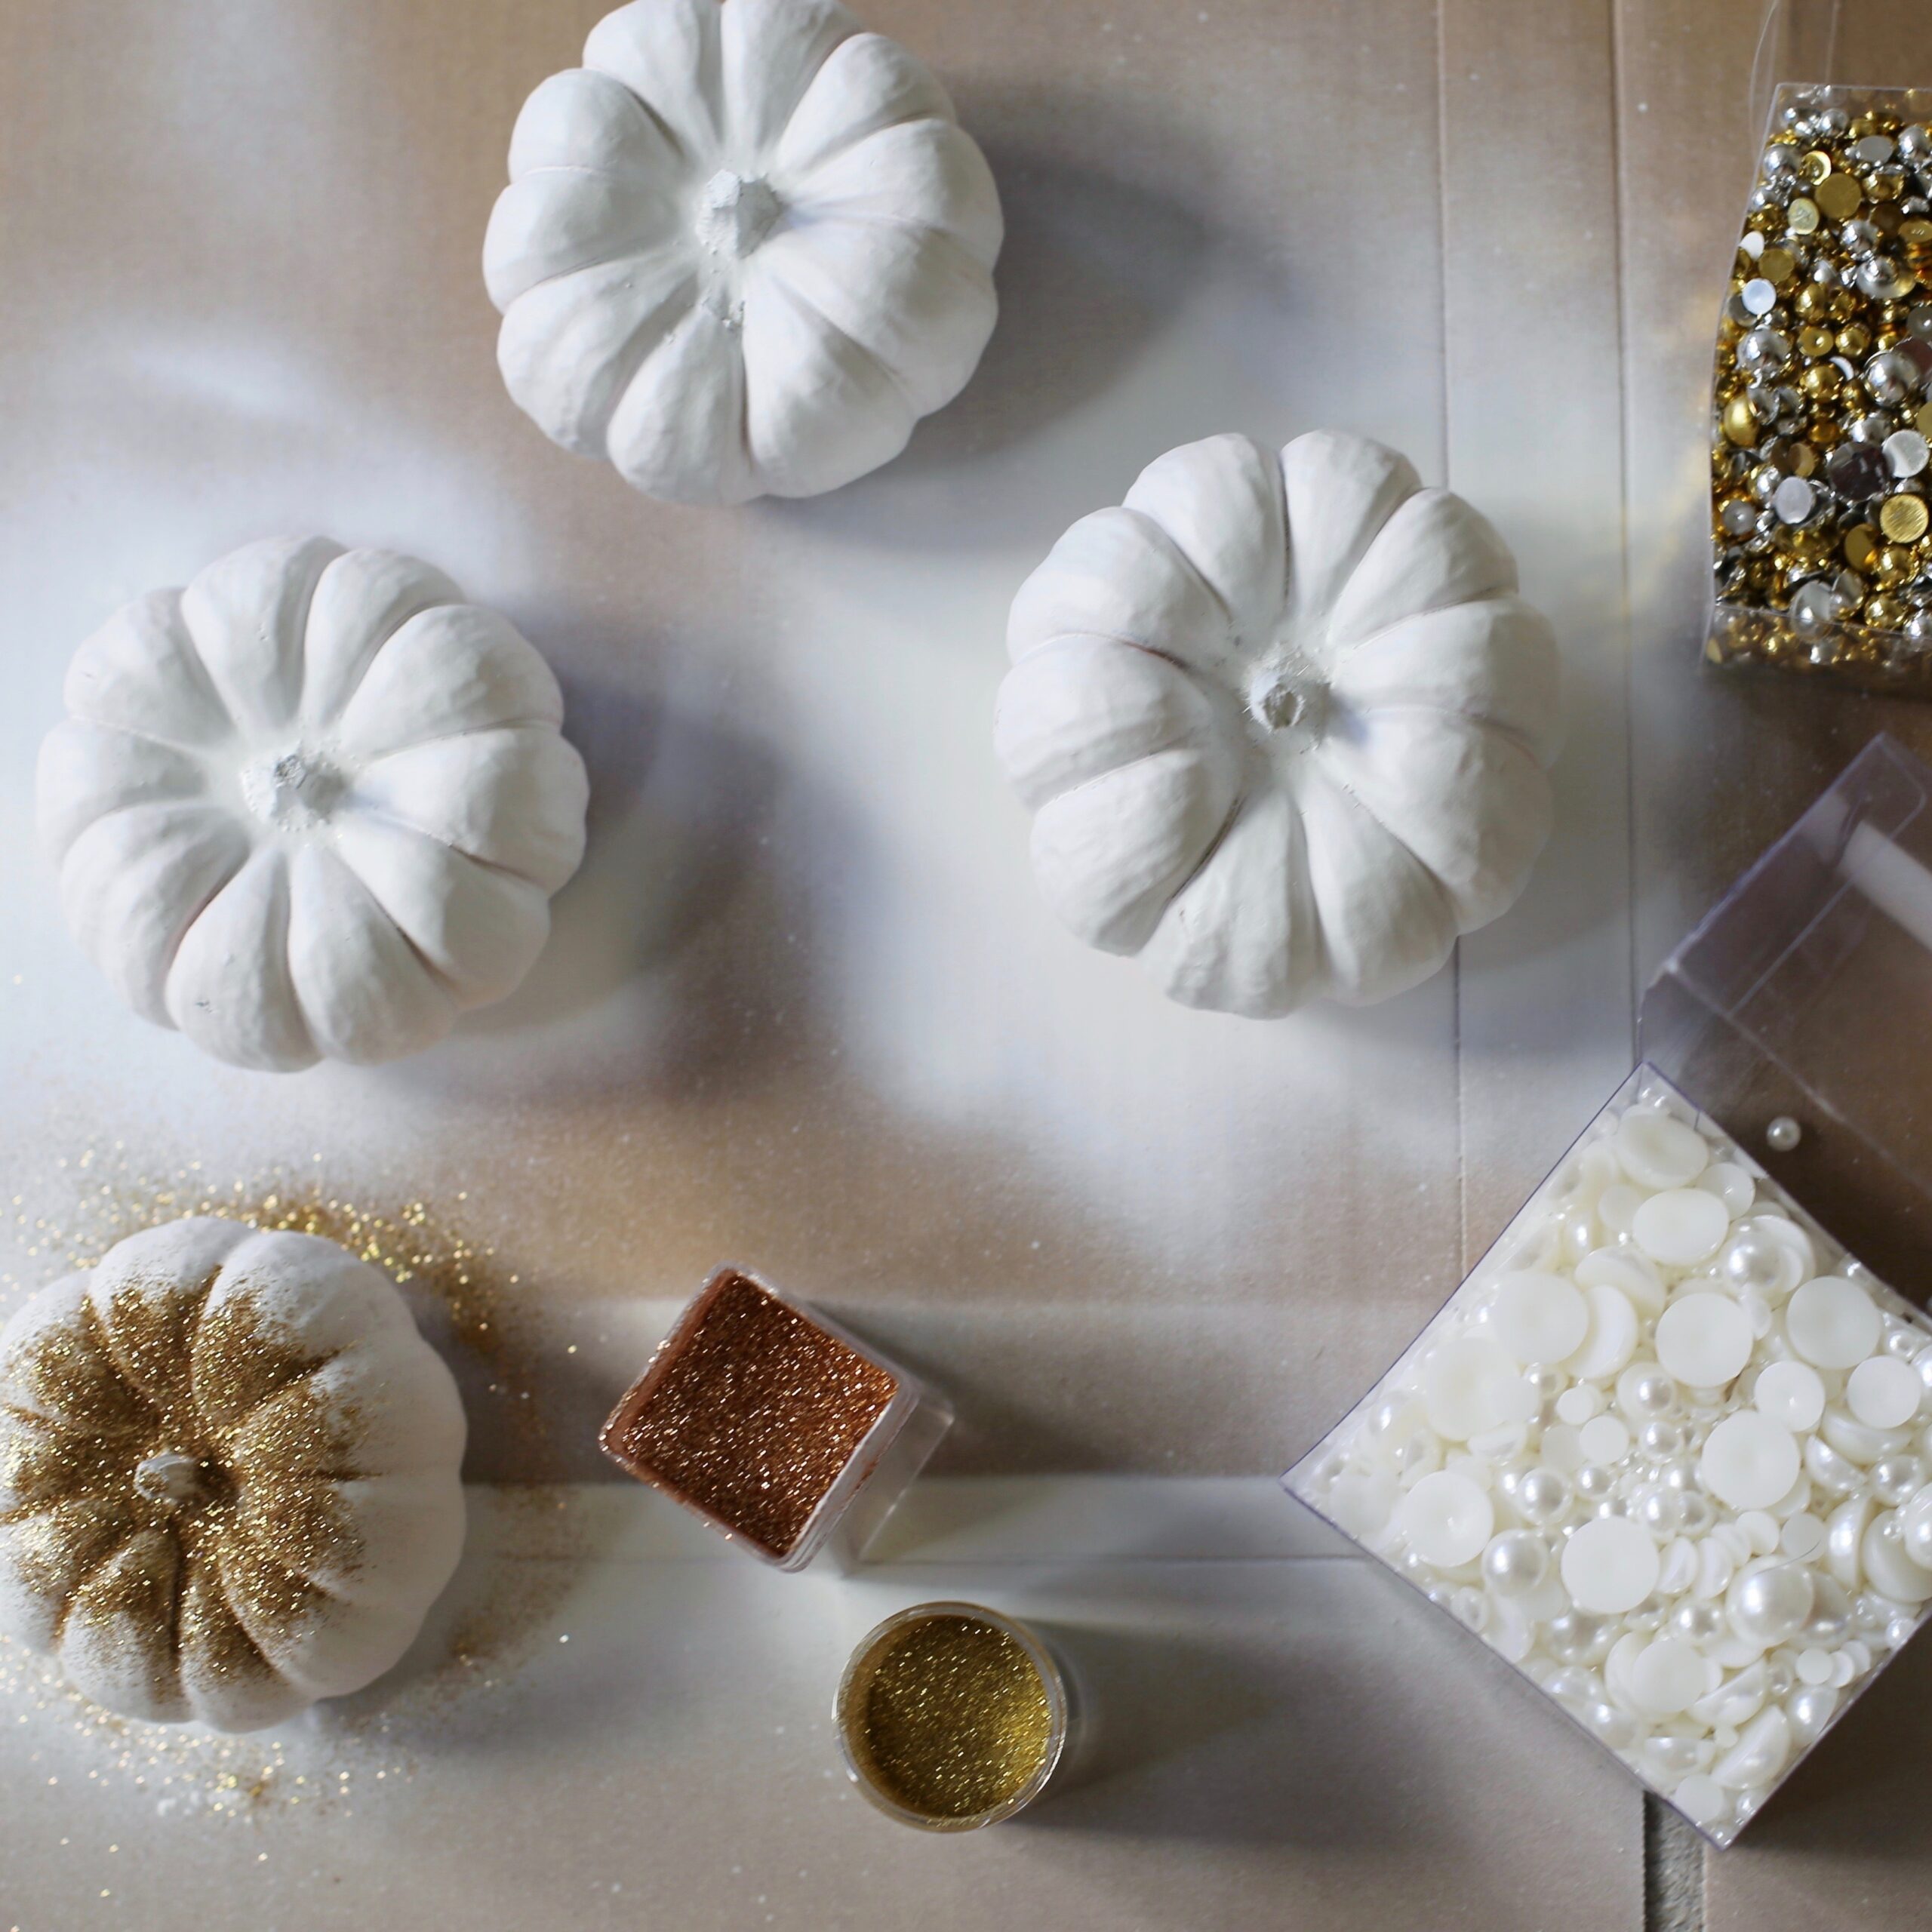
What You Need
[1] Mini Pumpkins – purchased at my local grocery store
[2] Eucalyptus Branches – purchased at my local florist
[3] Gloves
[4] White and Marble Gold Spray Paint
[5] Gold and Pearl Beads/Jewels
[6] Gold and Rose Gold Glitter
[7] Hot Glue Gun


Step 1 – Setup
Grab a large piece of cardboard and place it outside. (note – spray paint is VERY pungent so painting outside is important!) Gather up all your DIY goodies; gloves, pumpkins, eucalyptus, spray paint, glitter, beads and glue. Now that you’re setup, it’s time to have some fun!


Step 2 – Paint
I started by spraying each mini pumpkin with one coat of white. It helps to either hold the stem of the pumpkin and turn it as you spray or walk around it. The less you touch it, the better! If you haven’t used a spray paint can before, I’d suggest doing a few test sprays onto the cardboard – you want to make sure you have a feel for how fast it comes out 😉 Ideally your hand should be about 6-12 inches away from the object being sprayed. Once the first coat has dried (about 5 minutes), apply a second coat. After pumpkins are completely dry, flip them over and give the bottom a little spray. The pumpkins are ready for bedazzling!!
Next up, I sprayed the eucalyptus leaves with gold marble paint. I wanted to add a slight touch of gold to the greenery hence the ‘marble’ spray. You will understand what I mean when you give it whirl. I only did one coat. If you want more gold, give the leaves another spray down. Let dry and viola, they’re ready for your table!


Step 3 – Bedazzle
This is the part you get to be creative! I chose to bedazzle 3 pumpkins in different yet similar patterns using gold and pearl beads. I created my masterpieces as I went 😉 If you’d like a pattern to follow, take a look a Pinterest for inspo. I usually use a hot glue gun for an adhesive. I find it work the best. Make sure to place the dot of glue on the actual pumpkin and then press the bead on top. If you do the inverse, there is a higher likelihood of burning yourself! We don’t want that, boos. Also a lil’ side note: if you don’t have a hot glue gun… you can always use super glue BUT be very, very careful 😉 I may or may not have misplaced my hot glue gun when doing this project… 😉 hehe
I also used glitter to bedazzle my beauties but instead of using just plain ole gold, I added in rose gold – I mean, why not?! To mix I simply placed a little of each in a bowl and stirred it up. I first started by spraying the top of the pumpkin one more time with the white spray paint – this is essentially being used for an adhesive. Before it dried I took a pinch of the glitter mix and dropped it all around the stem of the pumpkins, creating an ombré affect. If you want it to be more glitzy than mine, add more glitter. To each his own 🙂
Remember, have FUN with it and make it personal to what you like!

Step 4 – Decorate
Now that your mini pumpkins are bedazzled and your eucalyptus is ultra glam, it’s time to decorate your home and/or dining room table. I opted for the latter and created a beautiful fall centerpiece for my table – see images below. I’ll be sharing all of my dining tabelscape details later this week on the blog.
Stay tuned!


Leave a Reply
Your email address will not be published. Required fields are marked *
COMMENTS