
Never Miss a Post

Halloween DIY || Skulls & Pumpkins

If you watched my Instagram Story this past Sunday you saw a little glimpse into my Halloween DIY afternoon. I had the best time creating spooky yet chic skulls and mini pumpkins. They were very easy and inexpensive to make and let’s not forget, such a fun thing to do with family and friends! Instead of buying Halloween decor, why not make your own? I headed over to my neighborhood Micheal’s Craft Store (which is my heaven) to pick up all of the goodies needed to make these beauties. I outlined what you will need below and links to some options. If you have a different halloween color scheme, just swap out the paint, rhinestones and flowers for your desired hues. Once you’ve picked up the items for this epic DIY, see my how-to steps below!
What You Will Need
[1] Cardboard and/or paper
[2] Gloves
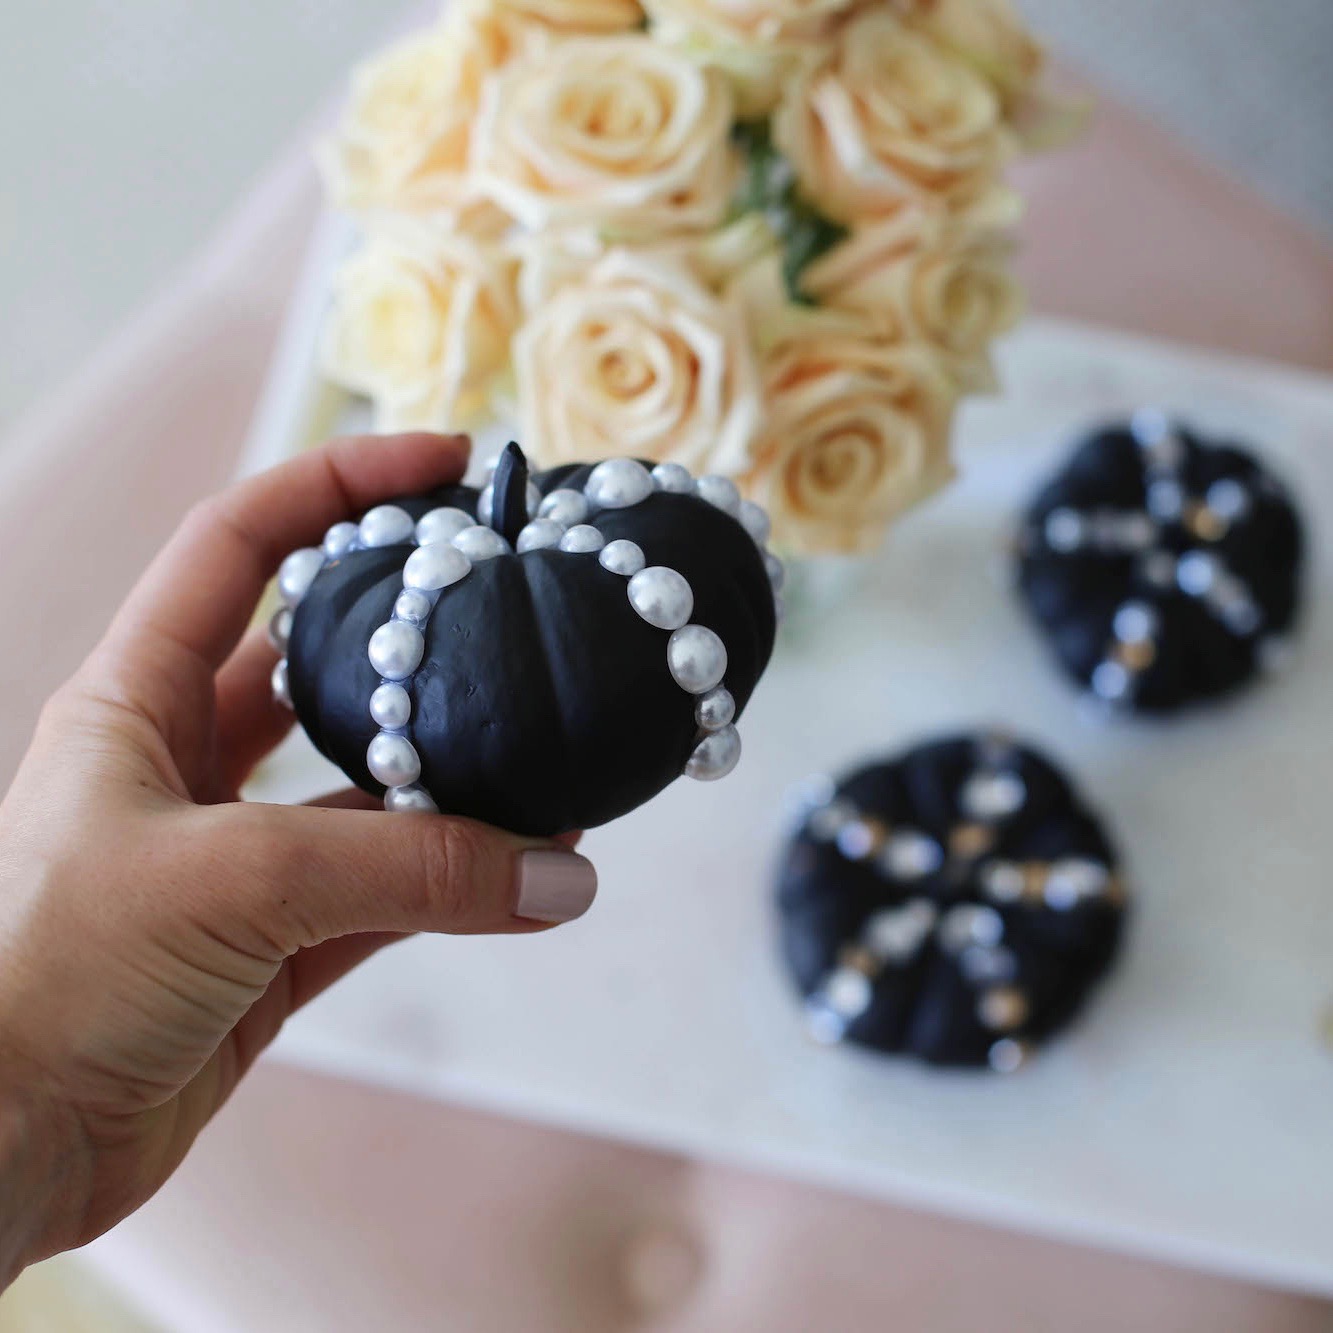
[3] Plastic skull heads and/or pumpkins (I bought mini pumpkins)
[4] Black flowers
[5] Spray paint – matte black
[7] Rhinestones – black, clear, pearls or whatever you prefer

Step 1 – Spray Painting
Set up your cardboard and/or newspaper outside (spray paint has a strong odor), put on your gloves and get ready to spray! The gloves are VERY important ’cause ladies, we can’t ruin our manicures! 🙂 I suggest spraying the object (skull and/or pumpkin) about 1 ft. away to ensure an even coat and no dripping. Spray the item entirely by walking around it – do NOT flip and spray the bottom. Wait about 5 minutes depending on the temp/humidity outside. Once the first coat is dry, spray on a second. Wait about 5 more minutes. Once you’ve applied the two coats and let it dry completely, flip the object over and spray the bottom. Wait about 5 more minutes and repeat for a second coat if needed. Remember, you will never see the bottom.
See image below for a reference on how STEP 1 should look once completed!
Now, for the FUN part…


Step 2 – Bedazzling
Plug in your hot glue gun so it is ready to go! Before going crazy with bedazzling, think about what type of pattern you want to make. It always helps to start with some direction 😉 It’s totally up to you if you want to just go for it! I made each of my skulls a little different. One had a sugar skull vibe – gluing on a flower crown and bedazzling around the eyes and my second beauty, a bit of an aztec design. I’m really loving both!
To glue on your rhinestones, studs, beads, etc., FIRST place a dot of HOT glue onto the item itself. Then take the rhinestone (or whatever item you choose to bedazzle with) and press it on the glue dot – it will dry quickly. This is VERY important! If you try to hold the rhinestone and put the glue directly on it while holding, you will BURN your fingers. We do NOT want that, boos!!
See below for my finished Halloween DIY and how I decorating my home with them!
Happy BEDAZZLING!!


Leave a Reply
Your email address will not be published. Required fields are marked *
COMMENTS