Neutral Thanksgiving Tablescape
Thanksgiving Tablescape Details
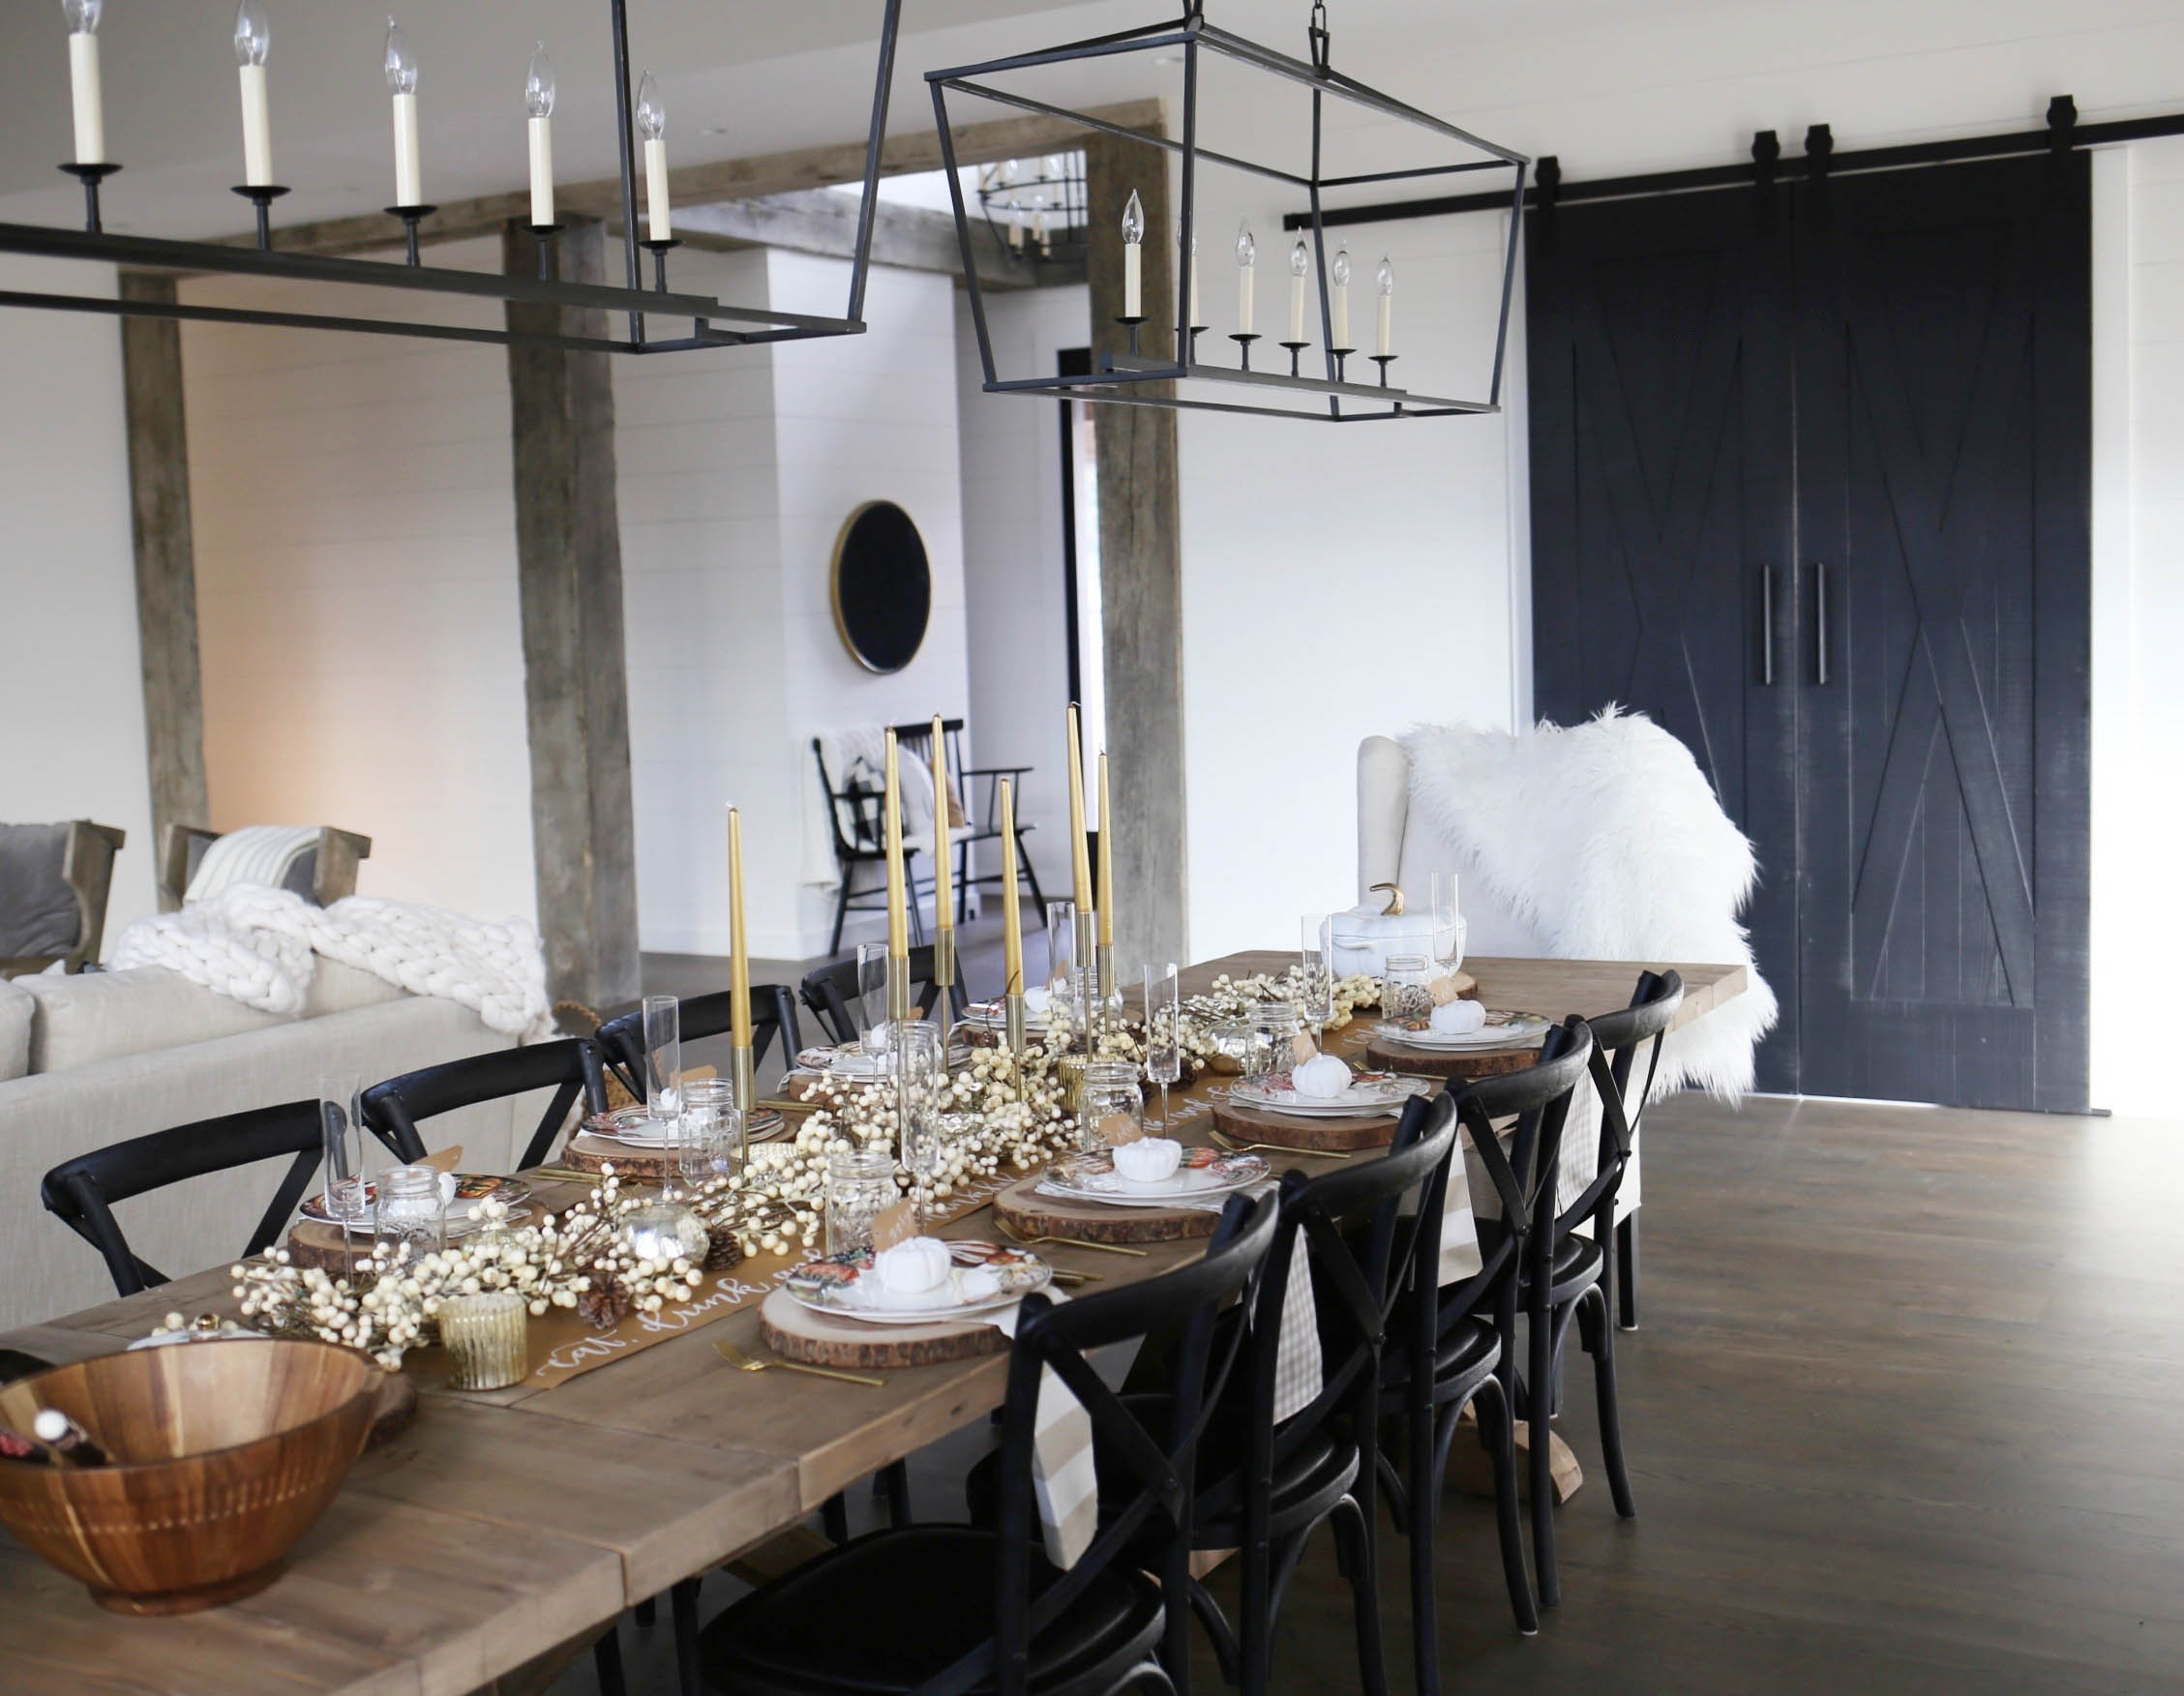
Y’all, I can’t believe Thanksgiving is TWO weeks away!! I wanted to get my tablescape up on the blog ASAP so you guys would have enough time to order festive goodies for your home.
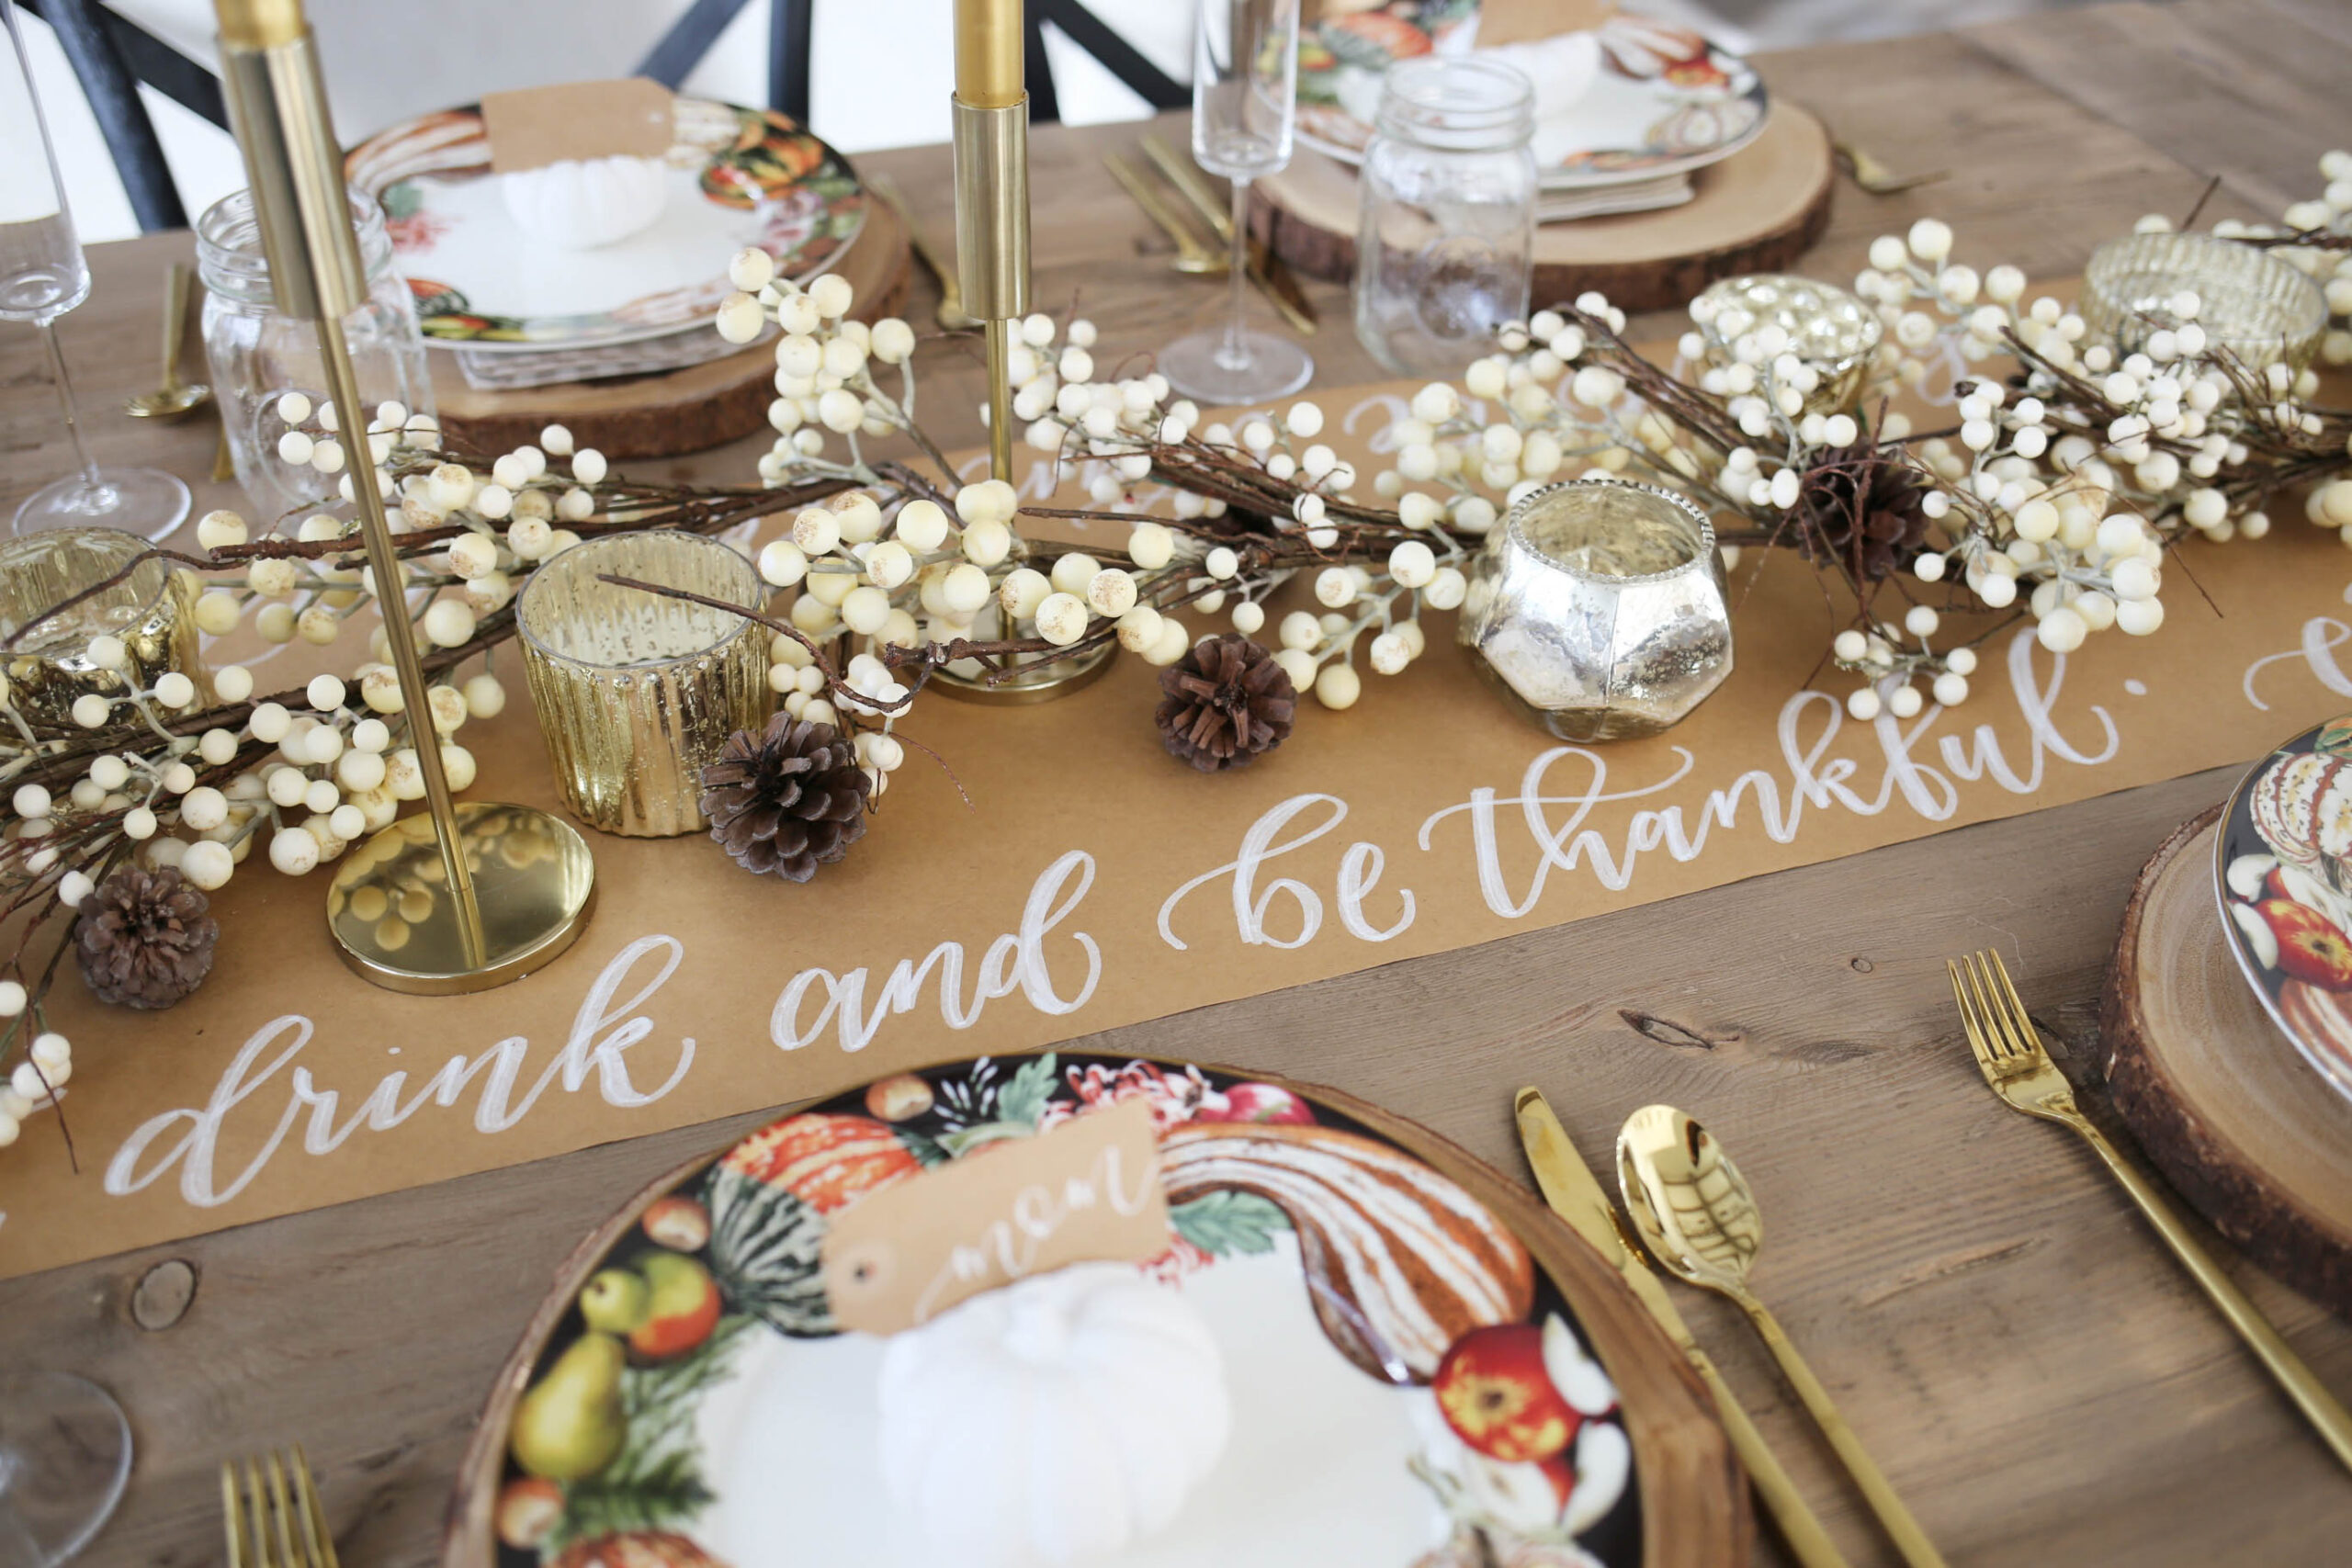
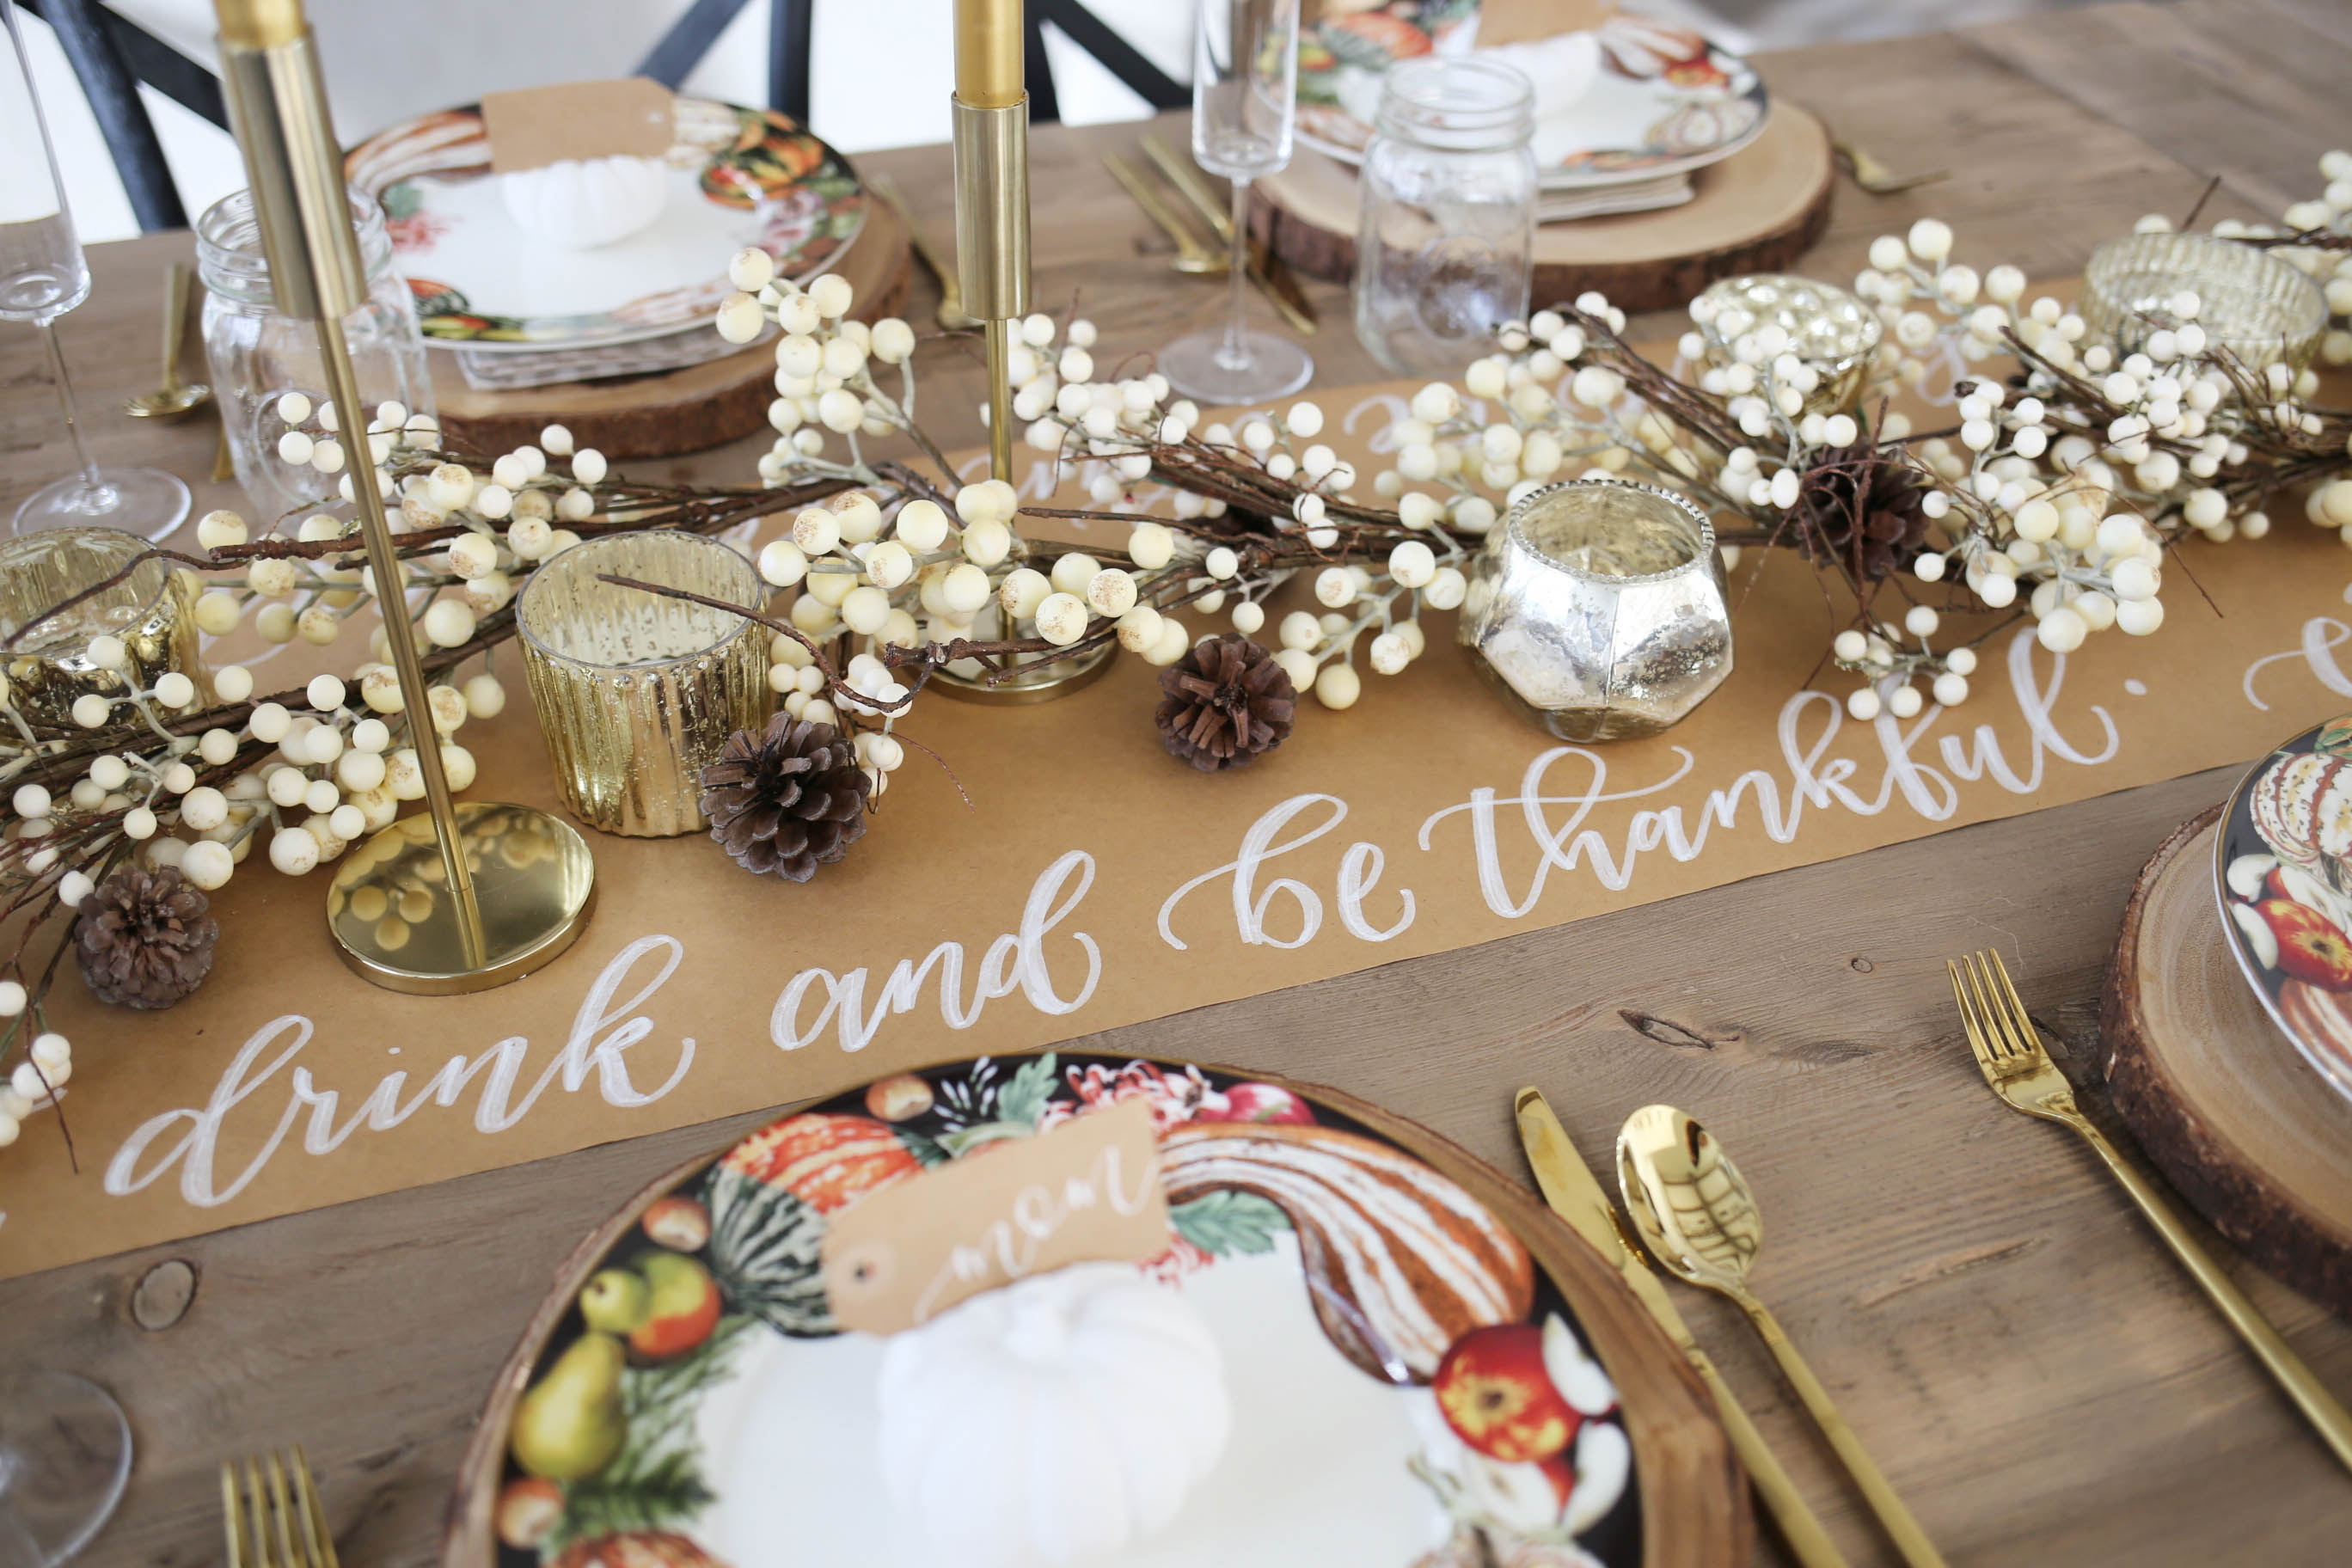
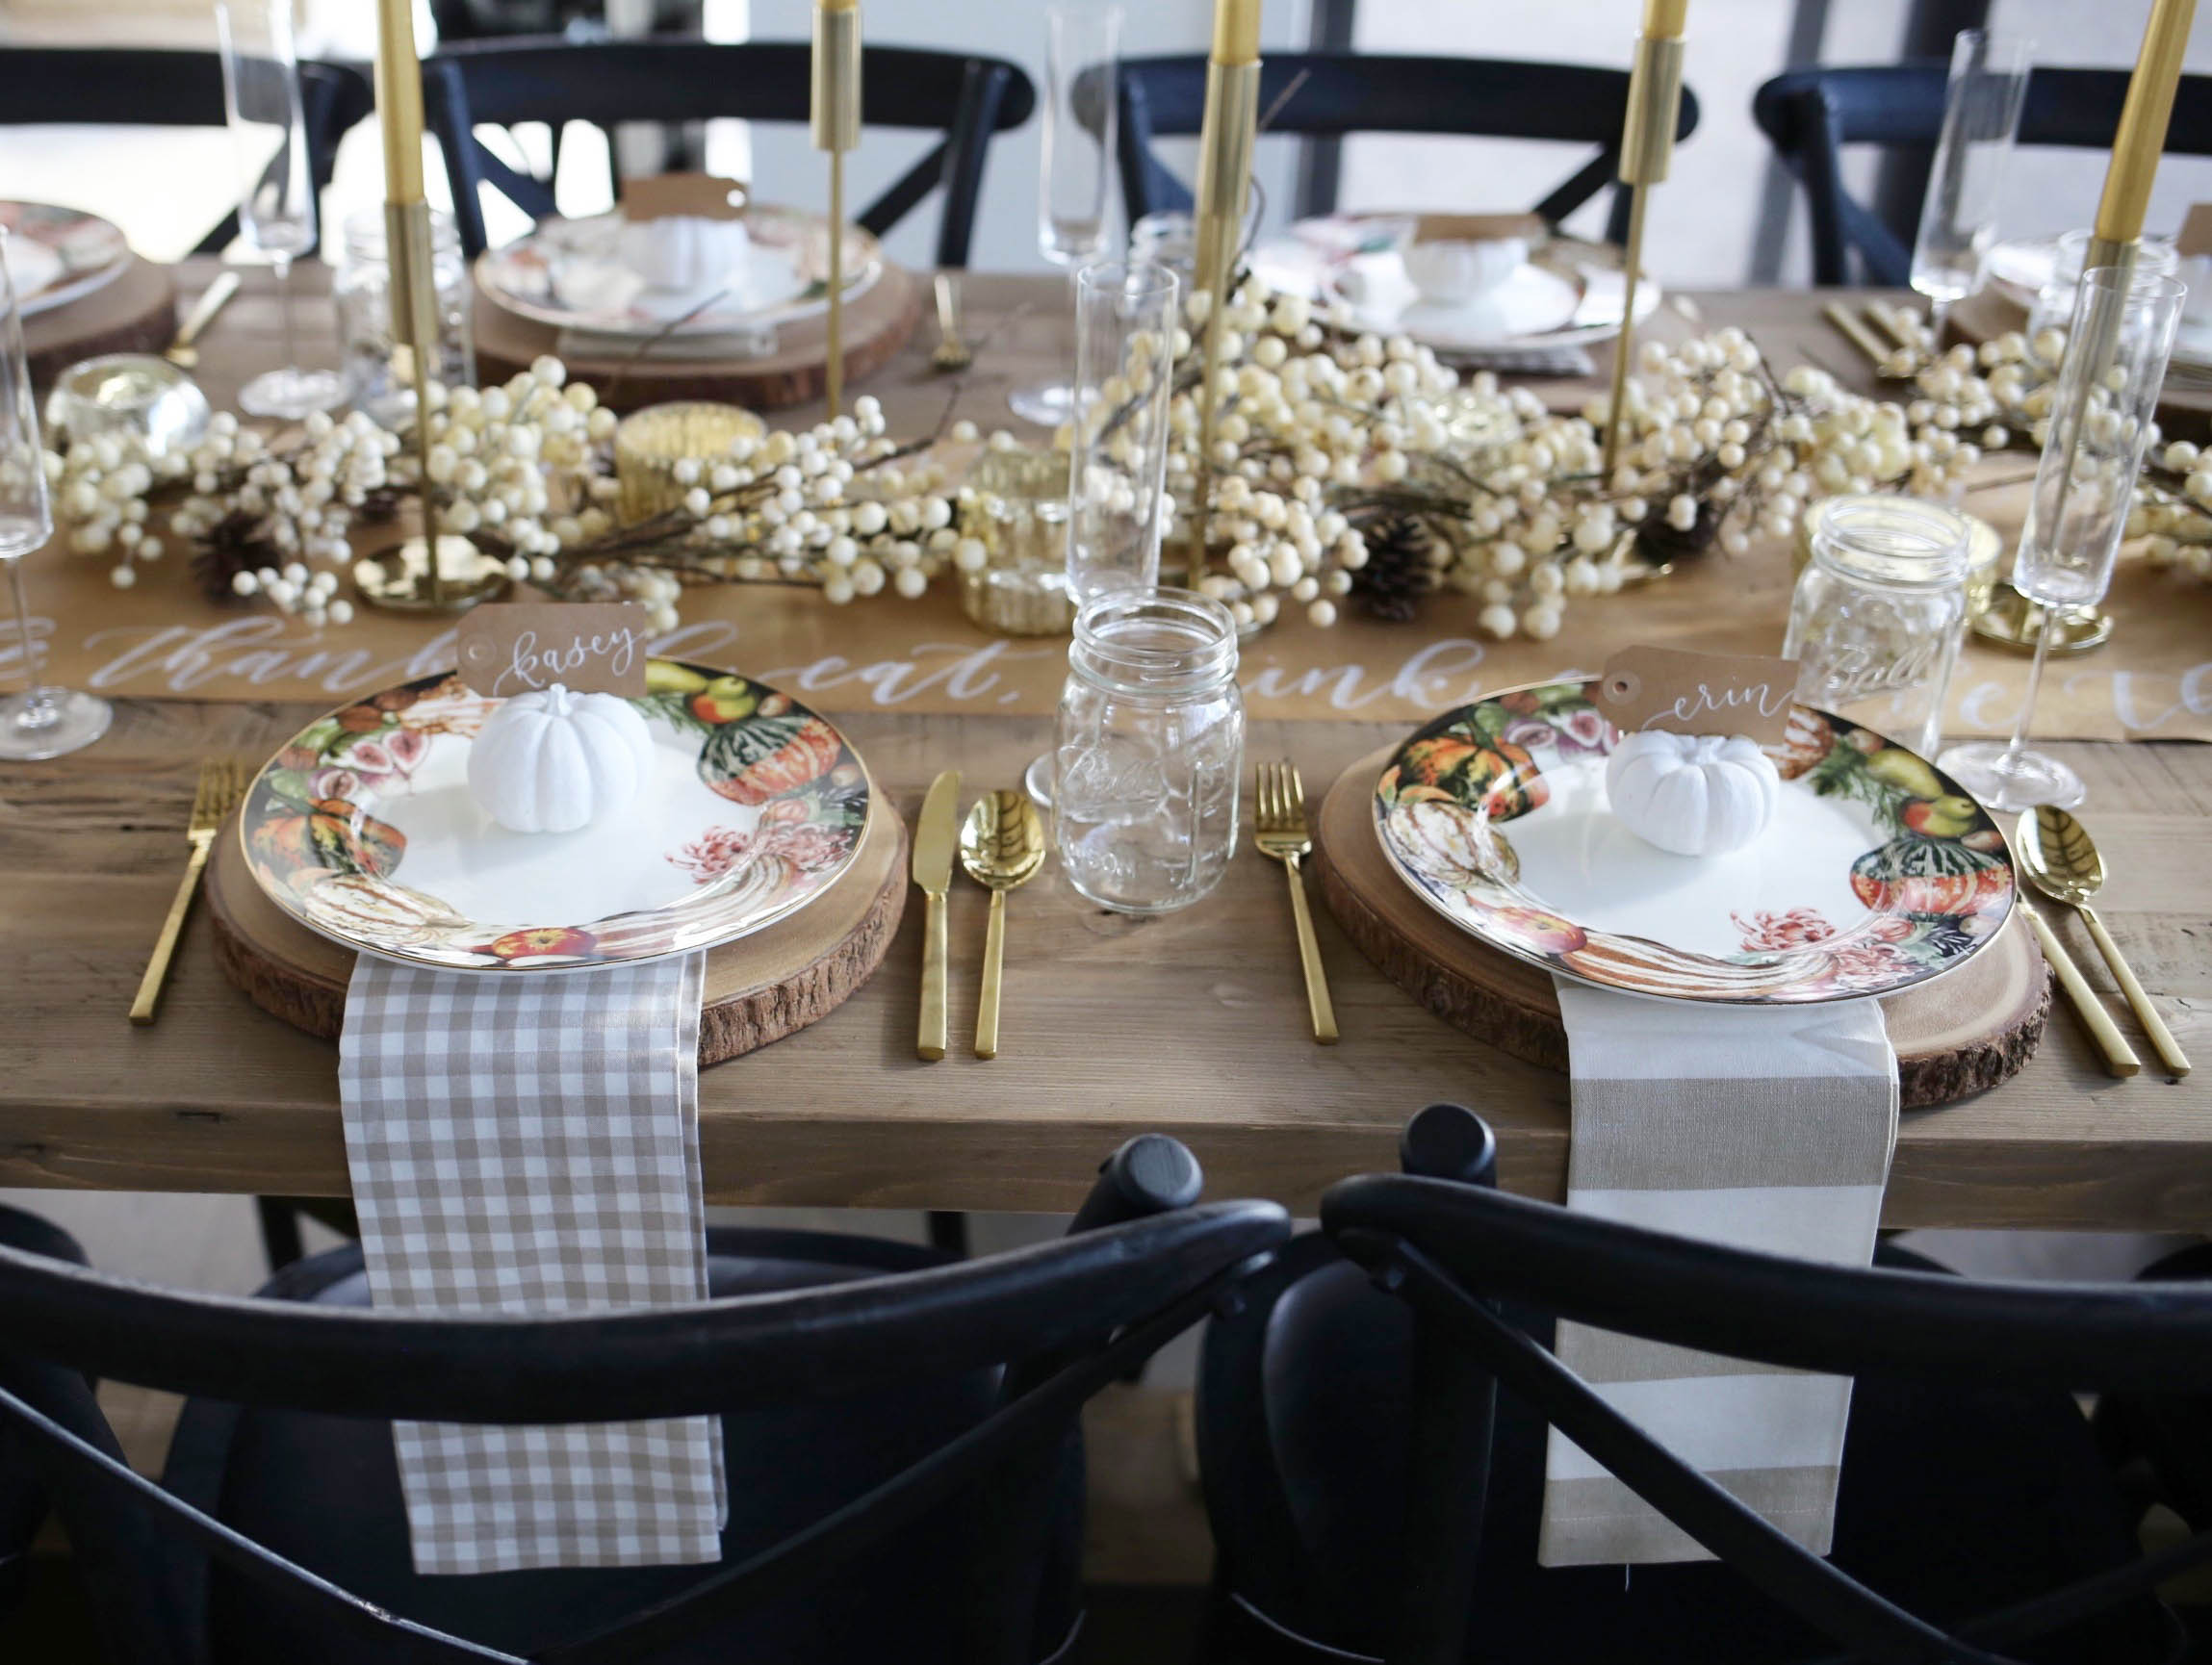
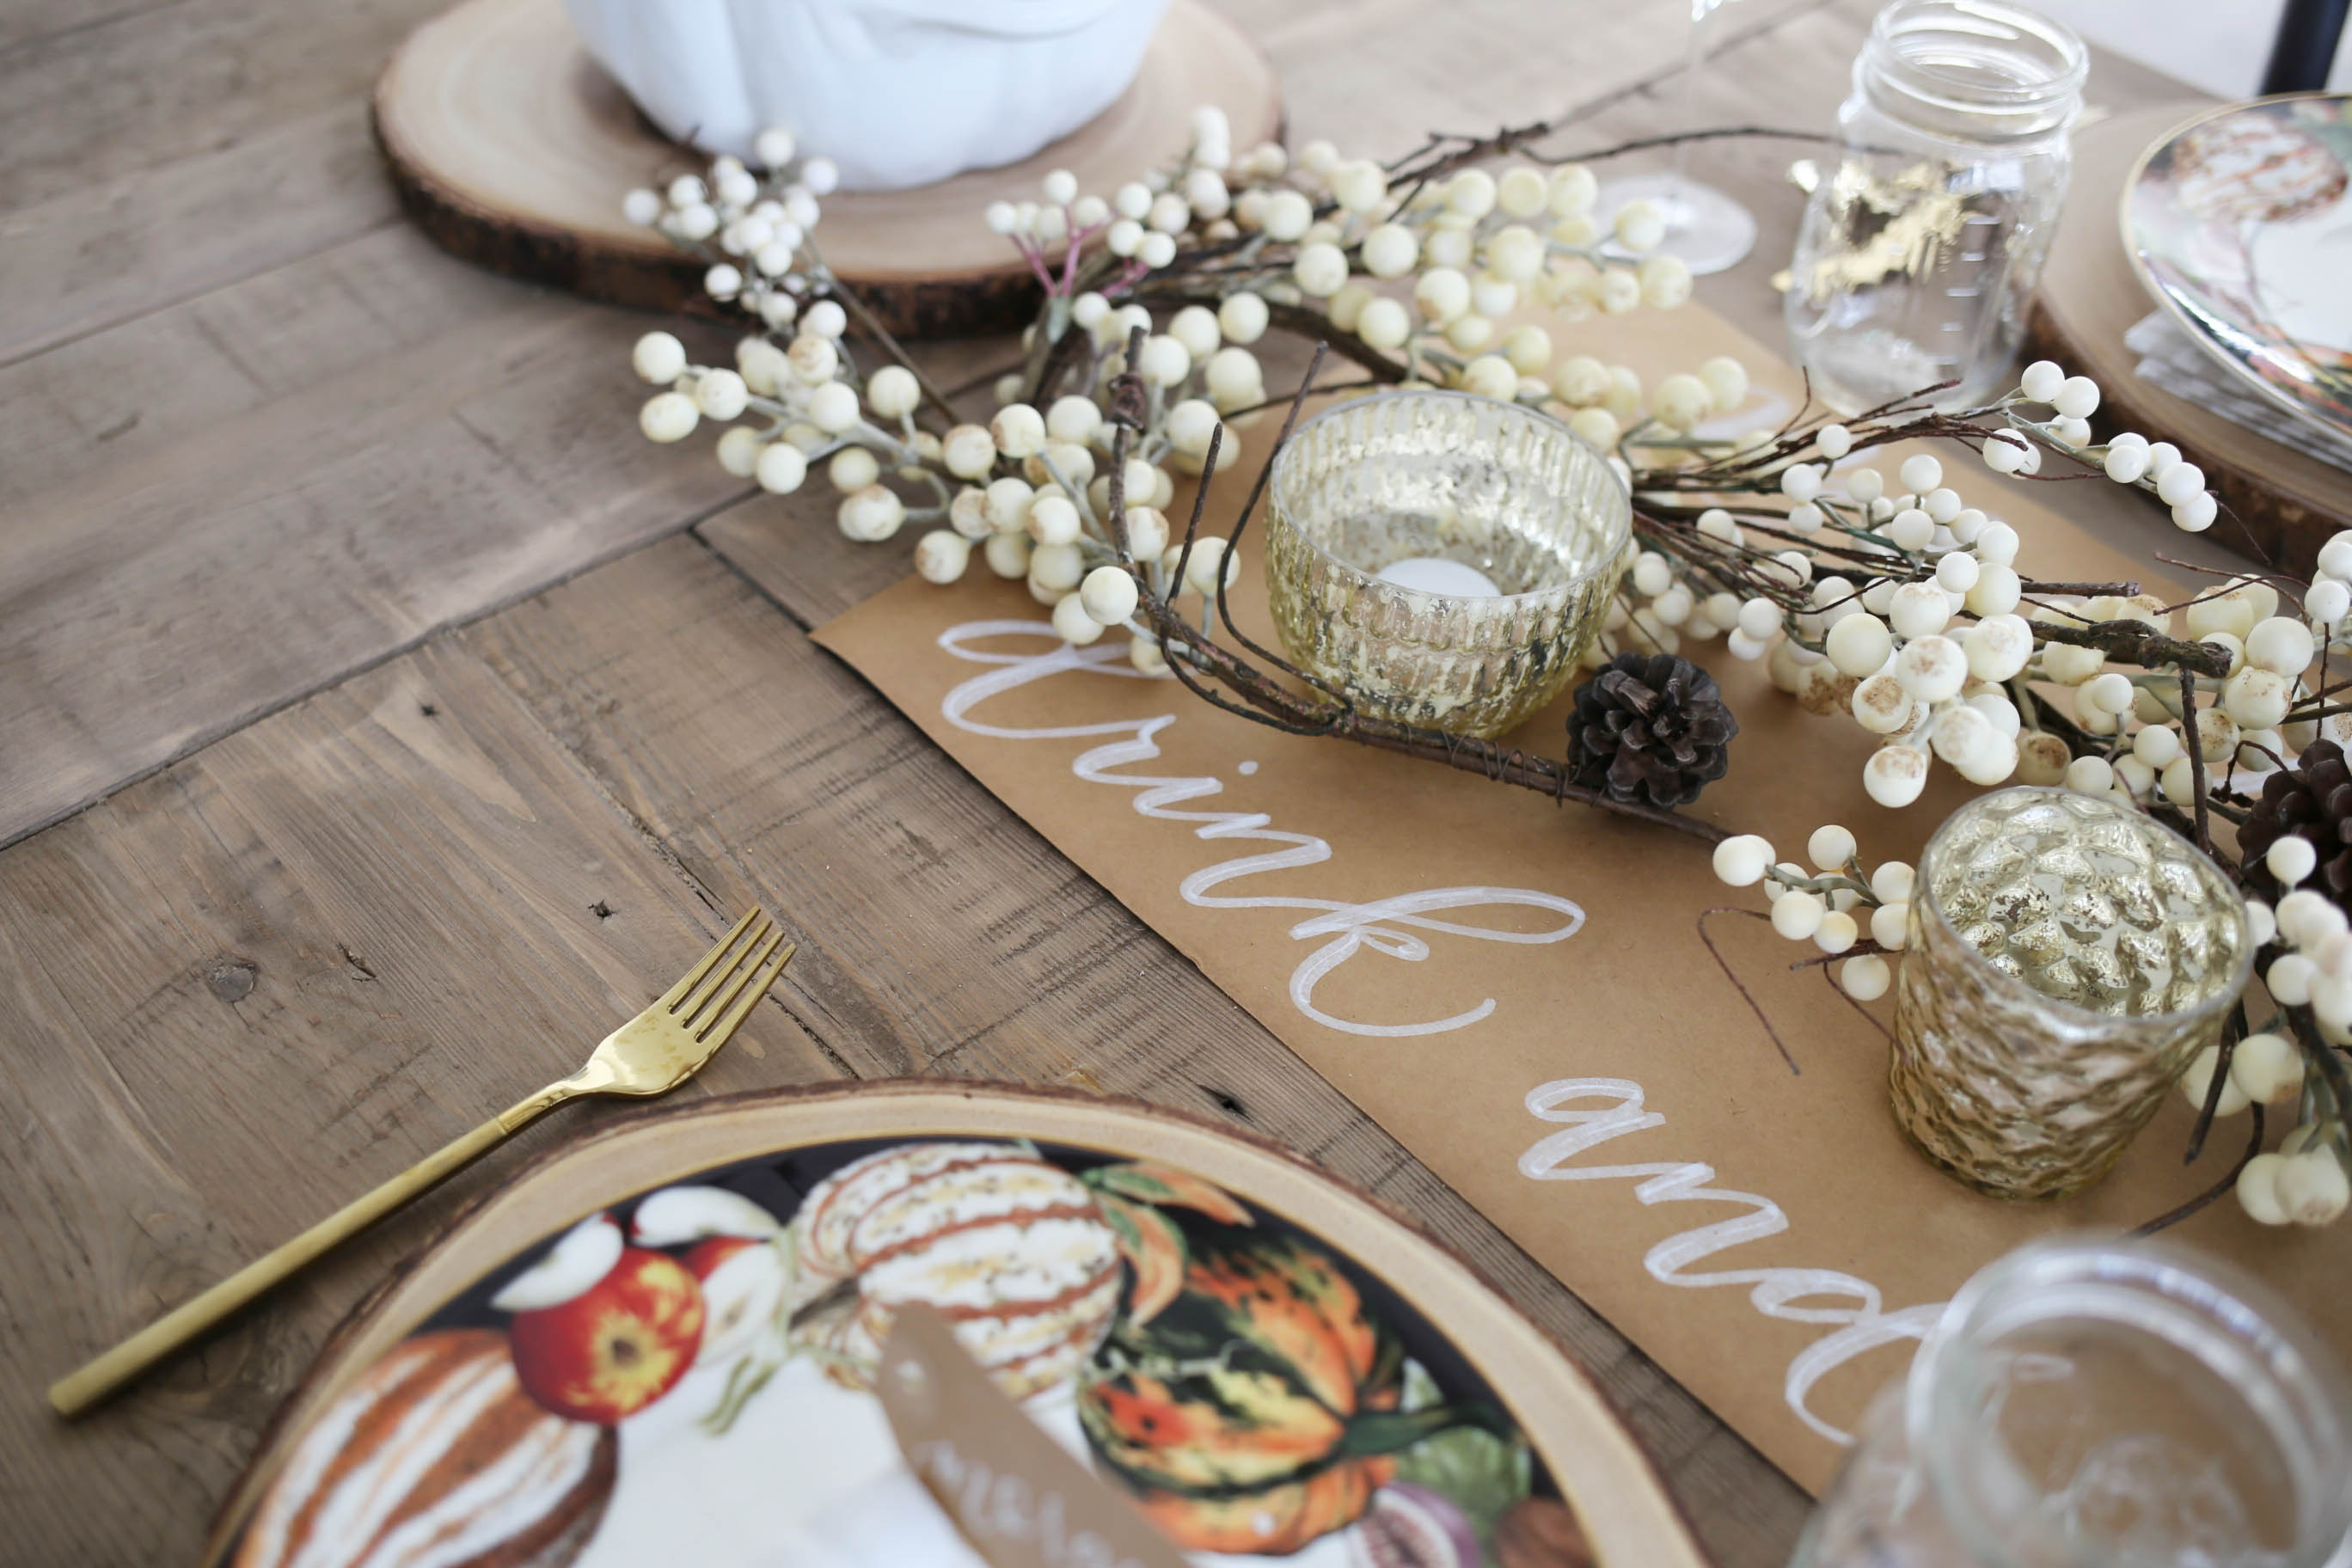
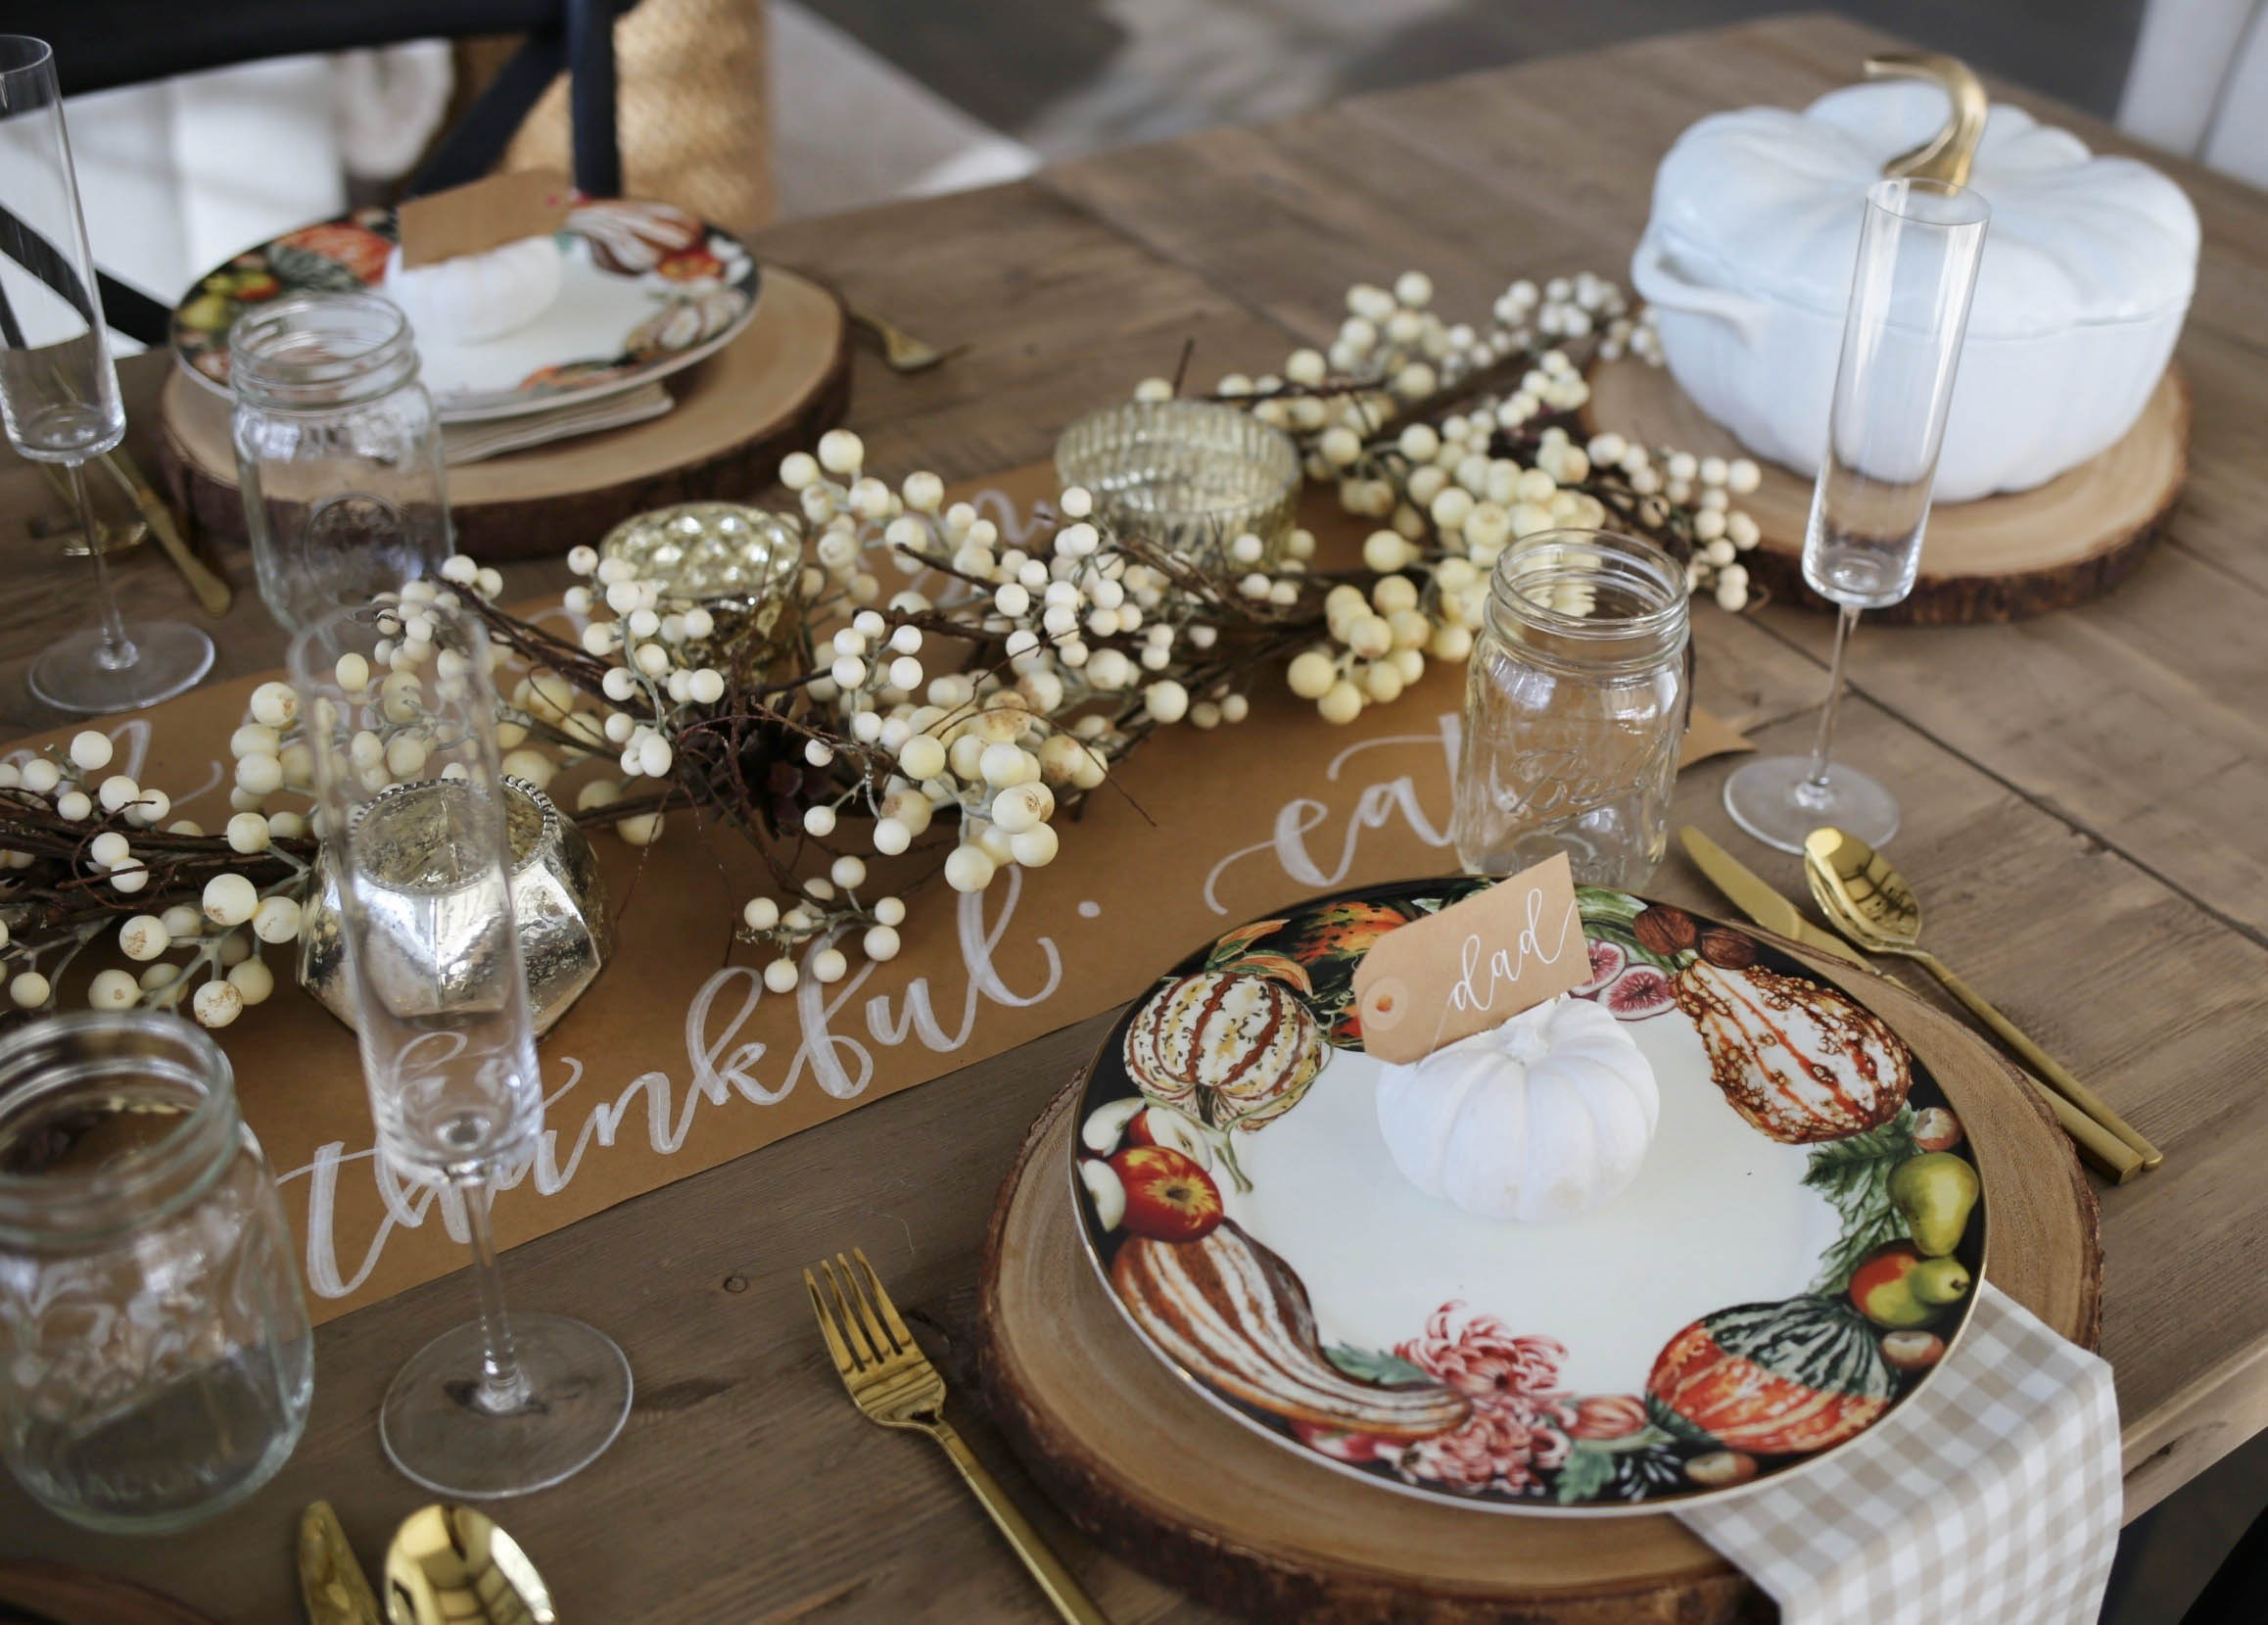
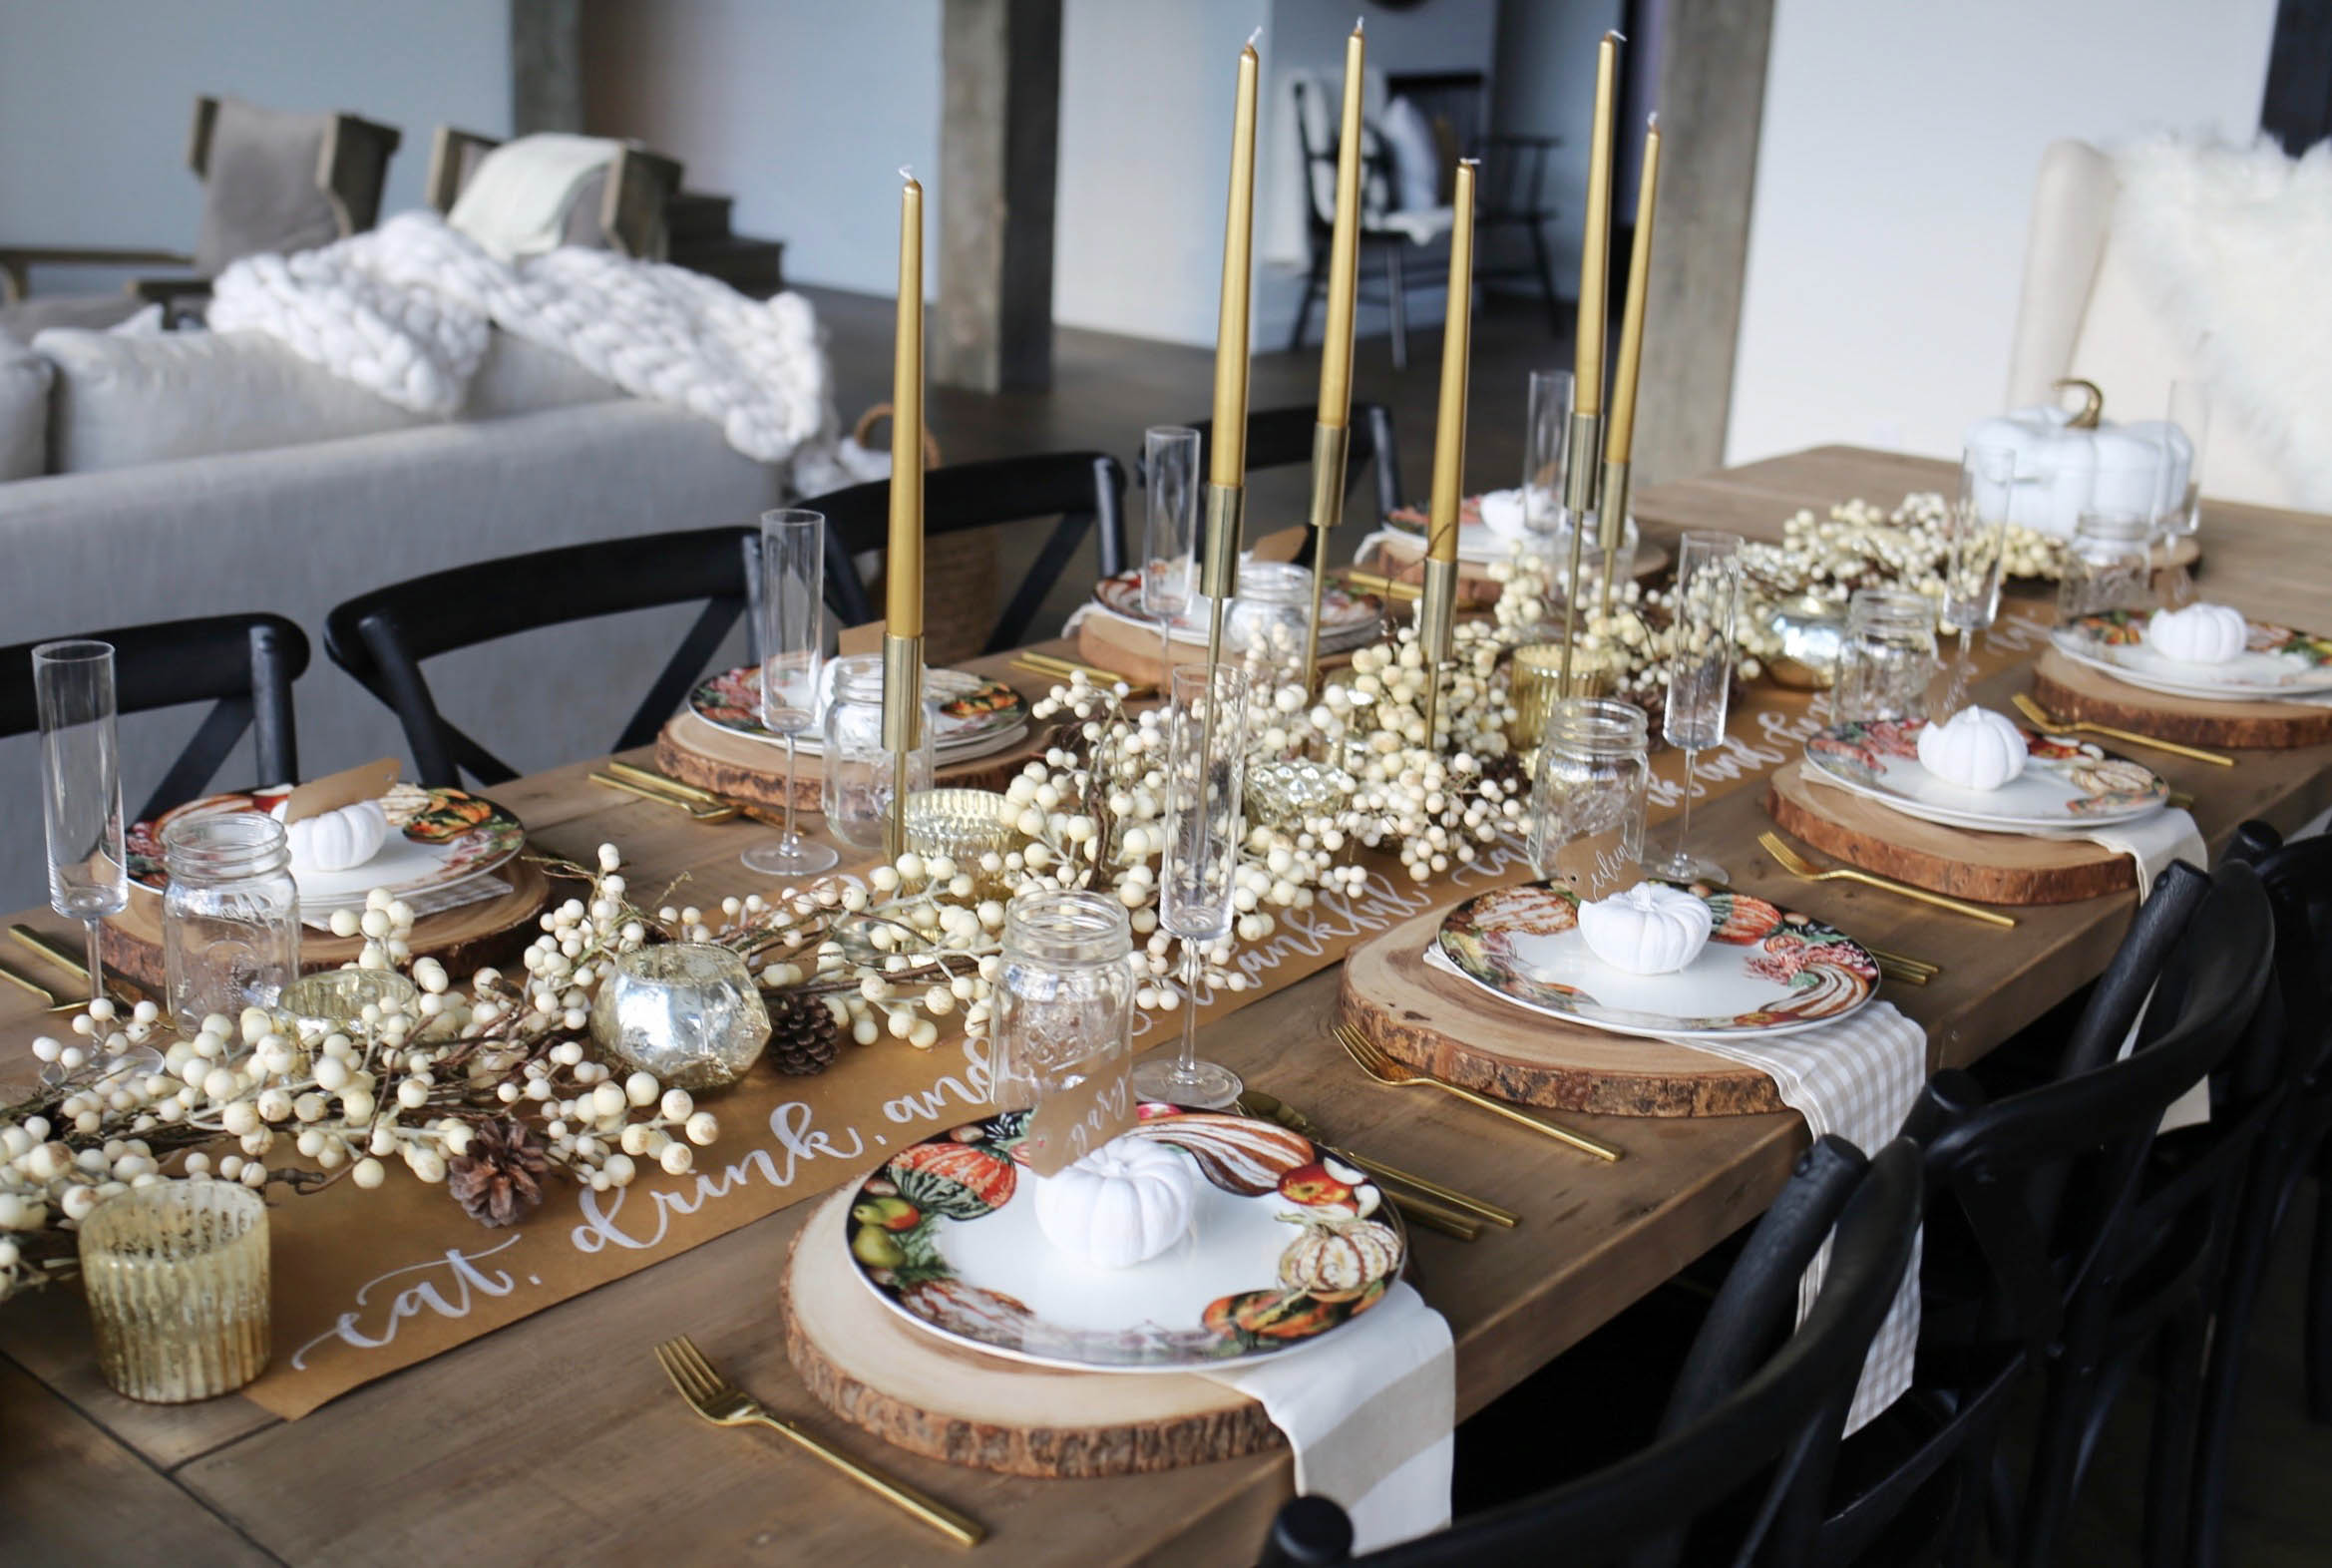
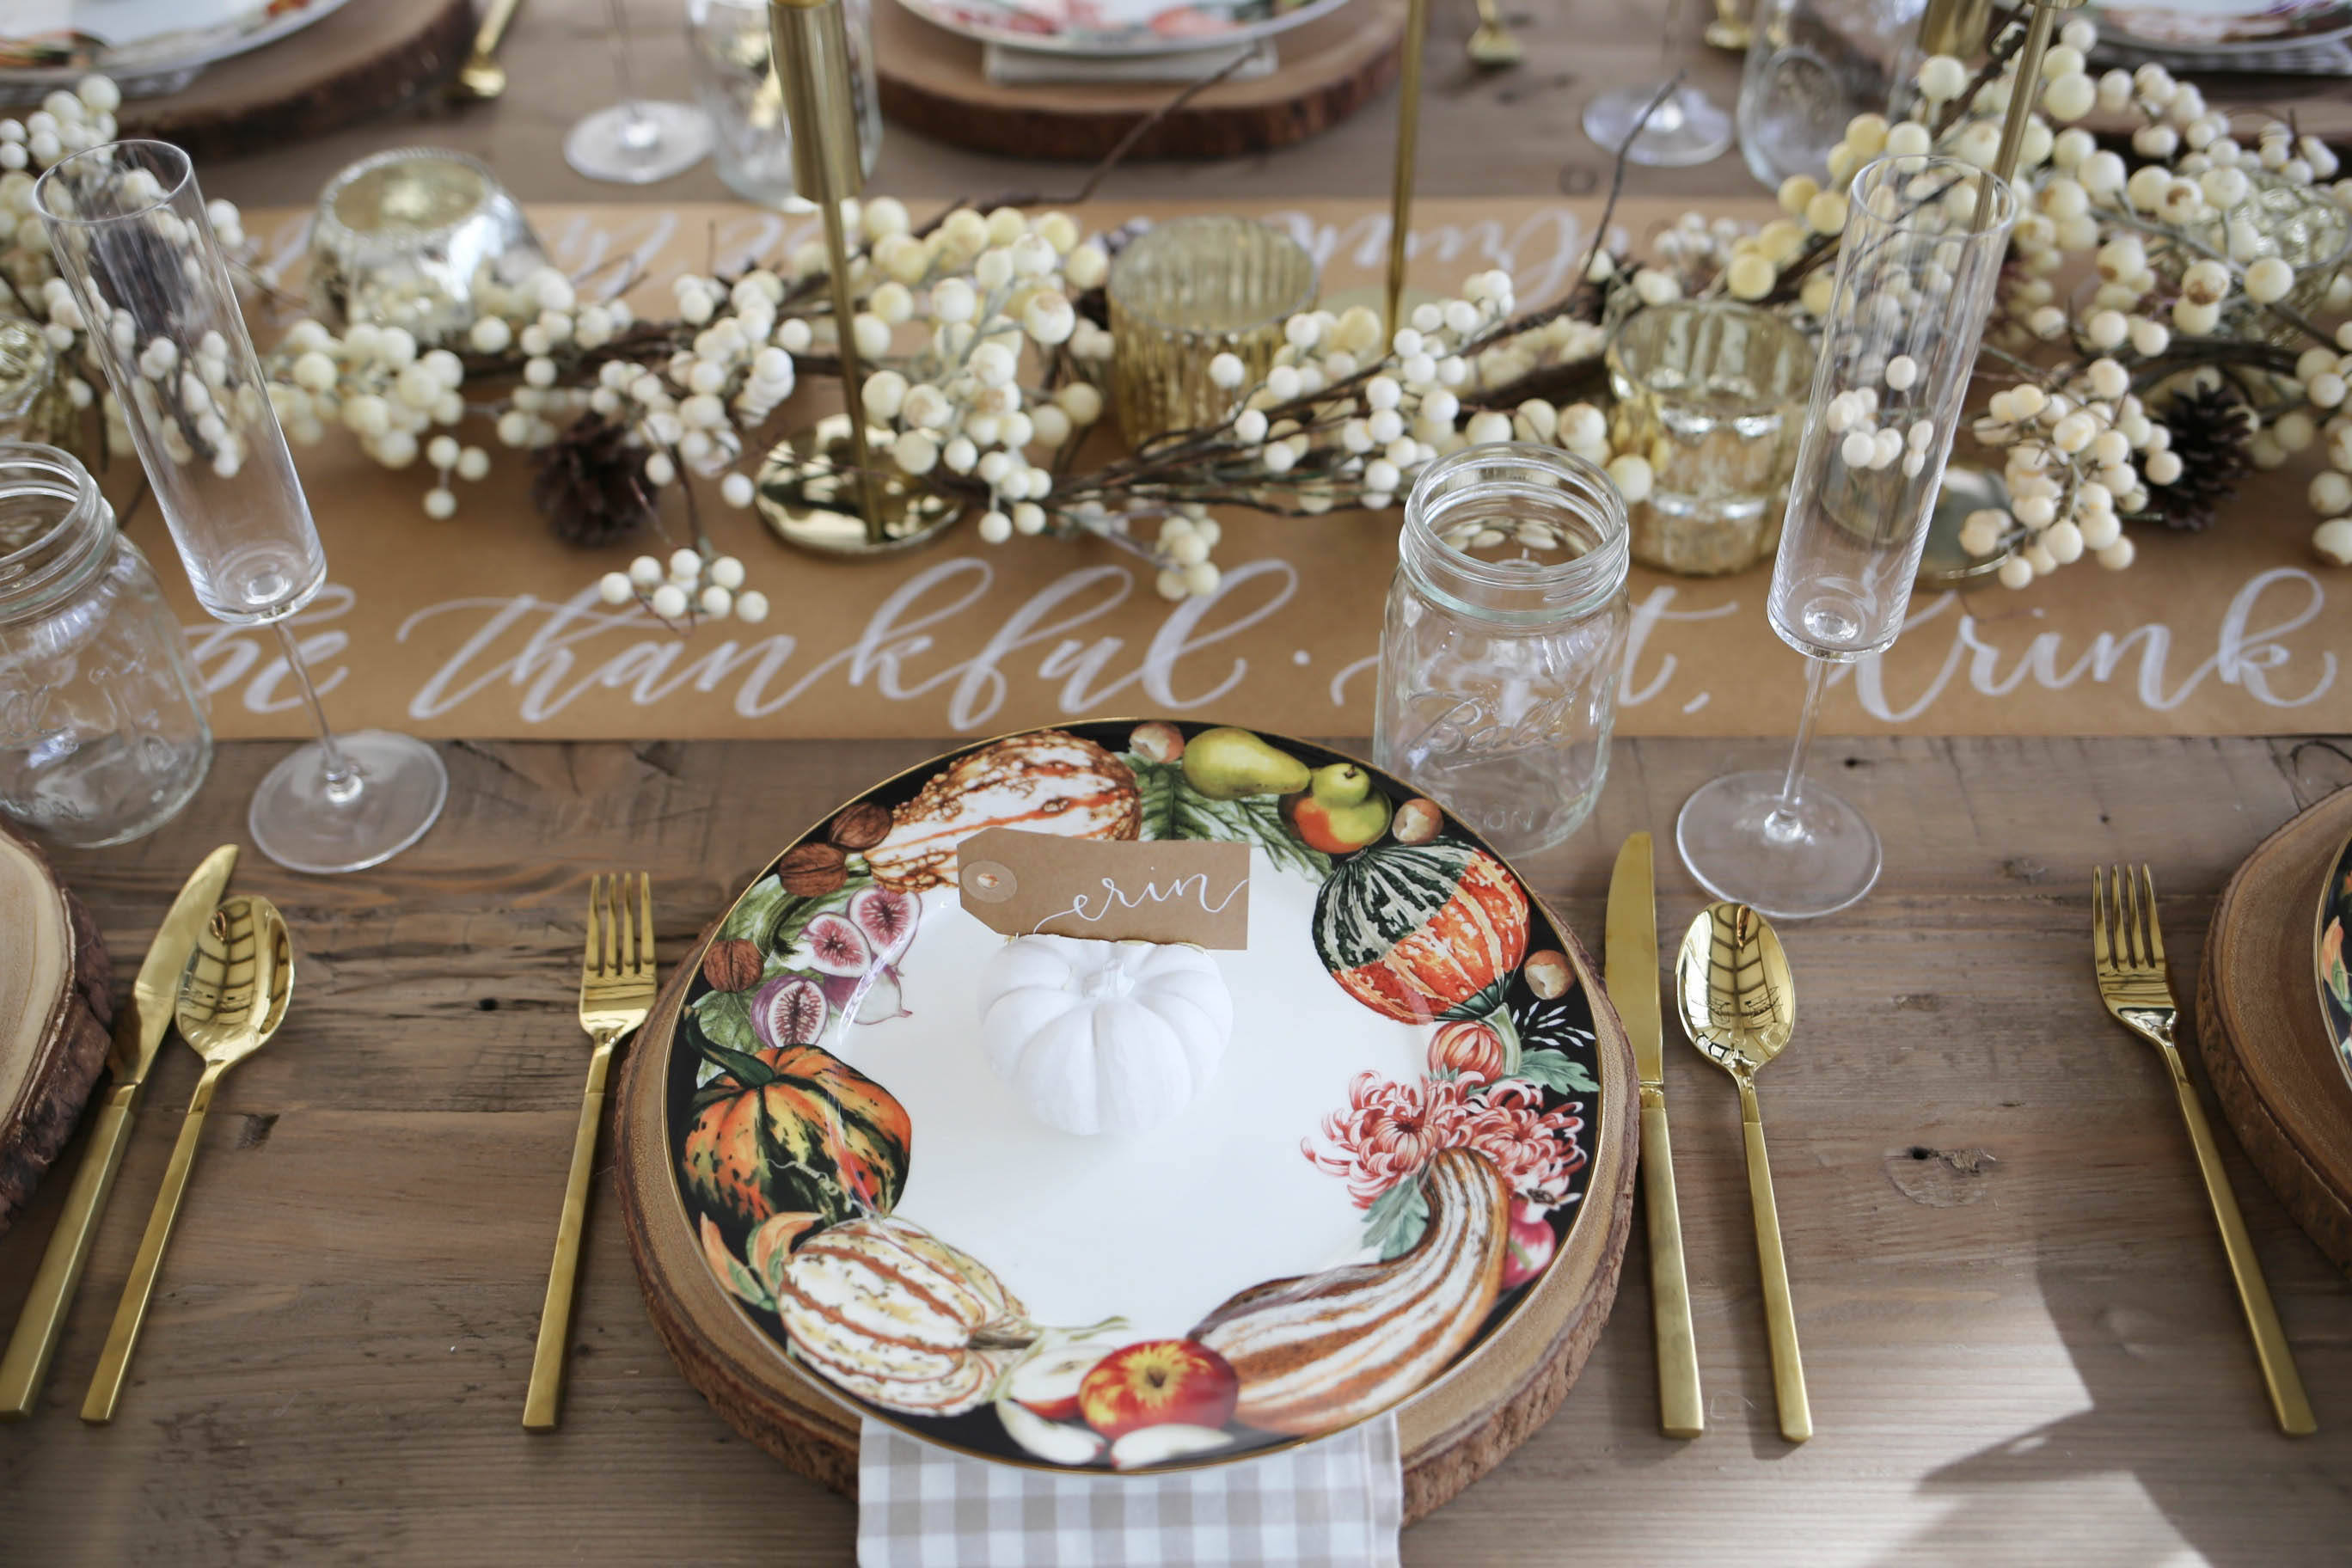
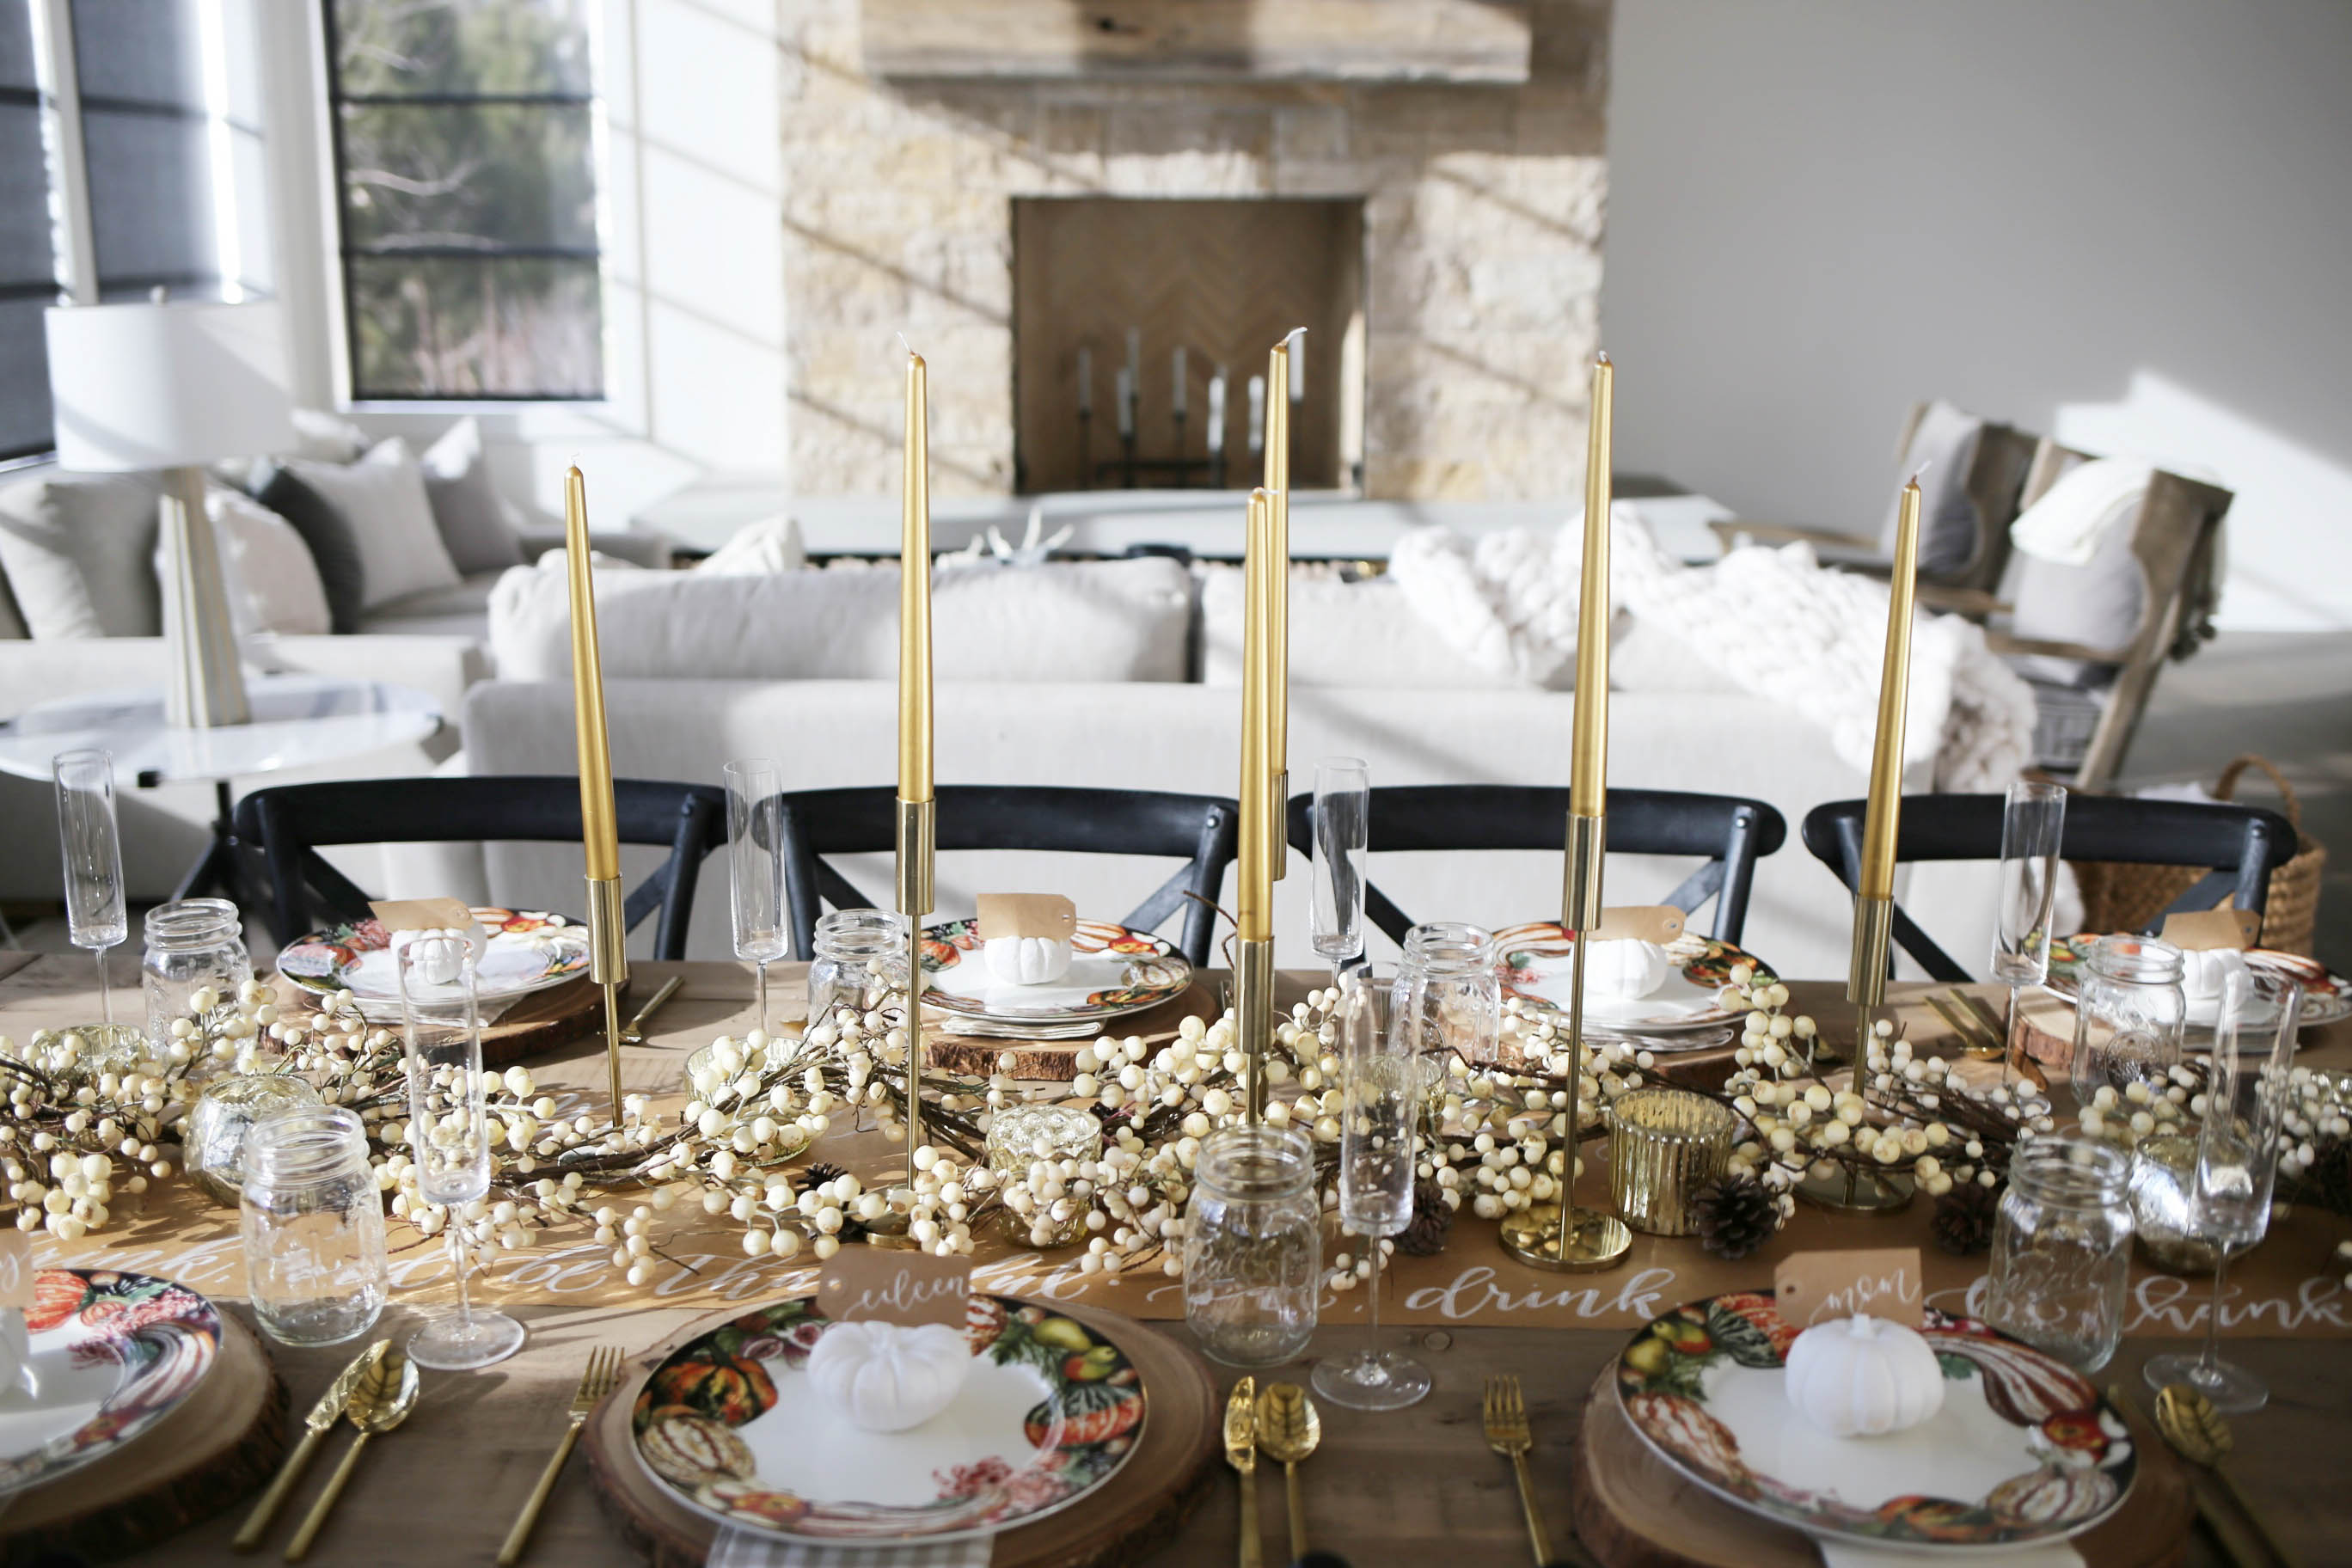
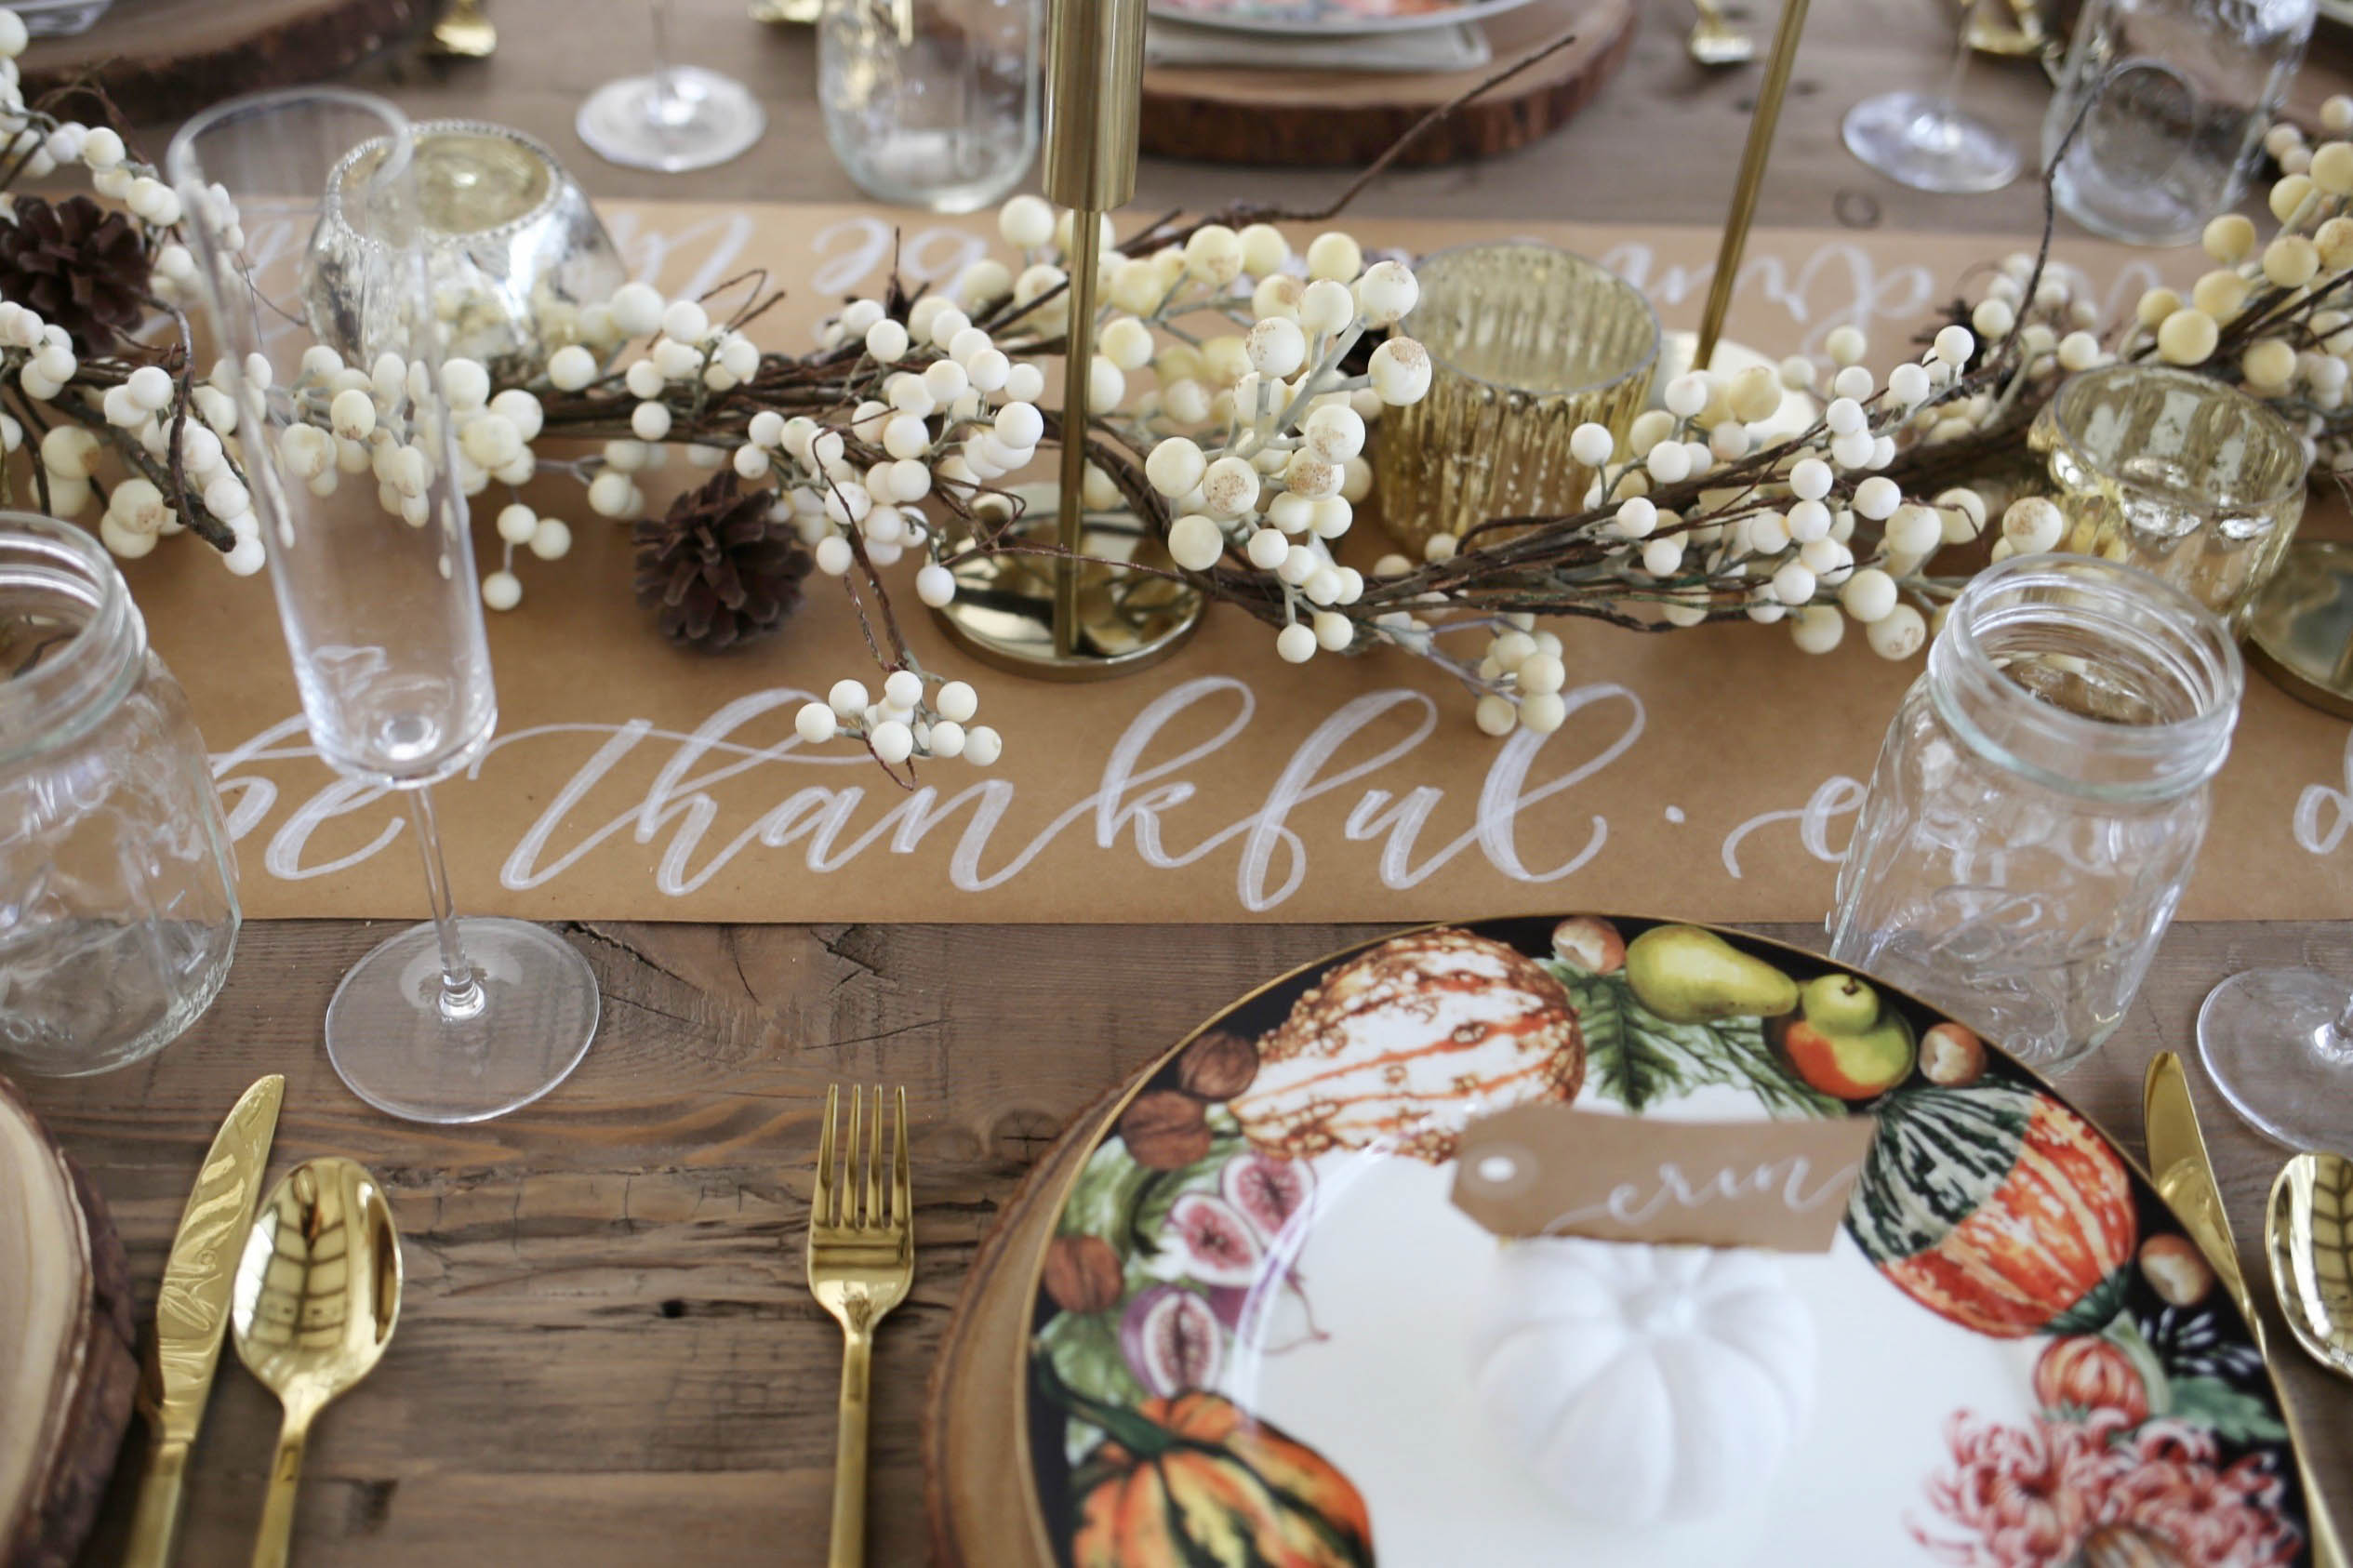
This year I purchased a bunch of new items for my centerpiece and I’m excited to share with y’all! As you can see, it’s pretty neutral, mixing in a few gold touches. My most favorite new addition is the craft paper and calligraphy table runner. It says, “eat drink and be thankful”. How perfect is that!? I found it along with my cute name cards over on Etsy. I really can’t say enough good things about Etsy. I find SO many gems for the holidays. Just wait ’till Christmas, boos! 😉
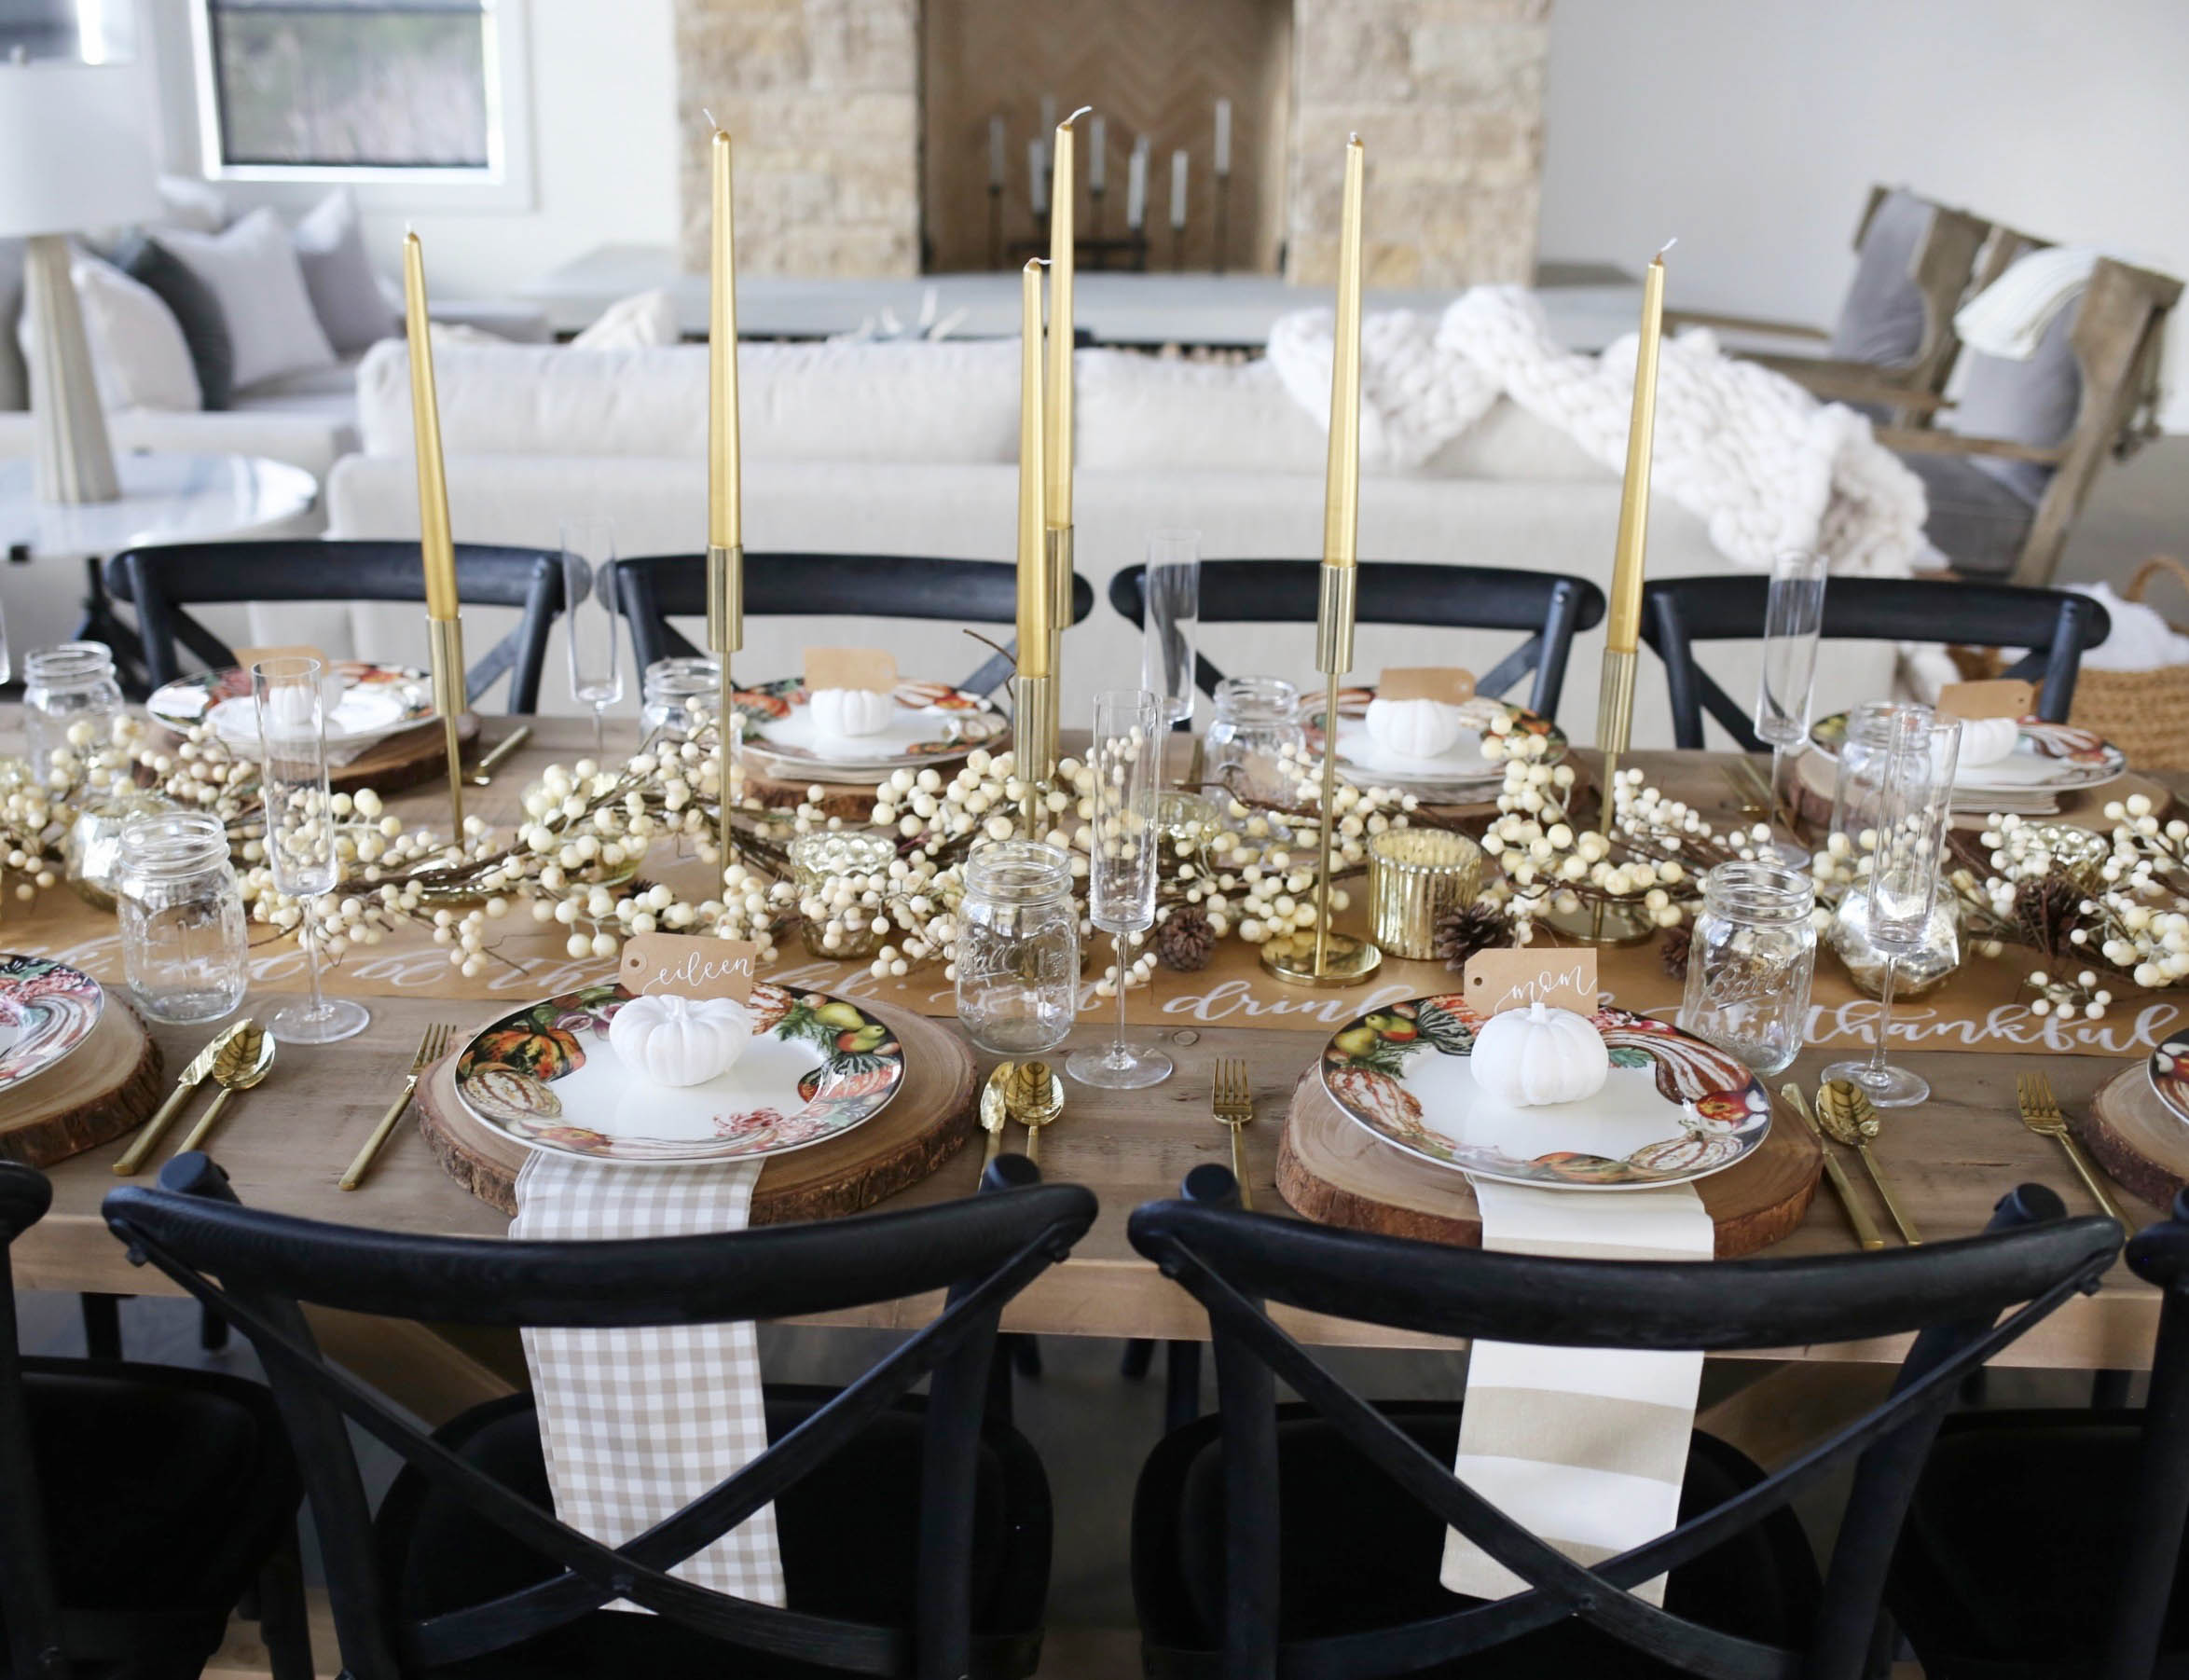
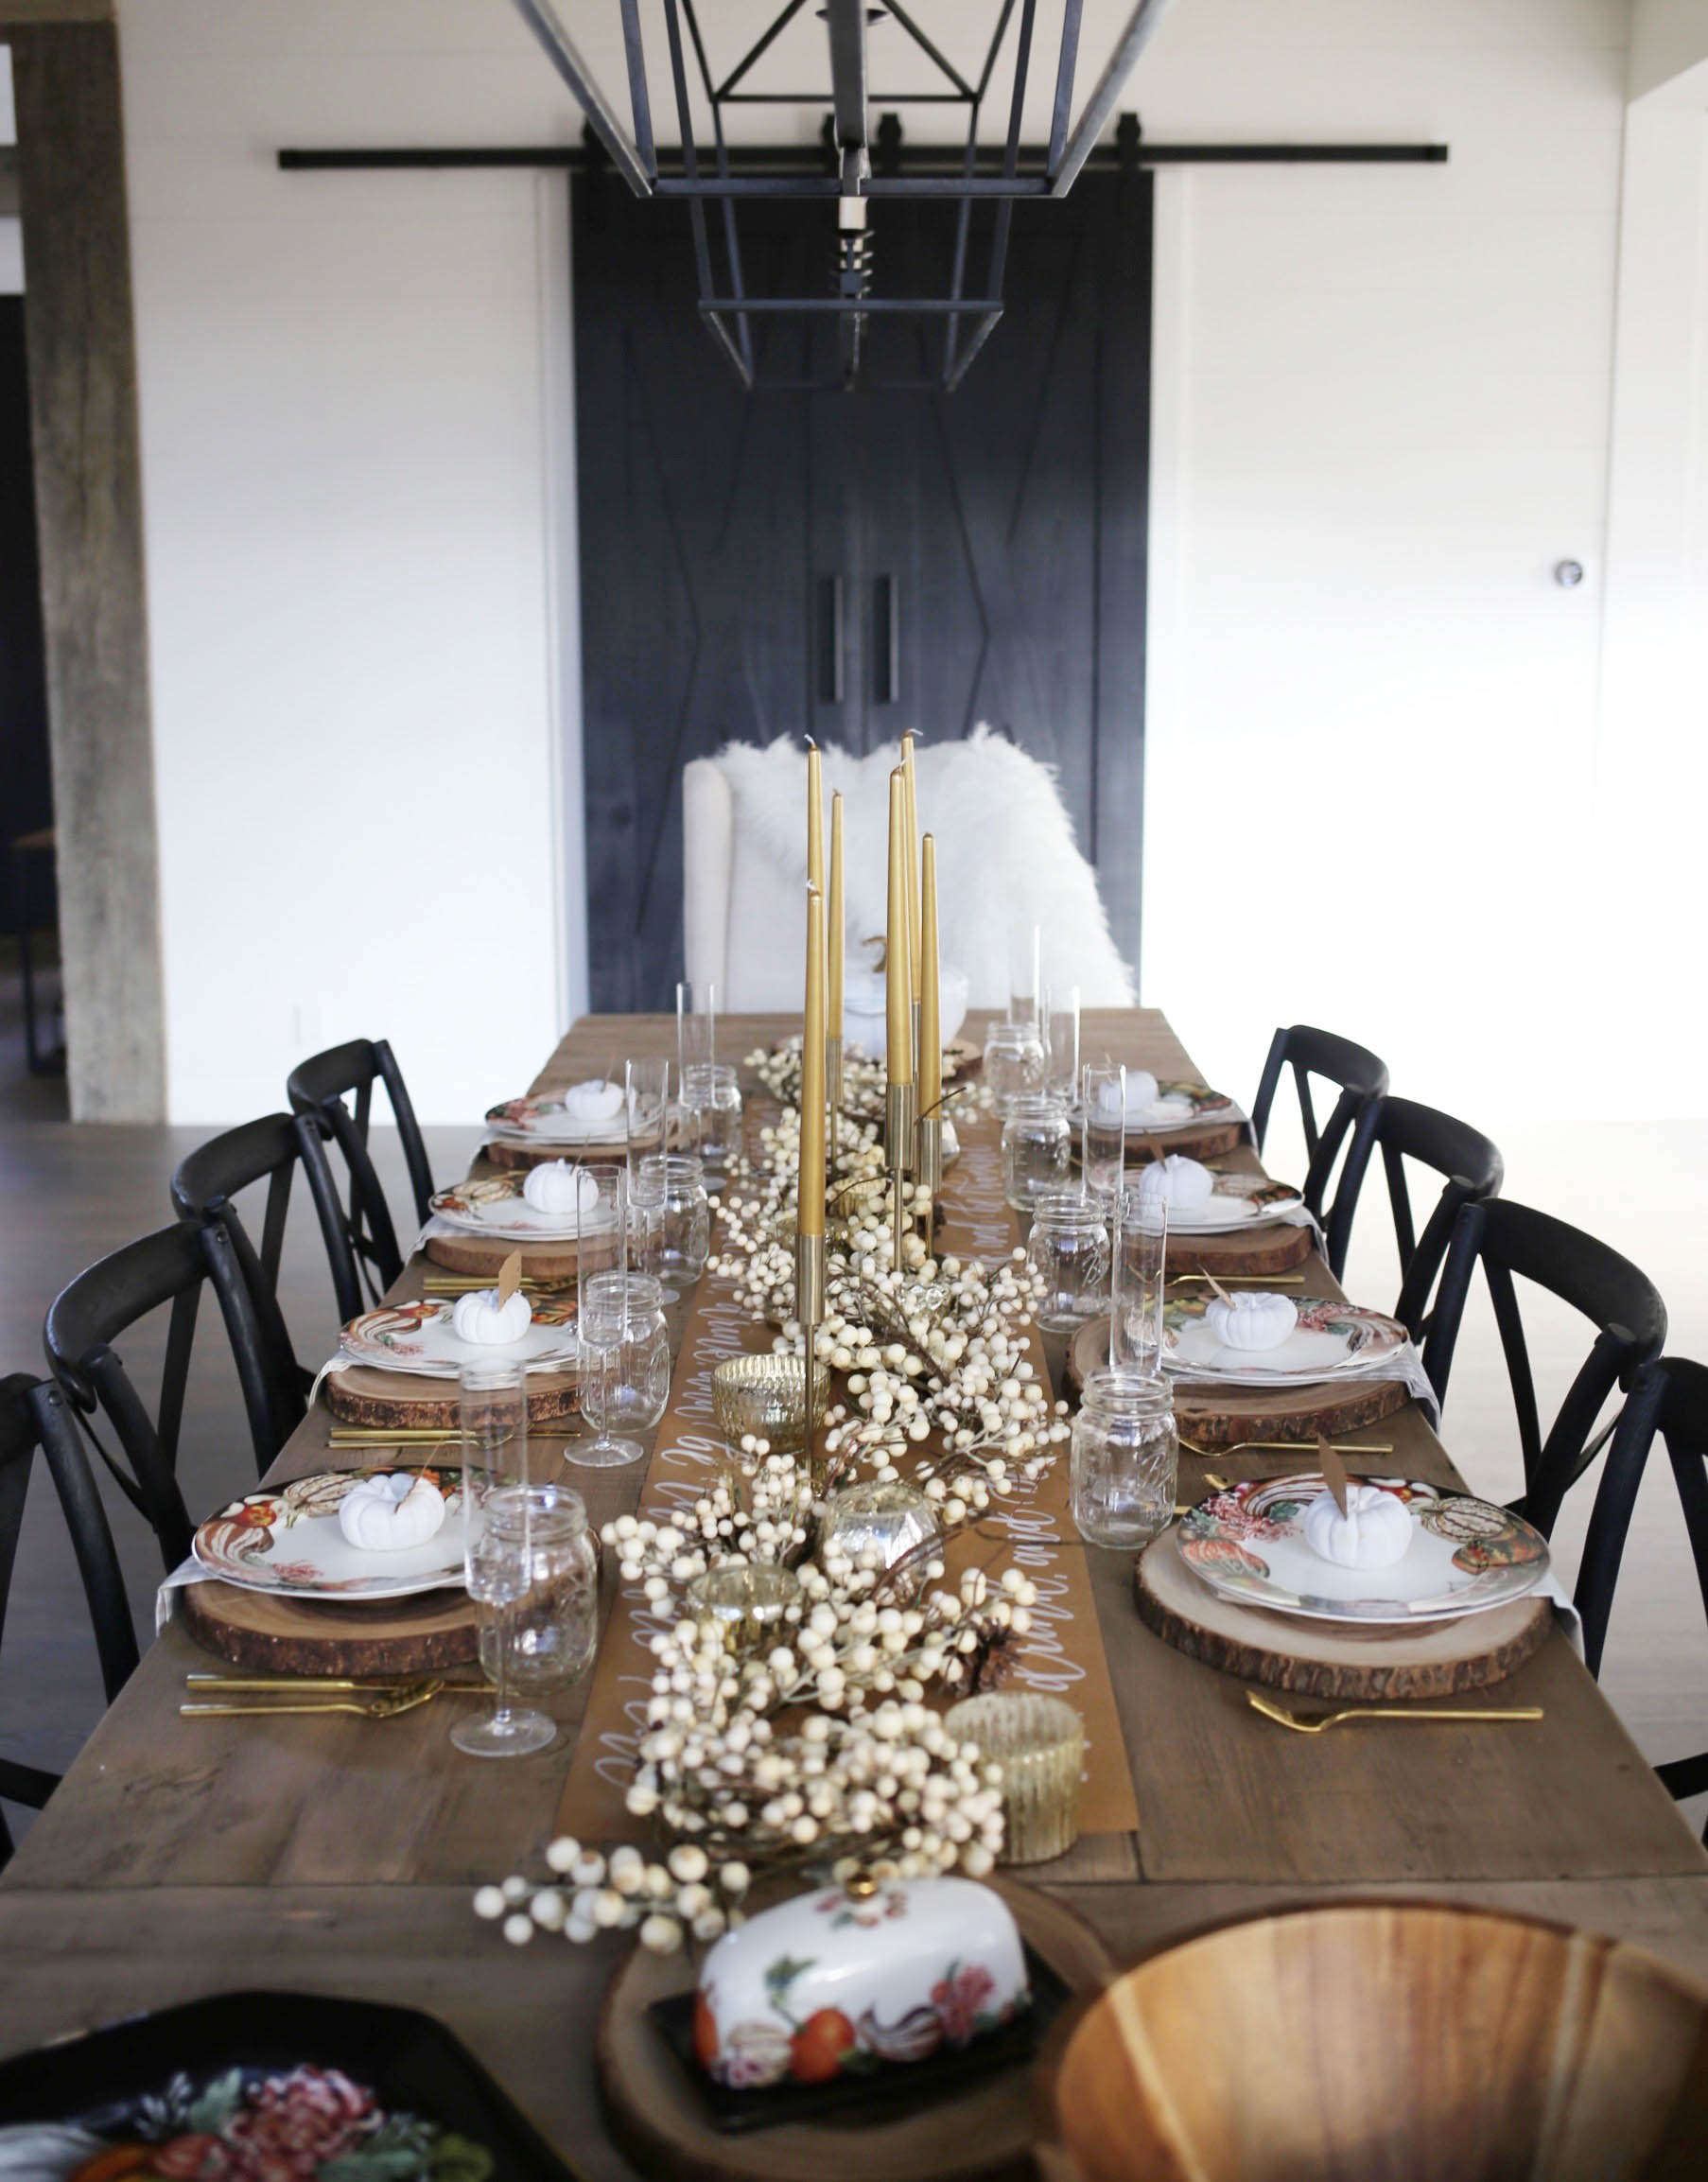
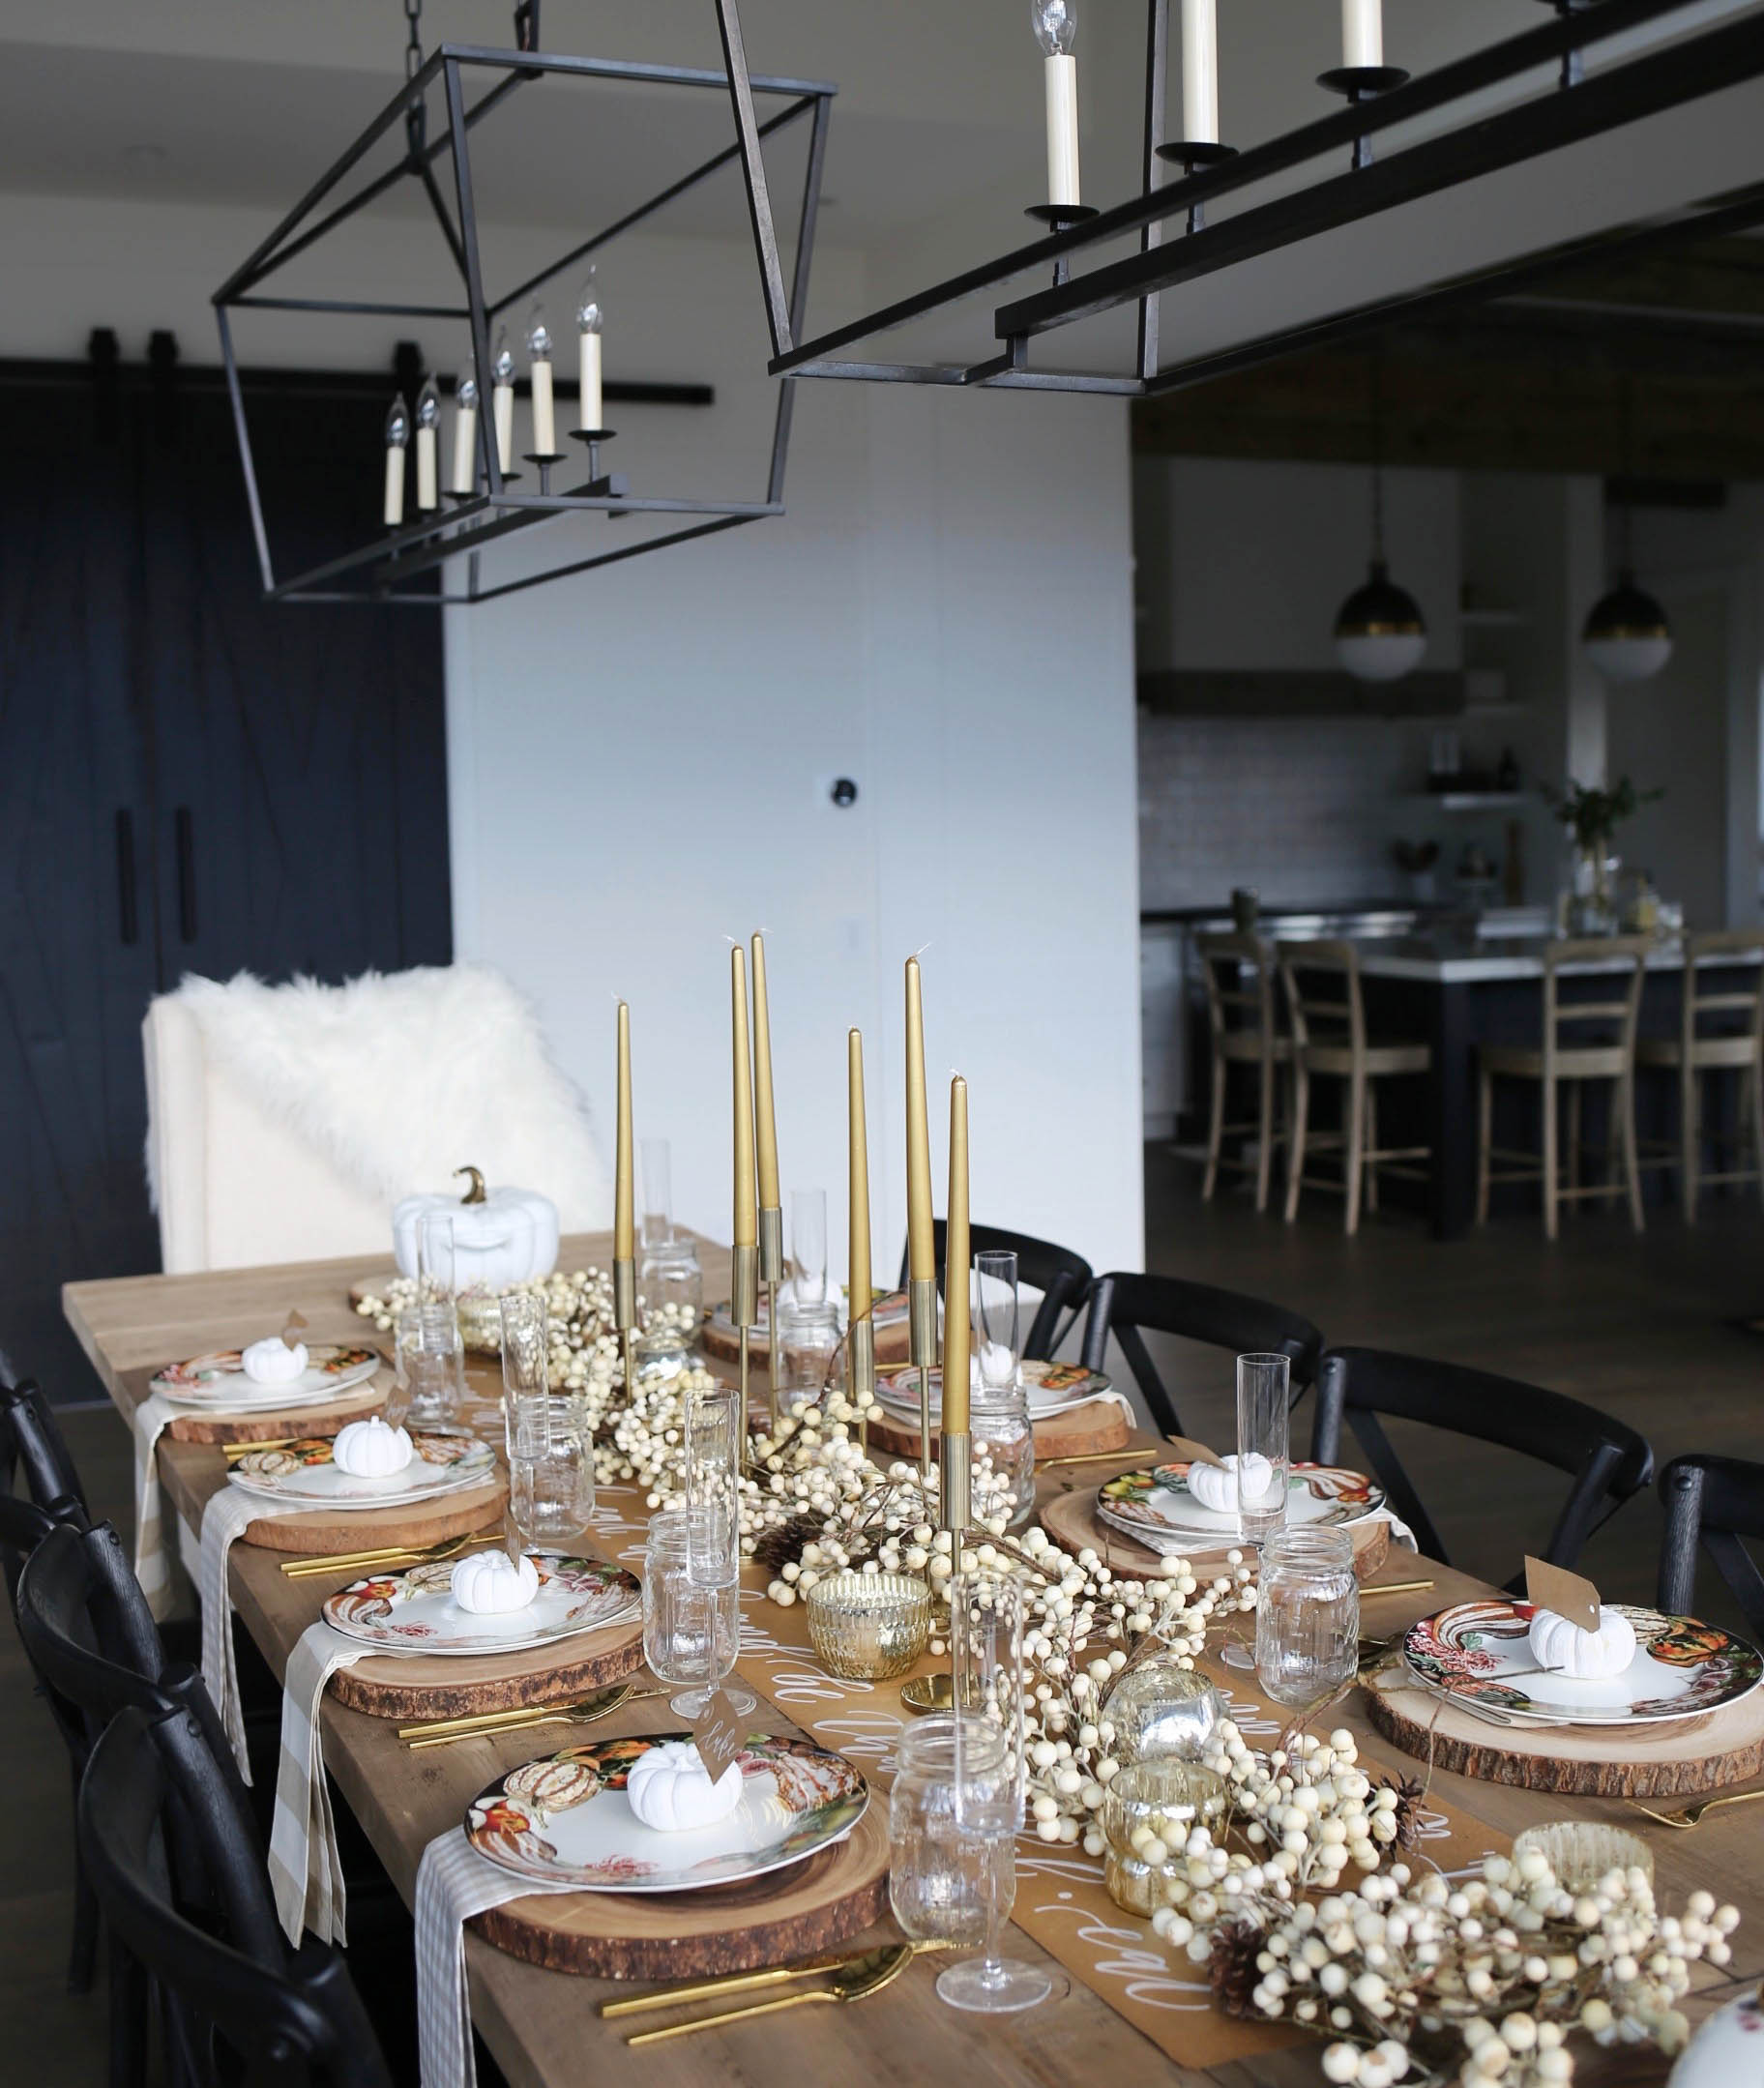
After placing the runner in the middle of the table, I added two strands of white berry garland. This is a great way to fill out the table and make it look festive. Next up, I placed mercury glasses and gold candle sticks in the empty spots. My mom taught me very early on that lighting was everything, especially when entertaining. Having real flames on a table is always a beautiful touch. Lastly I added in a few natural pine cones that I had ordered on Amazon. The centerpiece turned out gorg and yet, it was super easy! Give it a go, boos!
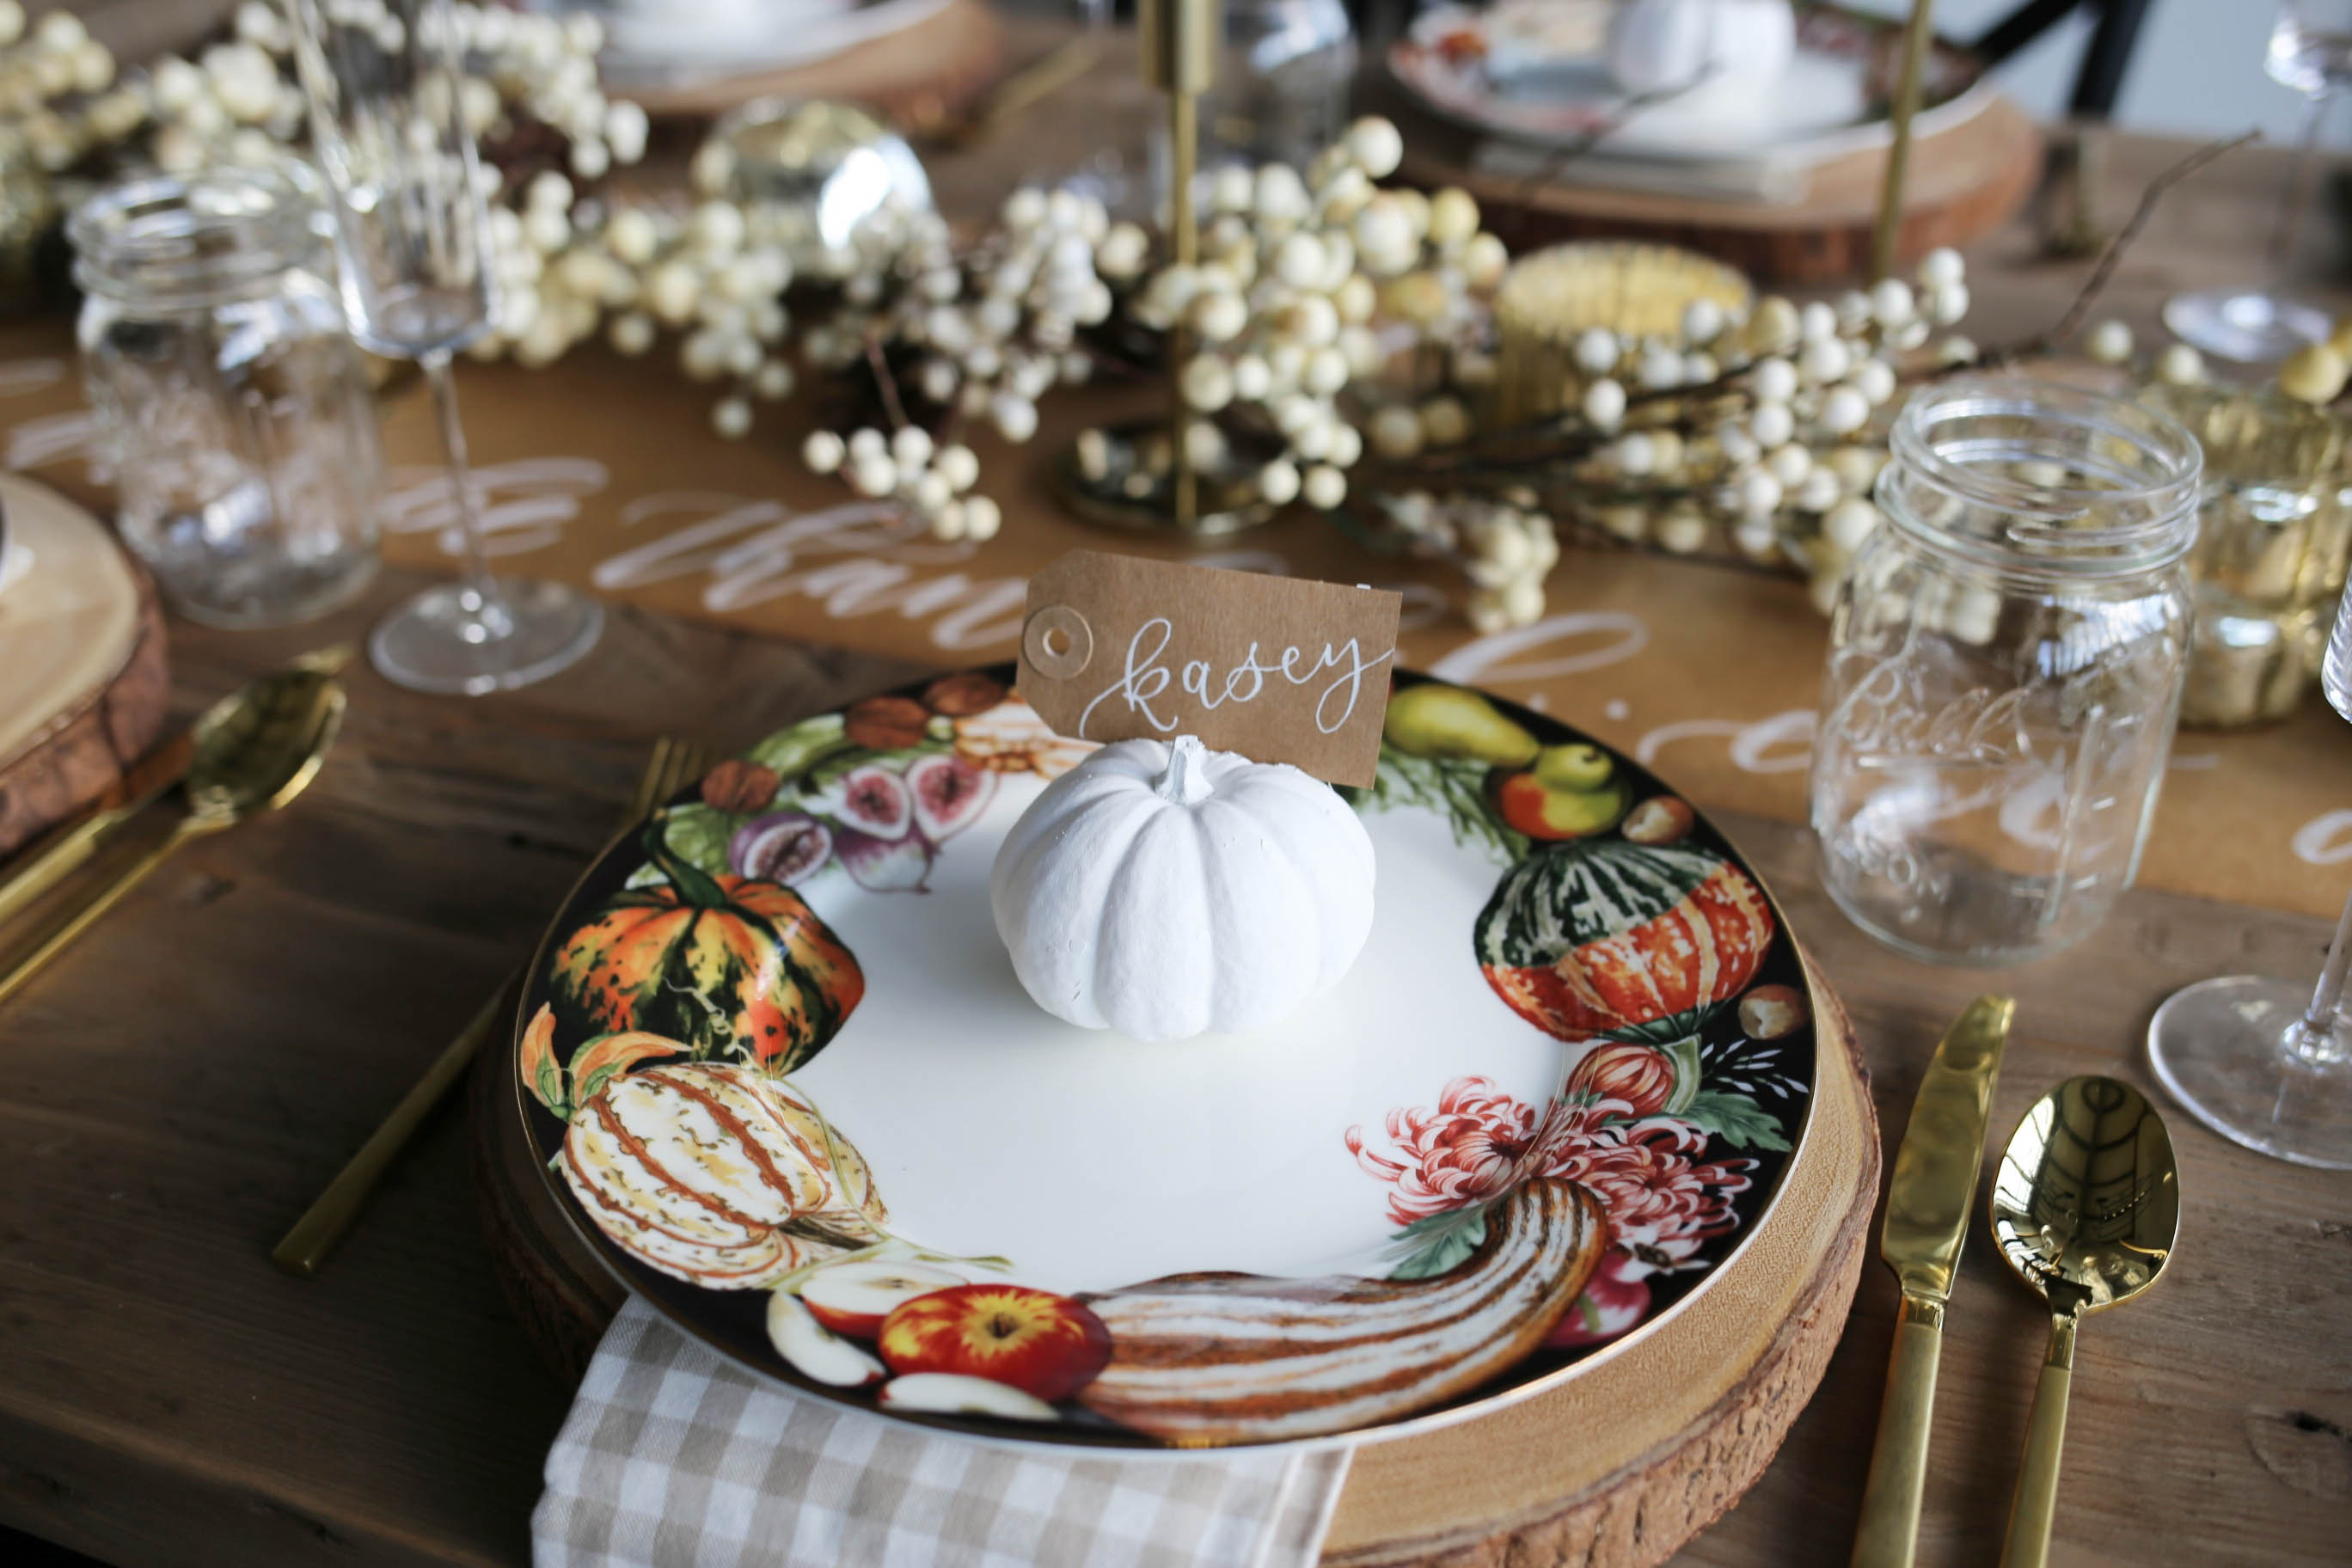
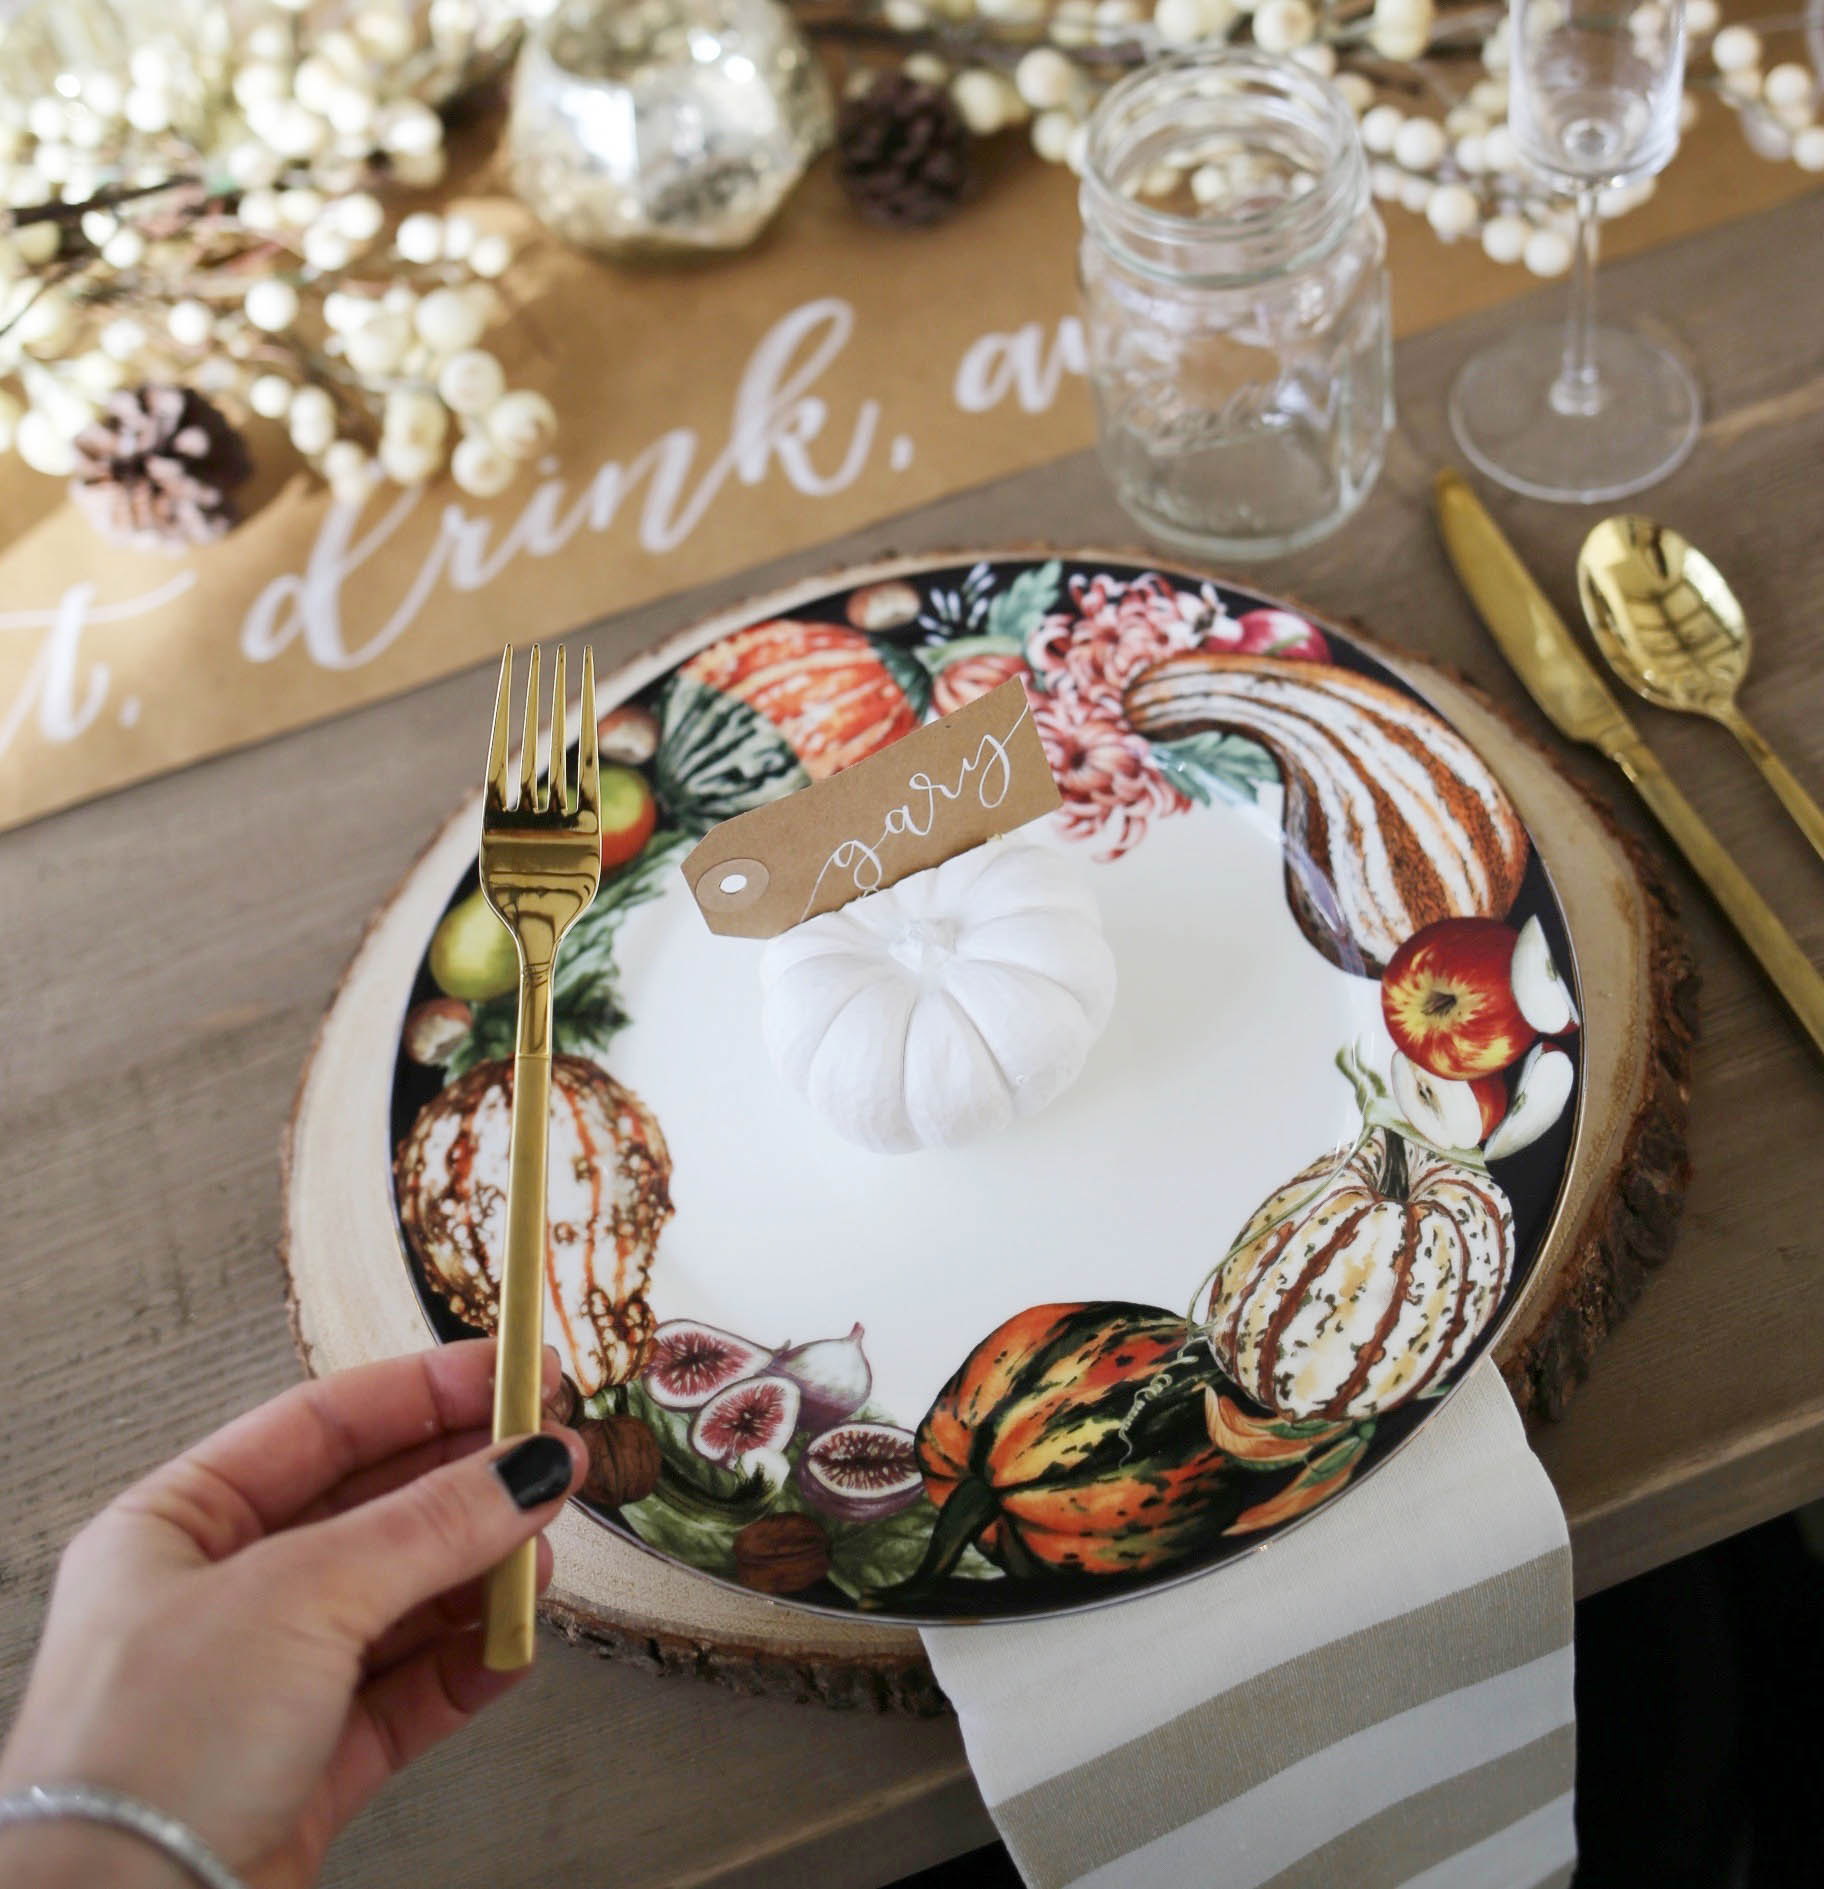
I went for a more festive Thanksgiving place setting this year as I got plates just for the occasion. I am obsessed with the fall pumpkin/squash plates a la Williams Sonoma! They are on SALE – check them out here; they also come in a black pattern. My SPLURGE worthy item on this table, are my new wood chargers. I shared them on my Instagram story a few days ago and y’all loved them. I’m right there with ya. I’ve been wanting these babies for years, and finally pulled the trigger. I plan to use them for my country Christmas table and throughout winter. They are SO worth it. Now that I have my place setting foundation, charger and plate, I utilized my everyday gold flatware, neutral farmhouse napkins, mason jars and champagne glasses.
DIY
The last and final touch of the table were the pumpkin place card holders. I had the best time making these beauties. It was a quick and easy DIY…
[1] Set cardboard and/or newspaper on the ground (preferably outside) and place mini pumpkins on top.
[2] Put on kitchen gloves, shake the flat white can and begin to spray pumpkins.
[3] Let the top of the pumpkins dry for 5 min (or until dry) and then flip them over and repeat step 2 on bottom.
[4] Once dried, bring inside. With a sharp knife cut an sliver on top of the mini pumpkin – 2/3 of the way back. Make sure it’s big enough for a name tag to slide in (see images).
Alright, babes… I’m ready to EAT! Shop all of the table items below. Happy Thanksgiving!
Shop The Table


Leave a Reply
Your email address will not be published. Required fields are marked *
COMMENTS